Loading ...
Loading ...
Loading ...
MODEL
(Btu/h)
Static Pressure
(Pa)
30
12
70
18
70
24
80
30~36
100
42~60
Fig.5-3
Fig.5-4
Fig.5-5
Fig.5-6
New concrete bricks
Inlaying or embedding the screw bolts. (Refer to Fig. 5-3)
For Original concrete bricks
Use embedding screw bold, crock and stick harness.
(Refer to Fig.5-4)
Steel roof beam structure
Install and use directly the supporting angle steel. (Refer to Fig.5-5)
5.2.2
5.2.3
5.2.4
(Blade shape insertion)
(Slide insertion)
Steel bar
Embedding screw bolt
(Pipe hanging and embedding screw bolt)
Hanging screw bolt
Hanging bolts
Supporting
angle steel
Overhanging the indoor unit
2
(1) Overhang the indoor unit onto the hanging screw bolts with
block.
(2) Position the indoor unit in a flat level by using the level indicator,
unless it may cause leakage.
Screw nut
Washer
Hanging
screw bolt
Overhang part
Shockproof cushion
3.
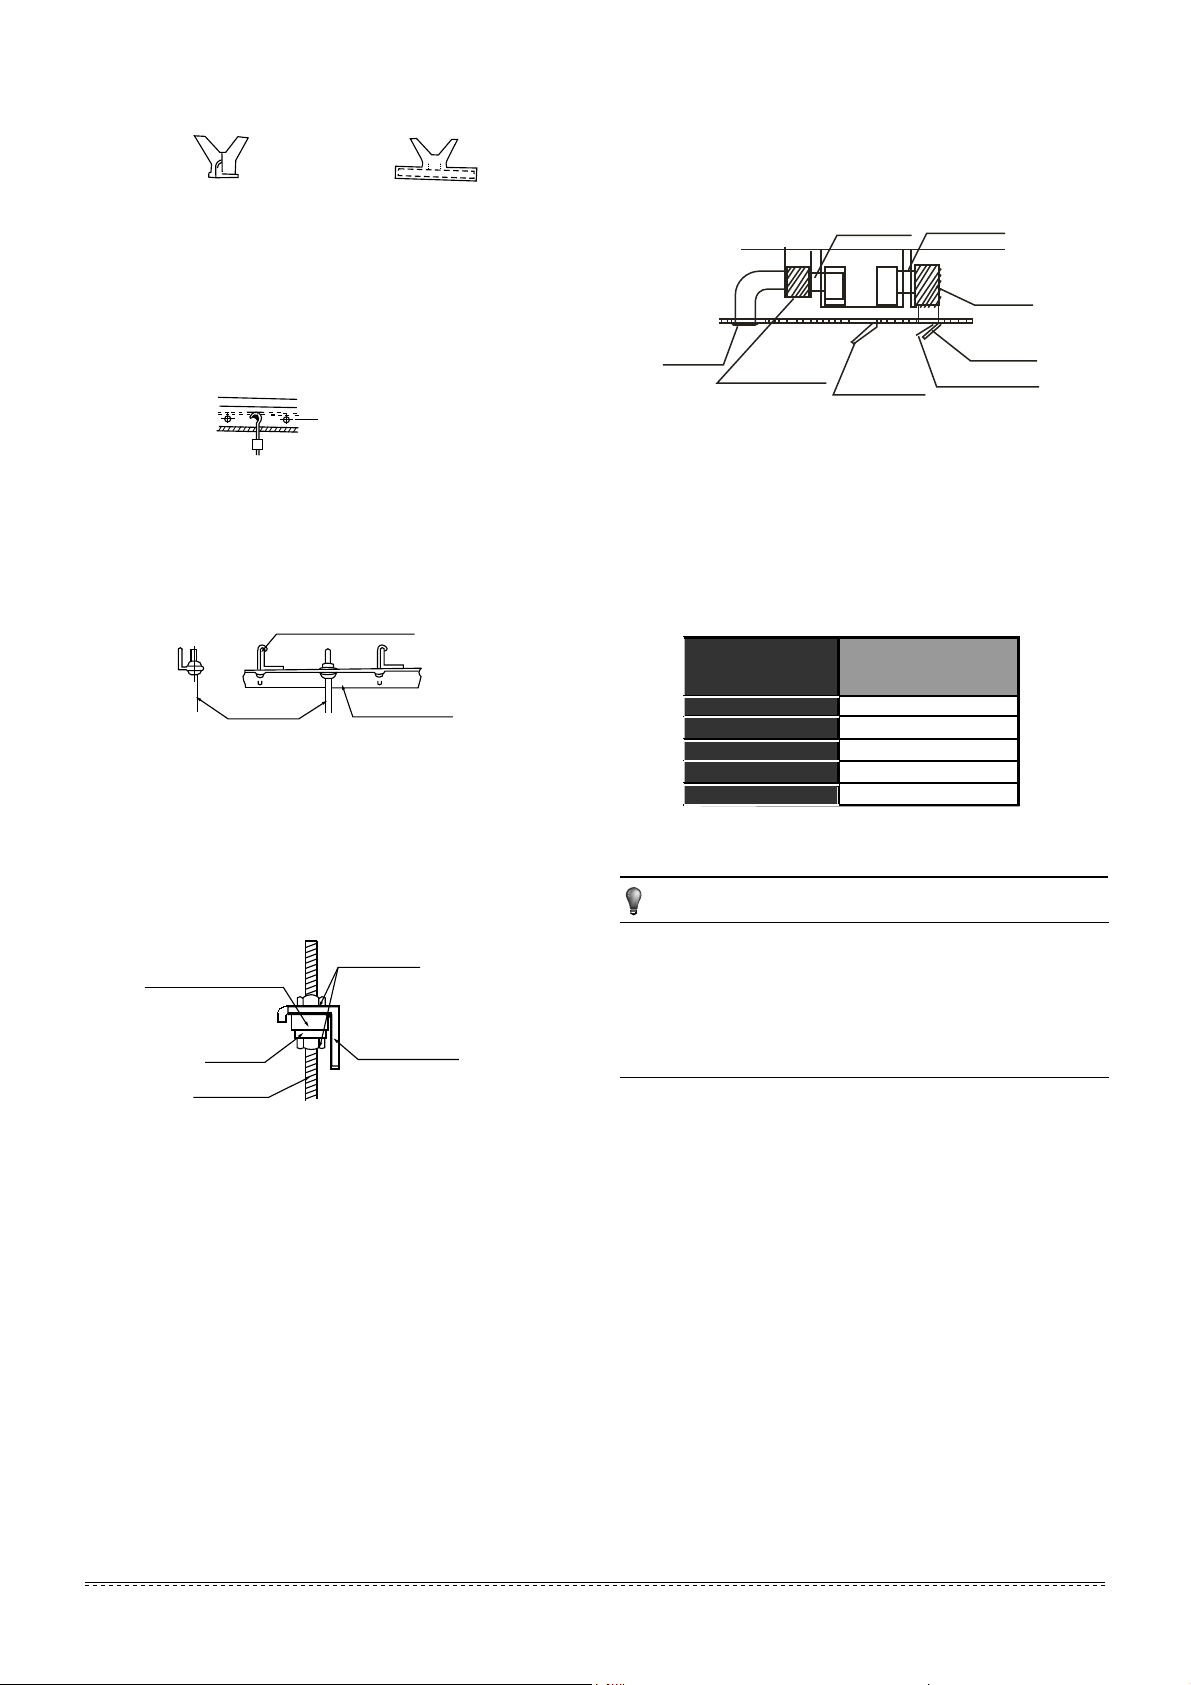
Air inlet and air outlet duct should be apart far enough to avoid
air passage short-circuit.
Recommended duct connection
Canvas tie-in Canvas tie-in
Air outlet
Isolation booth
Isolation booth
checking orifice
Air inlet
Air dust filter
Do not put the connecting duct weight on the indoor unit.
1.
When connecting duct, use inflammable canvas tie-in to prevent
vibrating.
2.
Change the fan motor static pressure corresponding to external
duct static pressure.
Insulation foam should be wrapped outside the duct to avoid
condensate and internal duct underlayer shall be added to reduce
the noise for special requirement.
3.
Fig.5-7
NOTE
Table.5-1
5. Please refer to the following static pressure to install
5.3 Duct and accessories installation
Install the filter(optional) according to air inlet size.
1.
Install the canvas tie-in between the body and duct.
2.
4.
5
installation manual
For more details visit www.mrcool.com
Loading ...
Loading ...
Loading ...