Loading ...
Loading ...
Loading ...
Indoor Unit
Installation
If refrigerant piping is already embedded in
the wall, do the following:
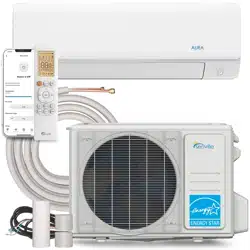
Step 1:Hook the indoor unit on the mounting
plate:
Step 2: Prepare refrigerant piping:
Move to left or right
30-50mm
(1.18-1.95in)
30-50mm
(1.18-1.95in)
1. Keep in mind that the hooks on the mounting plate
are smaller than the holes on the back of the unit.
If you find that you don’t have ample room to connect
embedded pipes to the indoor unit, the unit can be
adjusted left or right by about 30-50mm (1.18-1.95in),
depending on the model.
CAUTION
Be extremely careful not to dent or
damage the piping while bending them
away from the unit. Any dents in the
piping will affect the unit’s performance.
Step 4: Prepare refrigerant piping
The refrigerant piping is inside an insulating
sleeve attached to the back of the unit. You must
prepare the piping before passing it through the
hole in the wall. Refer to the Refrigerant Piping
Connection section of this manual for detailed
instructions on pipe flaring and flare torque
requirements, technique, etc.
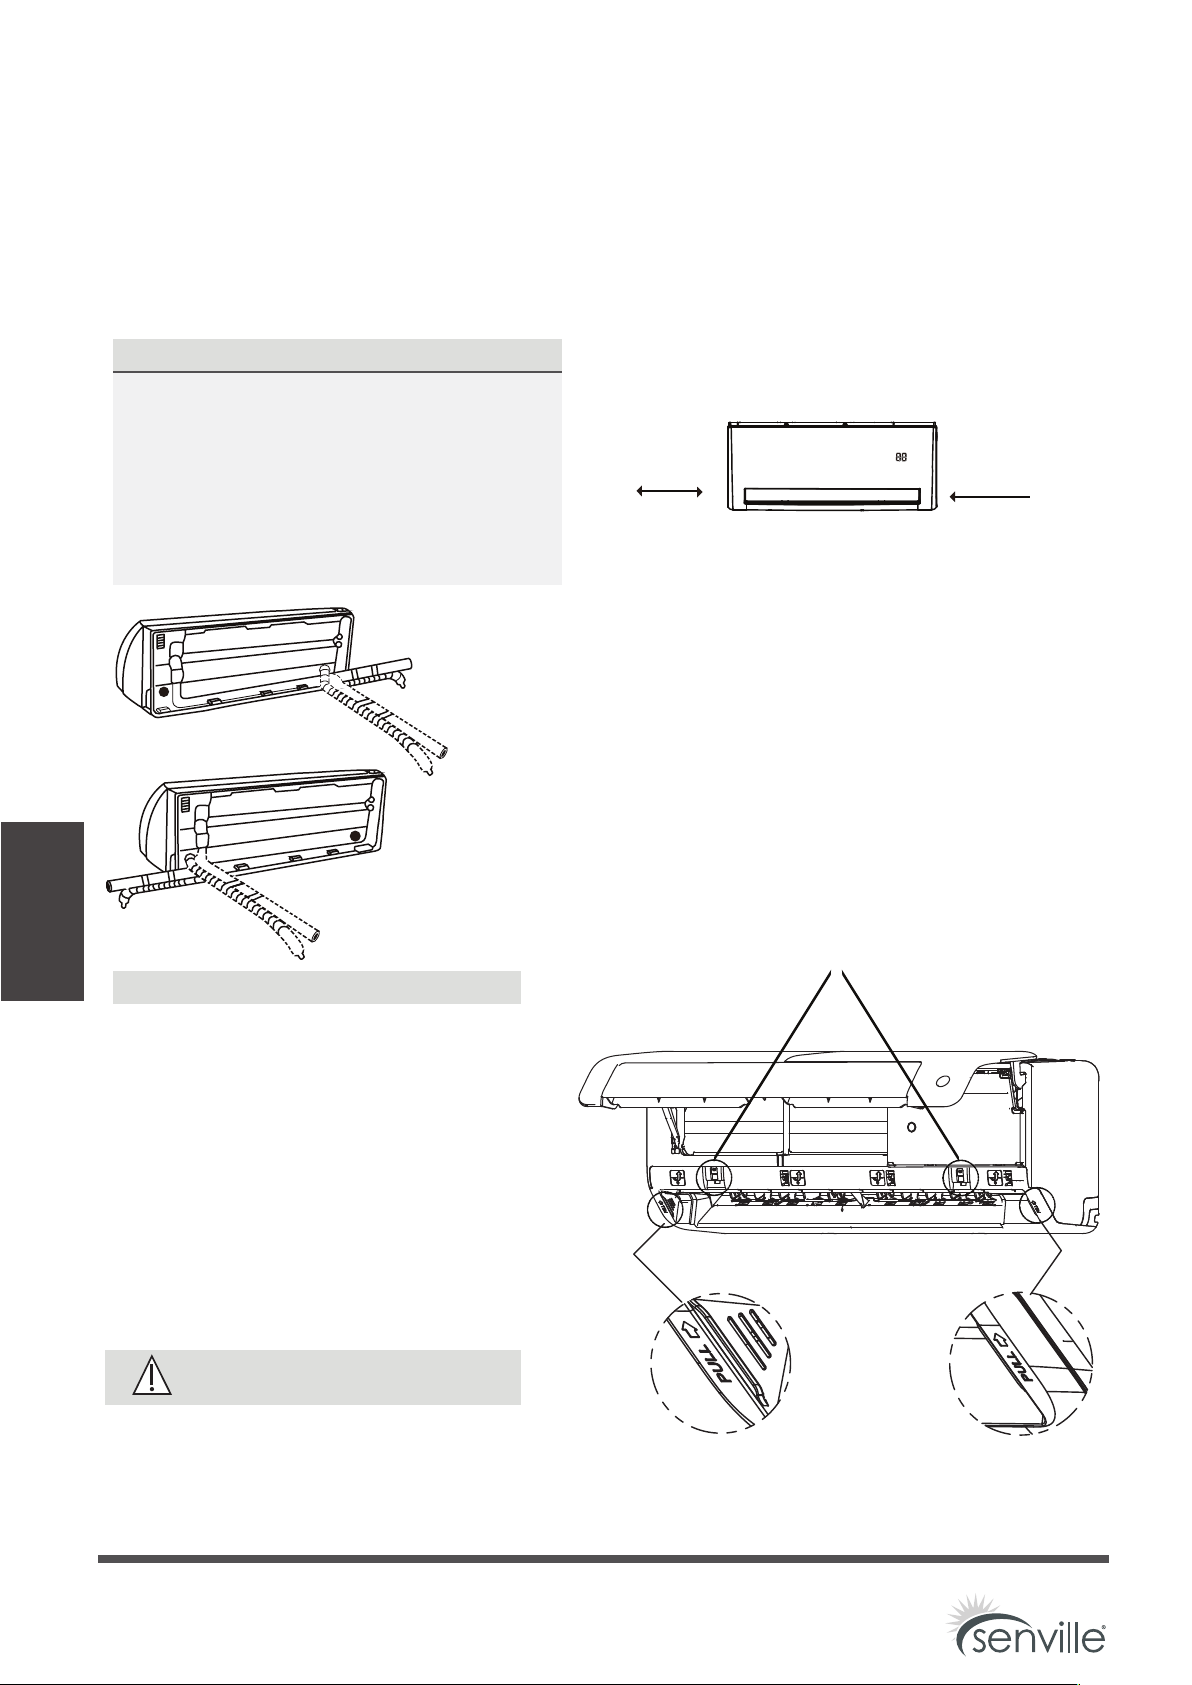
NOTE ON PIPING ANGLE
Refrigerant piping can exit the indoor unit from
four different angles:
•
Left-hand side
•
Left rear
•
Right-hand side
•
•
•
Right rear
When choose Left-hand side or Right-hand
side piping, please make sure that the pipes
come out horizontally so as not to affect the
lower panel installtion.
Refer to figures below for details.
1. Open and fix the position of the panel,
then, unscrew the screws showed in the
picture below, then hold both sides of
the lower panel in the place marked
“PULL”, pull it upwards to release the
buckles, then take the lower panel down.
Unscrew the screws
NOTE ON PIPING CONNECTING
In some locations of US, a conduit tube
must be used to connect the cable.
To ensure an enough space for the pipes
running and the machine is against the
wall after installation, It is recommended
to attach the drain hose to the right-hand
side (when you’re facing the back of the unit).
AUTO COOL
Page 22
Loading ...
Loading ...
Loading ...