1. This LED cabinet light fixture has a polarized plug (one blade is wider than the other) as a feature
to reduce the risk of electric shock. This plug will fit in a polarized outlet only one way. If the plug
does not fit fully in the outlet, reverse the plug. If it still does not fit, contact a qualified electrician.
2. Never use with an extension cord unless plug can be fully inserted.
3. Do not alter the plug.
4. Do not attempt to install fixture while plugged in.
Important to Know
1. Read all instructions carefully before installation and operation.
2. If you are not familiar with state and local electrical codes, it is recommended that you consult with
a qualified electrician.
3. Maximum number of LED cabinet lighting fixtures per run should not exceed power supply wattage
rating. (Maximum 24W)
4. Do not use in wet locations, use indoors only.
5. Non-replaceable LEDs.
6. LED light output is strong enough to injure human eyes. Precautions must be taken to prevent
looking directly at the LEDs with unaided eyes.
7.
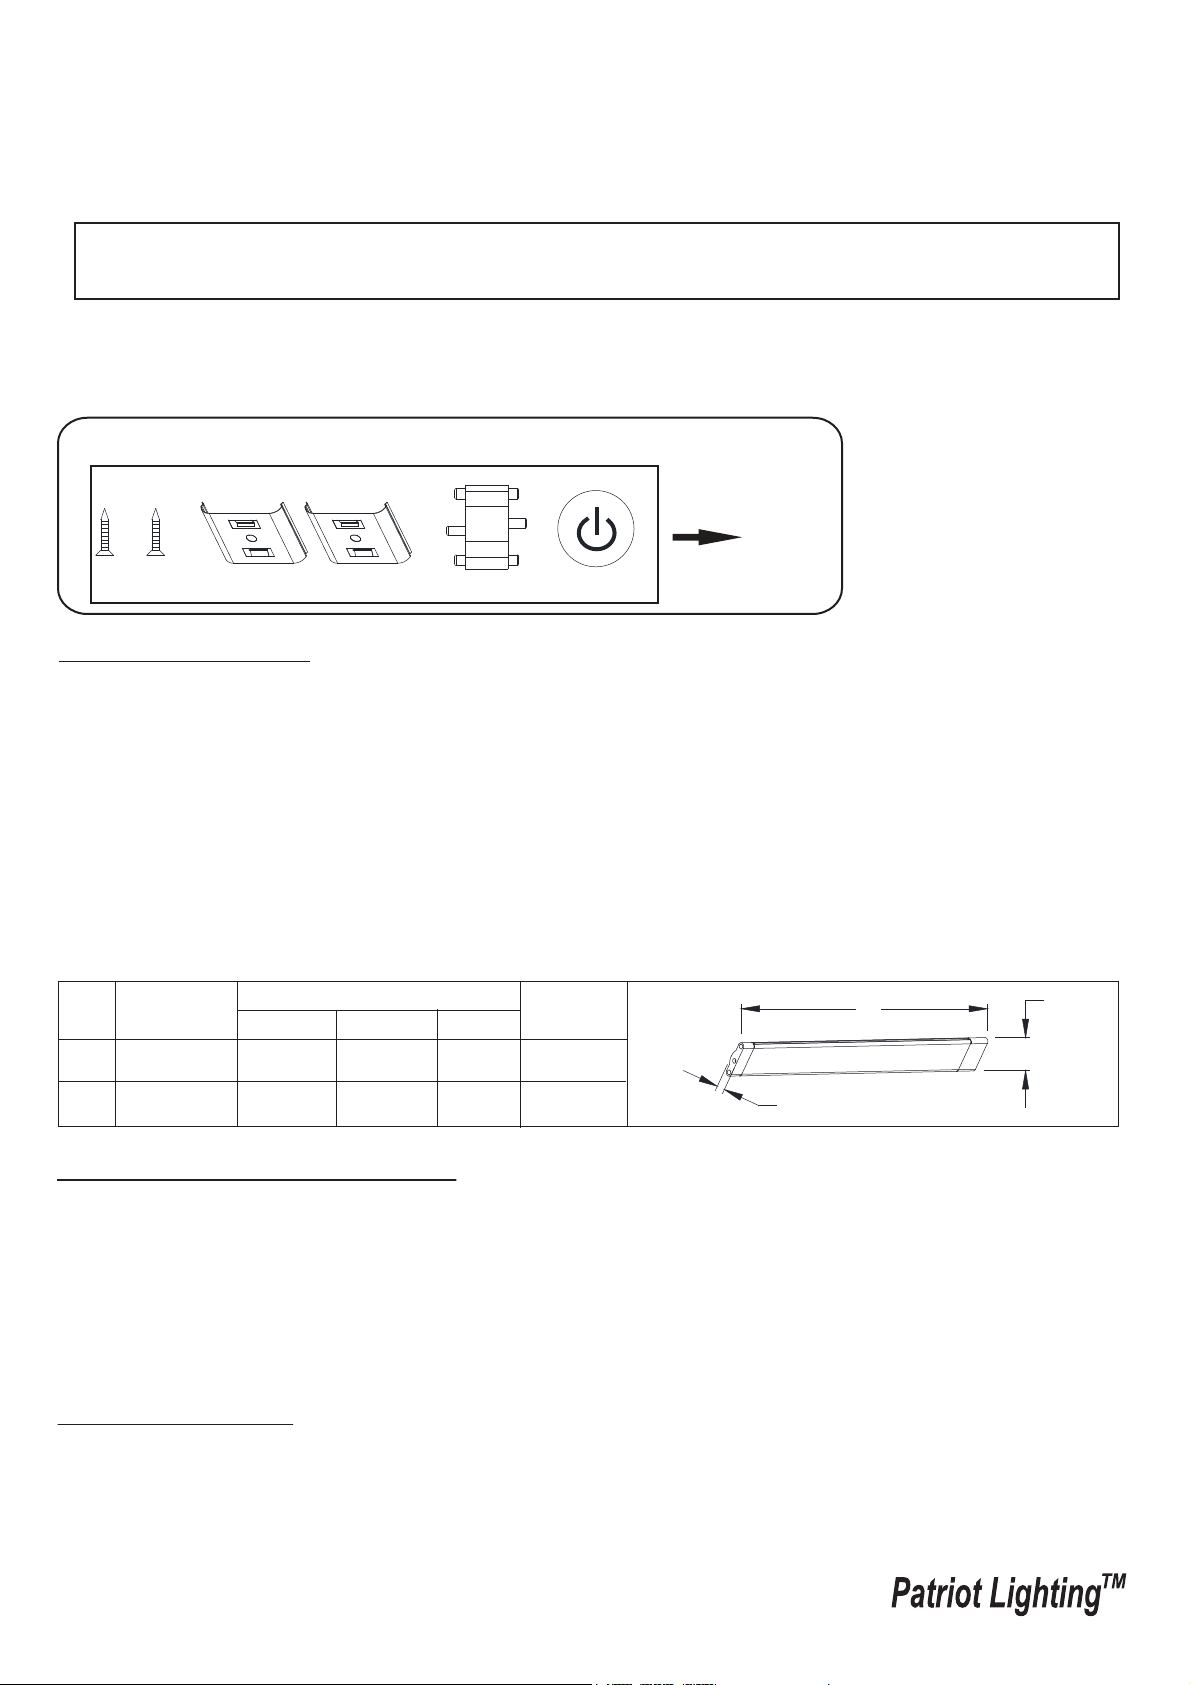
Specification:
Important safety instructions.
ASSEMBLY AND INSTALLATION
INSTRUCTIONS
WARNING: BE SURE TO SHUT OFF POWER AT THE MAIN FUSE OR CIRCUIT
BREAKER BOX BEFORE INSTALLING OR SERVICING THIS FIXTURE.
346-0925 / 346-0926
Installation Steps
NO.
1
2
20
1.25
Dimension(inch)
Model.:
346-0926
12 1.25
346-0925
A
B
C
5.1
0.4
0.4
Watts
7.6
A
B
C
NOTE: 1. Before installing, consult local electrical codes for wiring and grounding requirements.
2. Customer Service: 1-800-887-6326 (weekdays 9 a.m. – 5 p.m. CST)
3. READ AND SAVE THESE INSTRUCTIONS.
130920
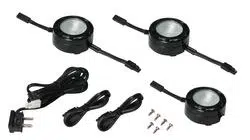
Hardware Package:
(1 SET)
1. Find a suitable location to mount the fixture, the mounting surface should be a minimum of 1/2”
thick and approximately 3” distance for linking cord should be allowed at both ends of fixtures.
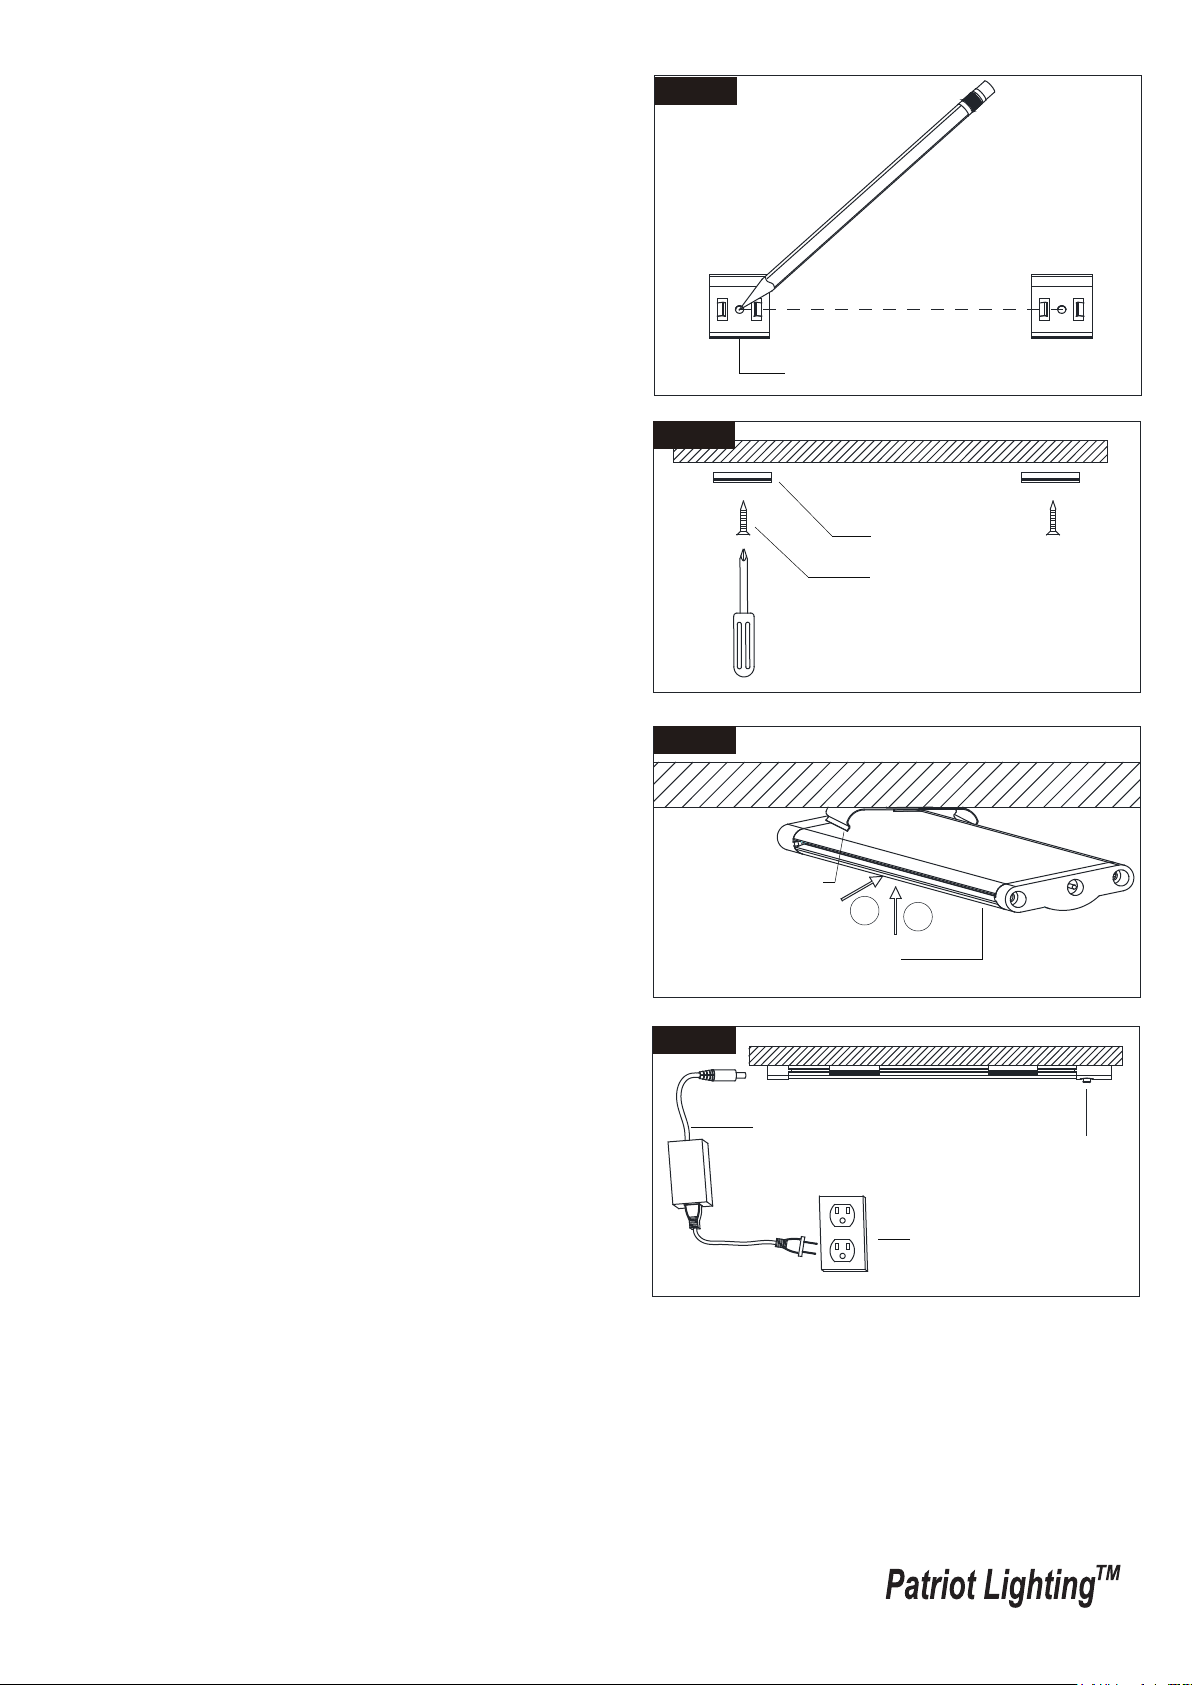
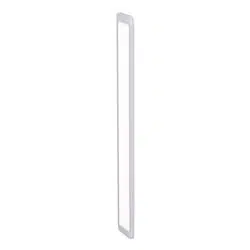
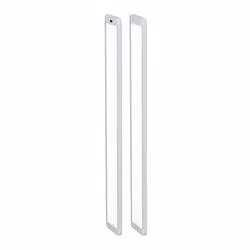
Mounting Clip
2. Carefully plan out your installation prior to actually
securing your cabinet light fixture to the mounting
surface make sure that your 11 ft. power adaptor
will reach the nearest electrical outlet.
3. Place the mounting clips apart and mark with a
pencil. Marks should be:
9 in. apart for models 346-0926
16 in. apart for models 346-0925
Mounting clips should be in line with each other.
(See Figure 1)
4. Secure the mounting clips to the mounting surface
with the dry wall screws provided. (See Figure 2)
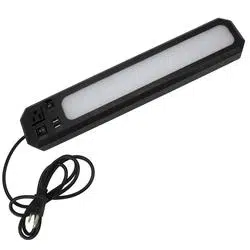
5. Install the cabinet light fixture into the mounting
clips:
a. Latch one side of the cabinet light fixture into the
two mounting clips.
b. Latch the other side of the cabinet light fixture
until fully secured.
The cabinet light fixture may be detached by using
a small flathead screwdriver (not included) between
hooks and prying outward on the cabinet light
fixture. (See Figure 3)
6. Plug the link connector into either of the two cabinet
light connectors and plug the 24W power adaptor
into a 120VAC 60HZ outlet. (See Figure 4)
Note: The 24W power adaptor has a molded plug on
one end and a link connector at the other end.
7. Turn on the power at the main fuse or circuit breaker
box.
8. Depress the on / off switch to turn on the fixture,
when you depress the on / off switch again, the
fixture will turn off. (See Figure 4)
Fig.1.
24W Power Adaptor
a
Outlet
Connecting fixture to fixture:
The cabinet lighting fixture units can be connected by using plastic connector or by using linking cord
(12 inches).
Note: Maximum number of cabinet light fixtures per run should not exceed power supply
wattage rating. (Maximum 24W)
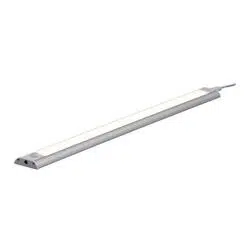
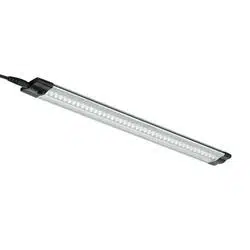
Cabinet Lighting Fixture
Dry Wall Screw
Fig.2.
Mounting Clip
Fig.3.
Mounting Clip
b
Fig.4.
130920
On / Off Switch
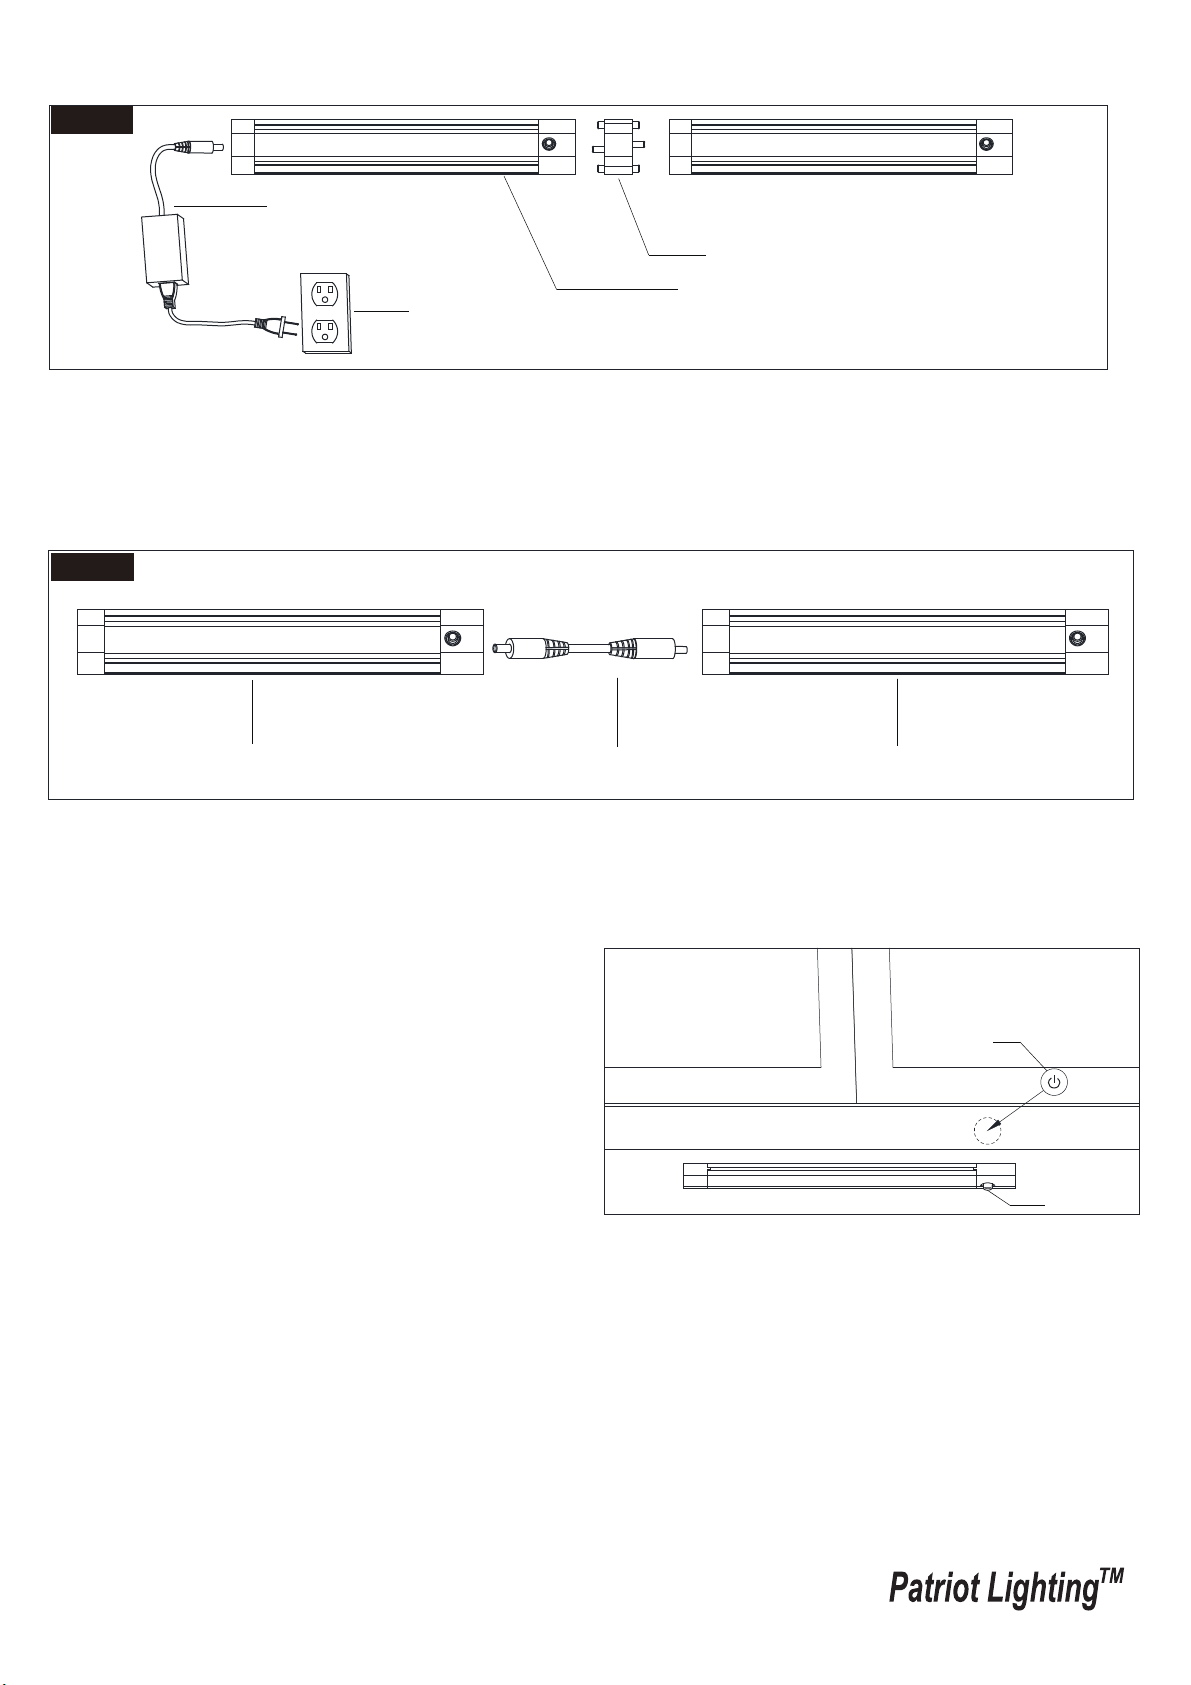
Fig.7.
Linking Cord
Cabinet Light Fixture
Cabinet Light Fixture
B. Using linking cord:
Install the additional cabinet light fixture following steps 1-5 of the instruction steps. Once installed,
attach the linking cord (12 inches) between the cabinet light fixture (previously installed) and the new
one. (See Fig.7)
Fig.6.
Cabinet Lighting Fixture
Outlet
24W Power Adaptor
Plastic Connector
1. Align connector on end of new fixture with connector on end of existing fixture.
2. Push new fixture to existing fixture until fixtures are flush and connectors snap together by using
plastic connector. (See Figure. 6)
Cleaning instructions
Your fixture is made from quality materials that will last for many years with minimum care. When
cleaning, make sure you have unplugged your fixture, and have allowed sufficient time for the fixture
to cool to room temperature. You should clean the housing and lense using a damp soft cloth. You
should plug your fixture back in only after the fixture has thoroughly dried.
130920
A. Using plastic connector:
Note:
1. This hardware package includes a label. Please
paste the label on the cabinet, in order to remind
the position of the On / Off switch.
Label
Switch
5-YEAR LIMITED WARRANTY:
This Patriot Lighting fixture carries a limited warranty against defects in material or workmanship. If the Patriot Lighting
product fails at any time within five (5) years after the original date of sale due to defects in material or workmanship,
return the product to Menards with the original sales receipt. At its discretion, Patriot Lighting will replace the defective
fixture with the same or similar fixture or issue a refund. This warranty and any implied warranty (including but not limited
to any implied warranty of merchantability or fitness for a particular purpose) does not cover glass globes, light bulbs and
other expendable items. This warranty excludes coverage of finish or color against tarnishing, flaking, and discoloration.
If the original purchaser ceases to own the Patriot Lighting product this warranty and any implied warranty will be void.
This warranty does not cover damage caused by misuse or abuse, including but not limited to improper installation,
improper usage, accident, negligence, unauthorized repair, unauthorized modifications, or unauthorized maintenance of
the fixture. This warranty does not include reimbursement for inconvenience, installation, setup time, returned shipping
charges or defects, losses, labor, injuries to personal property.
This warranty gives the consumer specific legal rights, and the consumer may have other rights which vary from state to
state. The seller’s employees are not qualified to advise on the use of the fixture. Any oral representations made will
not be binding on seller or its employees.
For questions regarding this product, call toll-free at 1-800-887-6326.
130920
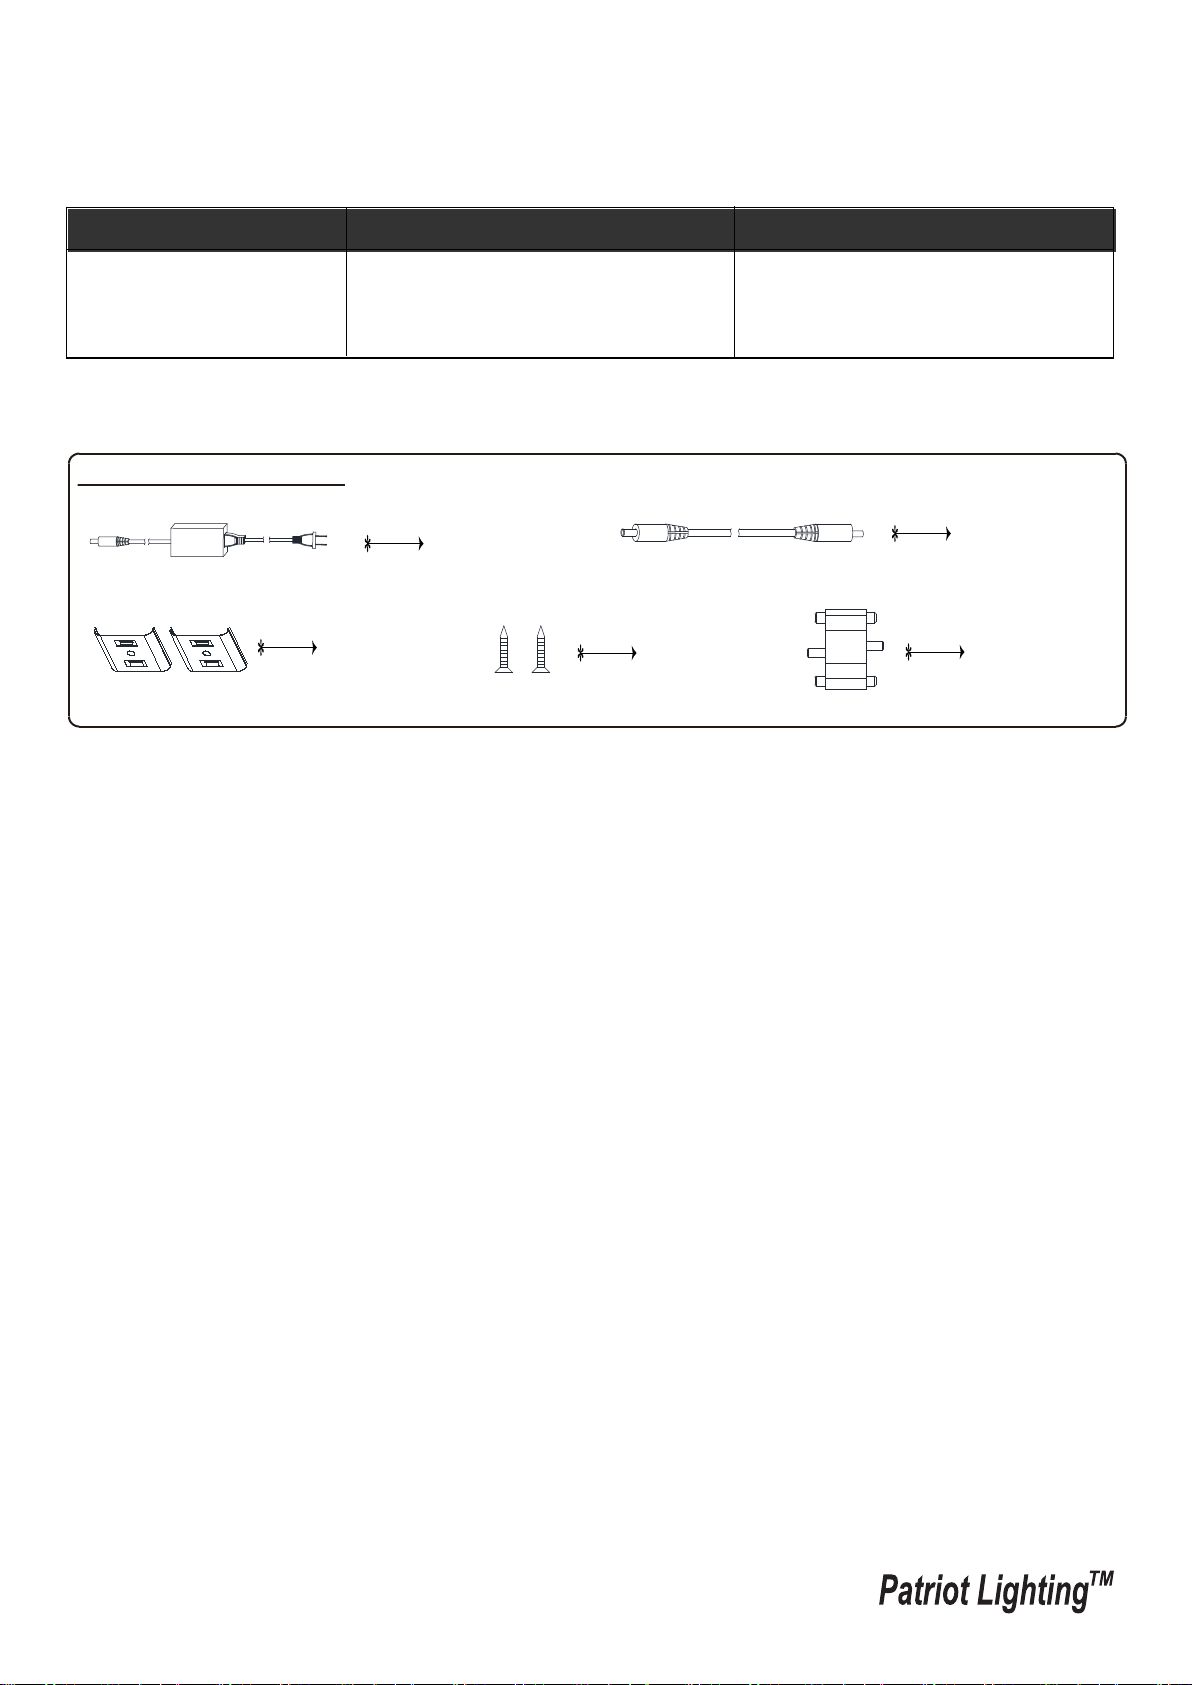
Contents of Spare Parts:
24W Power Adaptor
(1 PC)
(7054DD)
In case of damaged or missing parts, please call toll-free at 1-800-887-6326
12" Linking Cord
(1 PC)
(7053CC)
Mounting Clip
(2 PCS)
(4848MC)
Dry Wall Screw
(2 PCS)
(4848WS)
24W
Plastic Connector
(1 PC)
(7053PC)
Trouble Shooting
Minor problems often can be fixed without the help of an electrician. Before doing any work on the
fixture, shut off power supply at the circuit breaker panel to avoid electrical shock.
POSSIBLE CAUSE
CORRECTIVE ACTION
Light will not come ON
1. Power is off.
2. Bad plug connection.
3. Bad switch
1. Check if power supply is on.
2. Check power adaptor.
3. Test or replace switch.
PROBLEM