Loading ...
Loading ...
Loading ...
FoJJowthese in_rucflons to changeProjectProTM nozzJes:
1. PulI back collar on quick-connect and pulI current
ProjectProTM nozzle off. Store ProjectProTM nozzlesin
holder provided on the accessorytray.
WARNING
The high pressure stream of water that this
_ quipment produces can cut through skin and its
underiying tissues, ieadingto serious injury and
)ossible amputation.
* NEVERexchangeProjectProTM nozzleswithout lockingthe
trigger lockon the spraygun.
o DONOTtwist ProjectProTM nozzleswhilespraying.
.
Select desired ProjectProTM nozzte:
o Fordelicate rinse (iower pressure and higher flow),
for genttecteaning of cars/trucks, boats, RV's, patio
furniture, iawn equipment, etc. select yellow
delicate ProjectProTM nozzle.
Forgeneralrinsing (medium pressureand medium
flow), idealfor most aii purposecieaningsuch as
home siding,brick patios,wood decks, drivewaysand
sidewalks,garagefloors, etc. selectorangegeneral
ProjectProTM nozzle.
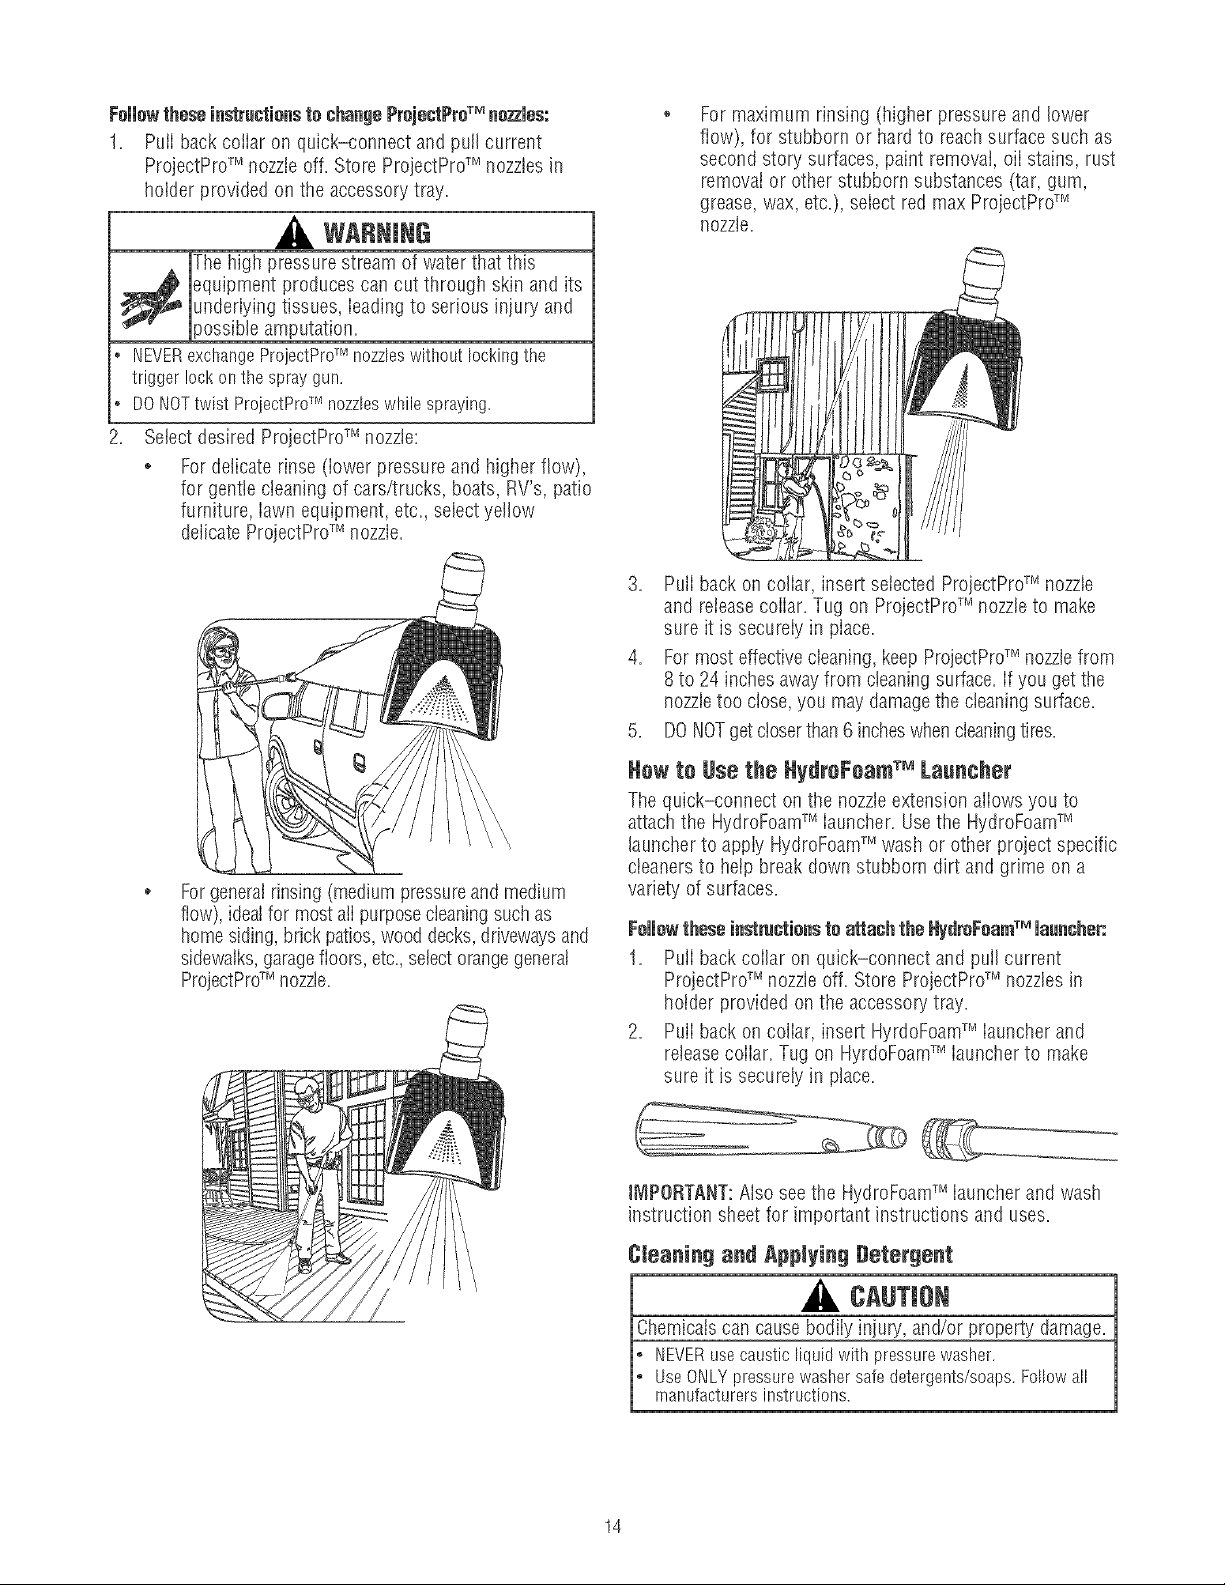
For maximum rinsing (higiler pressure and lower
flow), for stubborn or hard to reachsurface such as
second story surfaces, paint removal, oii stains, rust
removal or other stubborn substances (tar, gum,
grease, wax, etc.), select red max ProjectProTM
nozzle.
3. Puffback on coflar, insert seiected ProjectProTM nozzle
and releasecollar. Tug on ProjectProTM nozzleto make
sure it is secureiy in piace.
4. For most effectivecleaning,keep ProjectProTM nozzlefrom
8to 24 inches awayfrom cleaningsurface, if you get the
nozzietoo close, you may damagethe cleaningsurface.
5. DONOTget closerthan 6 incheswhen cleaningtires.
Hew te Use the HydreFeamTM Launcher
The quick-connect on the nozzleextension aliows you to
attach the HydroFoamTM iauncher. Usethe HydroFoamTM
launcher to appiy HydroFoamTM wash or other project specific
cteaners to help break down stubborn dirt and grime on a
variety of surfaces.
Followthese indmctions to attach the I.iydreFearnTM launcher:
1. PuiI back collar on quick-connect and pull current
ProjectProTM nozzle off. Store ProjectProTM nozzles in
hoider provided on the accessopJtray.
2. Puffback on coliar, insert HyrdoFoamTM iauncher and
releasecoiiar. Tug on HyrdoFoamTM iauncher to make
sure it is securely in place.
iMPORTANT:Also see the HydroFoamTM launcher and wash
instruction sheet for important instructions and uses.
Cleaning and Applying Detergent
A, CAUTJO
Chemicalscan causebodily injupj, and/or property damage.
_ EVERusecausticliquidwithpressurewasher.
UseONLYpressurewashersafedetergents/soaps.Followall
manufacturersinstructions.
14
Loading ...
Loading ...
Loading ...