1
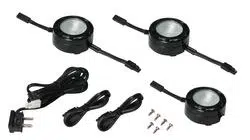
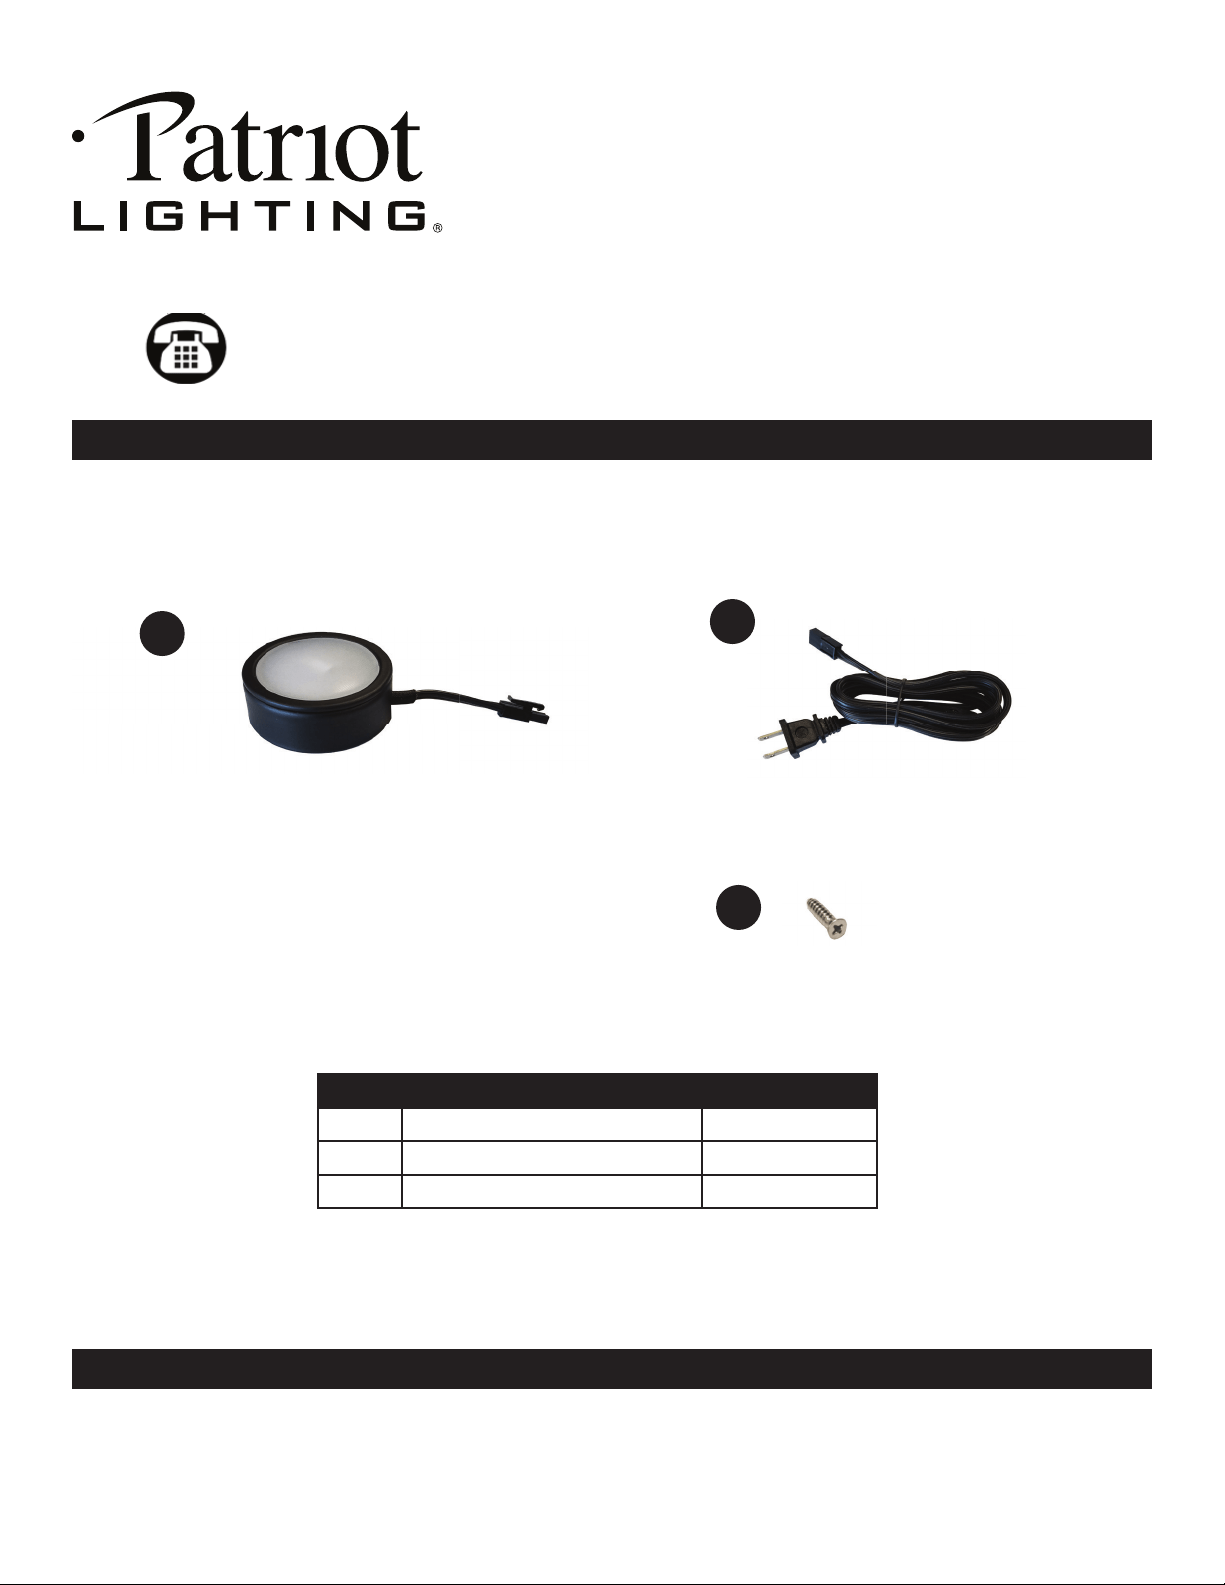
PACKAGE CONTENTS
Note: Hardware not shown to actual size.
Questions, problems, missing parts?
Before returning to your retailer, call our customer service at
1-800-285-8051 Monday – Friday 8:00 a.m. – 5:00 p.m. CST
B
C
PART DESCRIPTION QUANTITY
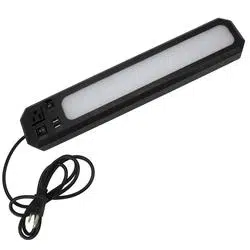
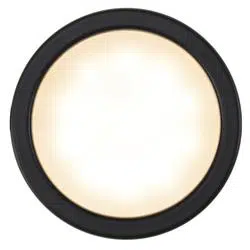
A LED Puck Light 1
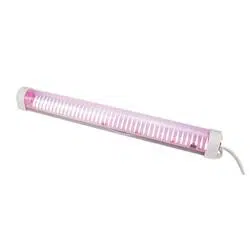
B 6 ft power cord 1
C Mounting screw 2
Patriot Lighting® is a registered trademark
of Menard, Inc. All Rights Reserved.
LED PUCK LIGHT
Sku Numbers: 346-0800, 346-0801 and 346-0802
Model Numbers: 0026-0014,
0026-0010 and 0026-0011
A

Before beginning assembly, installation, or operation of product, make sure all parts are present. Compare
parts with package and hardware contents list on page 1. If any part is missing or damaged, do not attempt to
assemble, install or operate the product. Contact customer service for replacement parts.
Tools Required for Assembly (not included): Philips screwdriver or screwgun with Philips bit (surface mount)
or power drill with 2-3/8” hole saw (recess mount), measuring tape, pencil and safety glasses. Estimated
assembly time: 10 minutes
SAFETY INFORMATION
PREPARATION
WARNING:
These products may represent a possible shock or re hazard if improperly installed or
attached in any way. Products should be installed in accordance with these instructions, current electrical
codes, and/or the current National Electric Code (NEC). Disconnect power to the unit prior to installation.
WARNING: To reduce risk of re, electric shock, or injury to persons,
• Always be sure that power supply is turned off at fuse box or circuit breaker before installing, cleaning, or
servicing the xture.
• Do not turn on xture with missing or damaged lens.
• There are no serviceable parts inside the xture.
• If attached to a movable cabinet, route and secure cords so that they will not be pinched or damaged
when the cabinet is pushed to the wall.
• Suitable for surface or recessed cabinet installation. Not intended for recessed installations in ceilings or
softs.
• Suitable for indoor dry locations only. Do not install over a sink.
• Use only with 120V AC plug-in power cord supplied with the light. Do not alter power cord in any manner.
• The National Electric Code (NEC) does not permit cords to be concealed where damage to the cord’s
insulation may go unnoticed. To prevent re damage, do not run cord behind walls, ceilings, softs, or
cabinets where it may be inaccessible for examination. Cords should be visually examined periodically
and immediately replace when any damage is noted.
• Do not touch hot lens.
• Keep xtures away from curtains and other combustible materials.
WARNING: Injury to persons and damage to the xture and/or mounting surface may result if the xture
is pulled from the surface. To reduce the likelihood of such injury or damage, mount to a surface that is
mechanically sound. The mounting surface must be at least 1/2 inch thick. This product is designed to be
mounted to the underside of a horizontal surface such as the bottom of a cabinet or shelf.
SAVE THESE INSTRUCTIONS. For safest operation, read and become familiar with complete
installation instructions prior to use. Pay close attention to this manual and stay within its guidelines when
using this product.
CAUTION:
• If you have any doubts about how to install this lighting xture, or if the xture fails to operate completely,
contact a qualied licensed electrical contractor.
• All parts must be used as indicated in this manual. Do not substitute any parts, leave parts out, or use
parts that are worn out or broken. Failure to obey this instruction could invalidate the ETL certication.
• This xture has a polarized plug (one blade is wider than the other) as a safety feature. This plug can be
used in a polarized outlet only one way. If the plug does not t fully in the outlet, reverse the plug. If it still
does not t, contact a qualited electrician. Never use with an extension cord unless the plug can be fully
instered. Do not alter the plug.
• Not for use with plastic furniture.
• Do not mount over a sink or stove.
• LEDs emit bright light. Avoid looking directly at the light source.
• This xture is not linkable.
2
INSTALLATION INSTRUCTIONS
3
Fig. 1 Fig. 7
Fig. 2 Fig. 8
Fig. 3 Fig. 9
Fig. 4 Fig. 10
Fig. 5 Fig. 11
Fig. 12
Fig. 13
Fig. 6
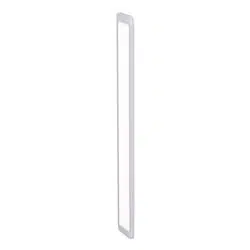
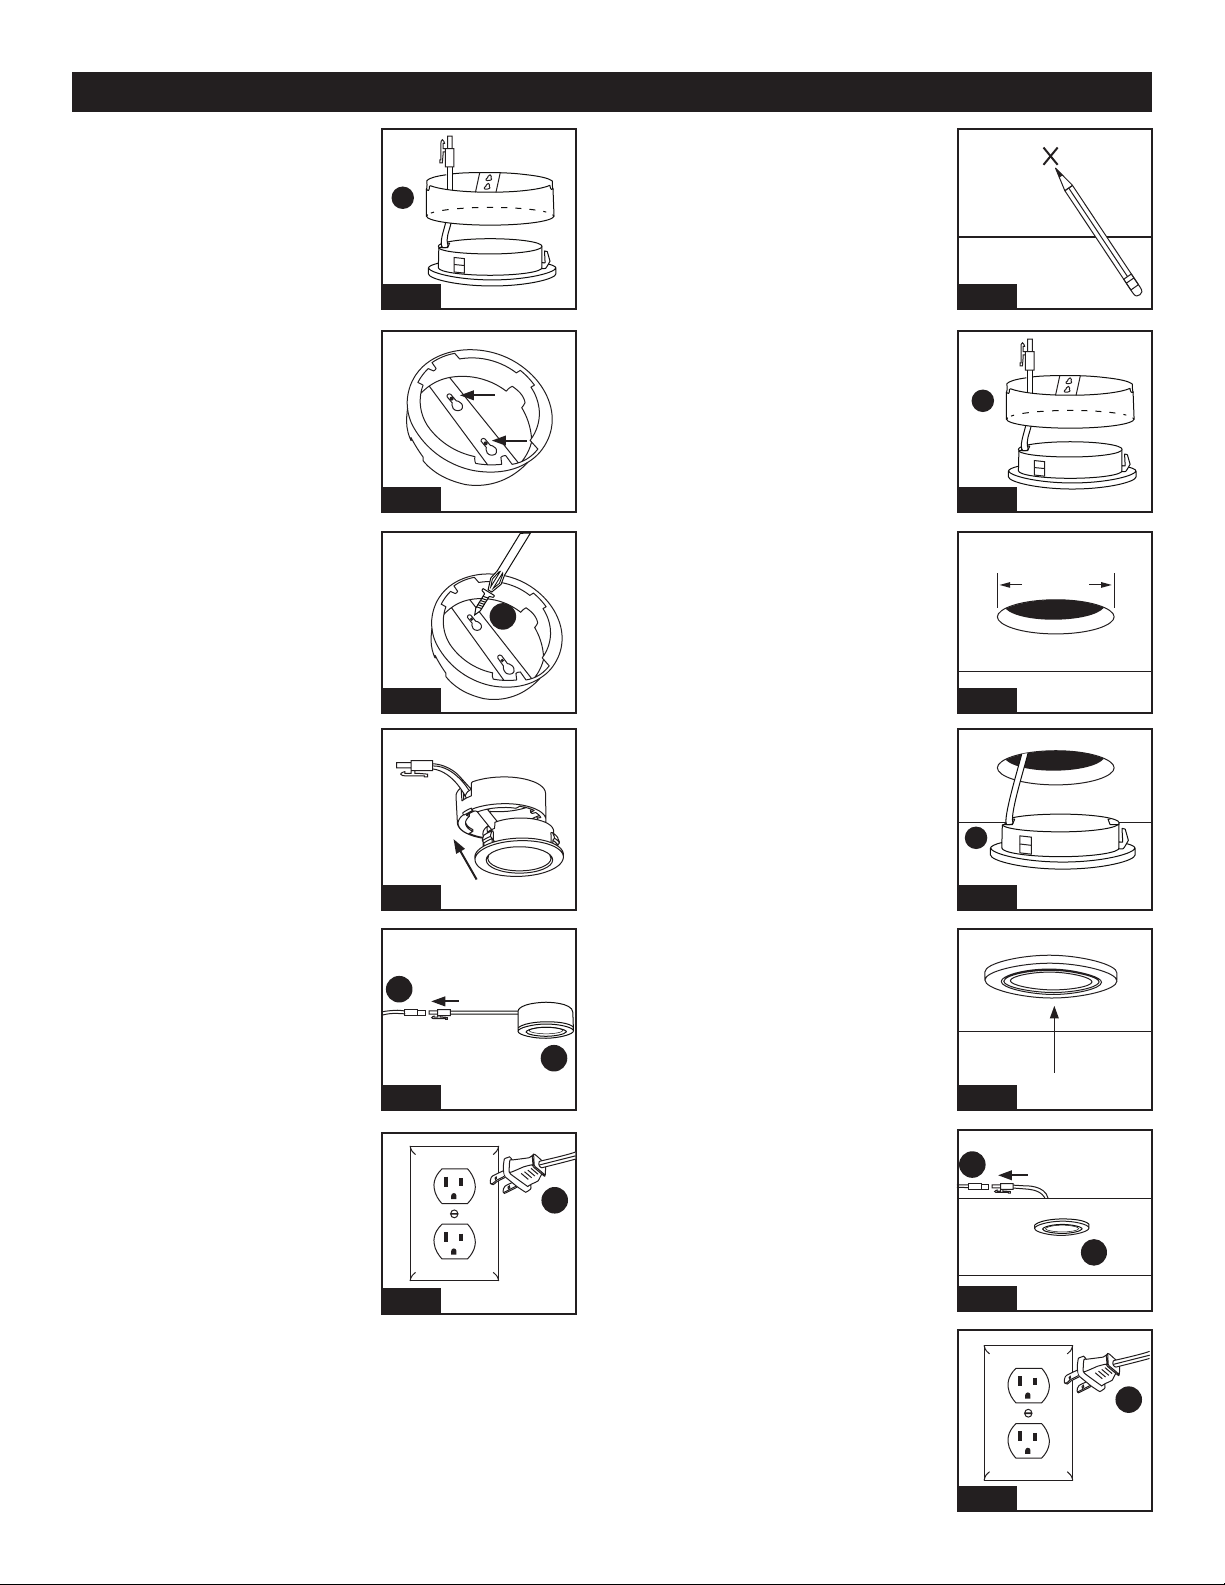
1. Separate the surface ring
from the LED puck light
housing. Holding the surface
ring of the puck (A) rmly
with your ngers with the lens
facing away from you, press
the back of the puck housing
with your thumbs.
7. Mark the location of the puck
light on the mounting surface
with a pencil. Before you
drill, be sure to consider the
distance to make sure the
puck connect to the power
cord and the power cord will
reach the receptacle.
2. Using the surface ring as a
template, mark the location
of the mounting hole on the
mounting surface. Be sure
to orient a side opening for
routing lead wire toward the
nearest receptacle.
8. Separate the surface ring
from the LED puck light
housing. Holding the surface
ring of the puck (A) rmly
with your ngers with the lens
facing away from you, press
the back of the puck housing
with your thumbs.
3. Secure surface ring to
mounting surface using
mounting screws provided
(C). Use an awl or nail to
start screws if needed.
9. Discard the surface ring.
It will not be needed.
At the marked location, use
a power drill and a 2-3/8 in.
hole saw, to drill a mounting
hole for the puck light.
4. Route the lead wire through
the opening leading toward
the nearest receptacle. Push
the puck light body into the
surface ring with tabs and
notches aligned.
10. Route lead wire of puck light
(A) through the hole.
5. Connect the lead wire of puck
(A) to the power cord (B).
11. Press puck light (A) into
mounting hole until fully
seated.
12. Connect lead wire of puck
(A) to the power cord (B).
13. Plug power cord (B) into
wall receptacle.
6. Plug power cord (B) into wall
receptacle.
Surface mount installation is
complete.
A
C
B
A
B
For surface mount applications, start at Step 1. For recess mount applications, start at Step 7.
A
2-3/8 in.
A
B
A
B

Questions, problems, missing parts?
Before returning to your retailer, call our customer service at
1-800-285-8051 Monday – Friday 8:00 a.m. – 5:00 p.m. CST
4
• Use only a mild soap and/or water with a soft cloth to clean the xture. Harsh chemicals will damage the
xture. Do not wipe the xture with a rough cloth that may scratch the nish or the lens.
CARE AND MAINTENANCE
• The light does not come on at all:
a) Advance roll switch on power cord one time to turn on xture.
b) If outlet is on a switched circuit, make sure the wall switch and circuit breaker are on.
If neither a) nor b) xes this issue, please consult a certied electrician.
TROUBLESHOOTING
DIMMING INFORMATION
• This product is suitable for use in dimming circuits. For 10-100% light control, use a 2-wire CFL/LED wall
dimmer with a switched outlet.
RV1642
If, during normal use, this PATRIOT LIGHTING
®
lighting xture breaks or fails due to a defect in material
and workmanship within ve (5) years from the date of original purchase, simply bring this lighting xture
with your original sales receipt back to your nearest MENARDS
®
retail store. At its discretion, PATRIOT
LIGHTING
®
agrees to have the product or any defective part(s) repaired or replaced with the same or similar
PATRIOT LIGHTING
®
product free of charge, within the stated warranty period, when returned by the original
purchaser with original sales receipt. This warranty; (1) excludes expendable parts including but not limited
to light bulbs; (2) does not cover damage that has resulted from abuse or misuse; and (3) does not cover any
losses, labor, injuries to persons/property or costs. This warranty does give you specic legal rights and you
may have other rights, which vary from state to state.
FIVE-YEAR LIMITED WARRANTY