
Loading ...
Loading ...
Loading ...
Maintenance
WARNING
DONOTattempt anyadjustments, maintenance,service or
repairswith the engine running. STOPengine.STOPblade.
Engageparking brake. Removekey.Removespark plug
wire from spark plug and secureaway from plug. Engine
and components are HOT.Avoid serious burns, allow all
parts to cool beforeworking on machine.FuelFillerCap
and vent must beclosed securelyto prevent fuel spillage.
Introduction
Toretain the quality of the RearEngineRider, usegenuine
SNAPPERreplacementparts only. Contact a localSNAPPER
dealerfor parts and service assistance. Forthe correct part
or information for a particular RearEngineRiding Mower,
always mention the model and serial number. SNAPPERrec-
ommends returning the RearEngine Riderto an authorized
SNAPPERdealer annuallyfor inspection and addition of any
new devices,which might upgrade the safety of the Rear
Engine Rider. Forthe nearestSNAPPERdealer in your area,
checkthe yellow pages underthe heading LAWNMOWERS.
For engine parts and service, look for the enginemanufactur-
er's dealersunder the heading, ENGINES- gasoline.
Service- AftertheFirst5 Hours
Routine maintenanceis important to the performance and
life of your RearEngineRider.Service performed properly
and at the recommendedinterval is essential. Referto the
section entitled "MAINTENANCESCHEDULE"in this manual
and in the Engine Owner'sManual. Carefullycomplete all of
the recommendedservice procedures.
ChangeEngineOil
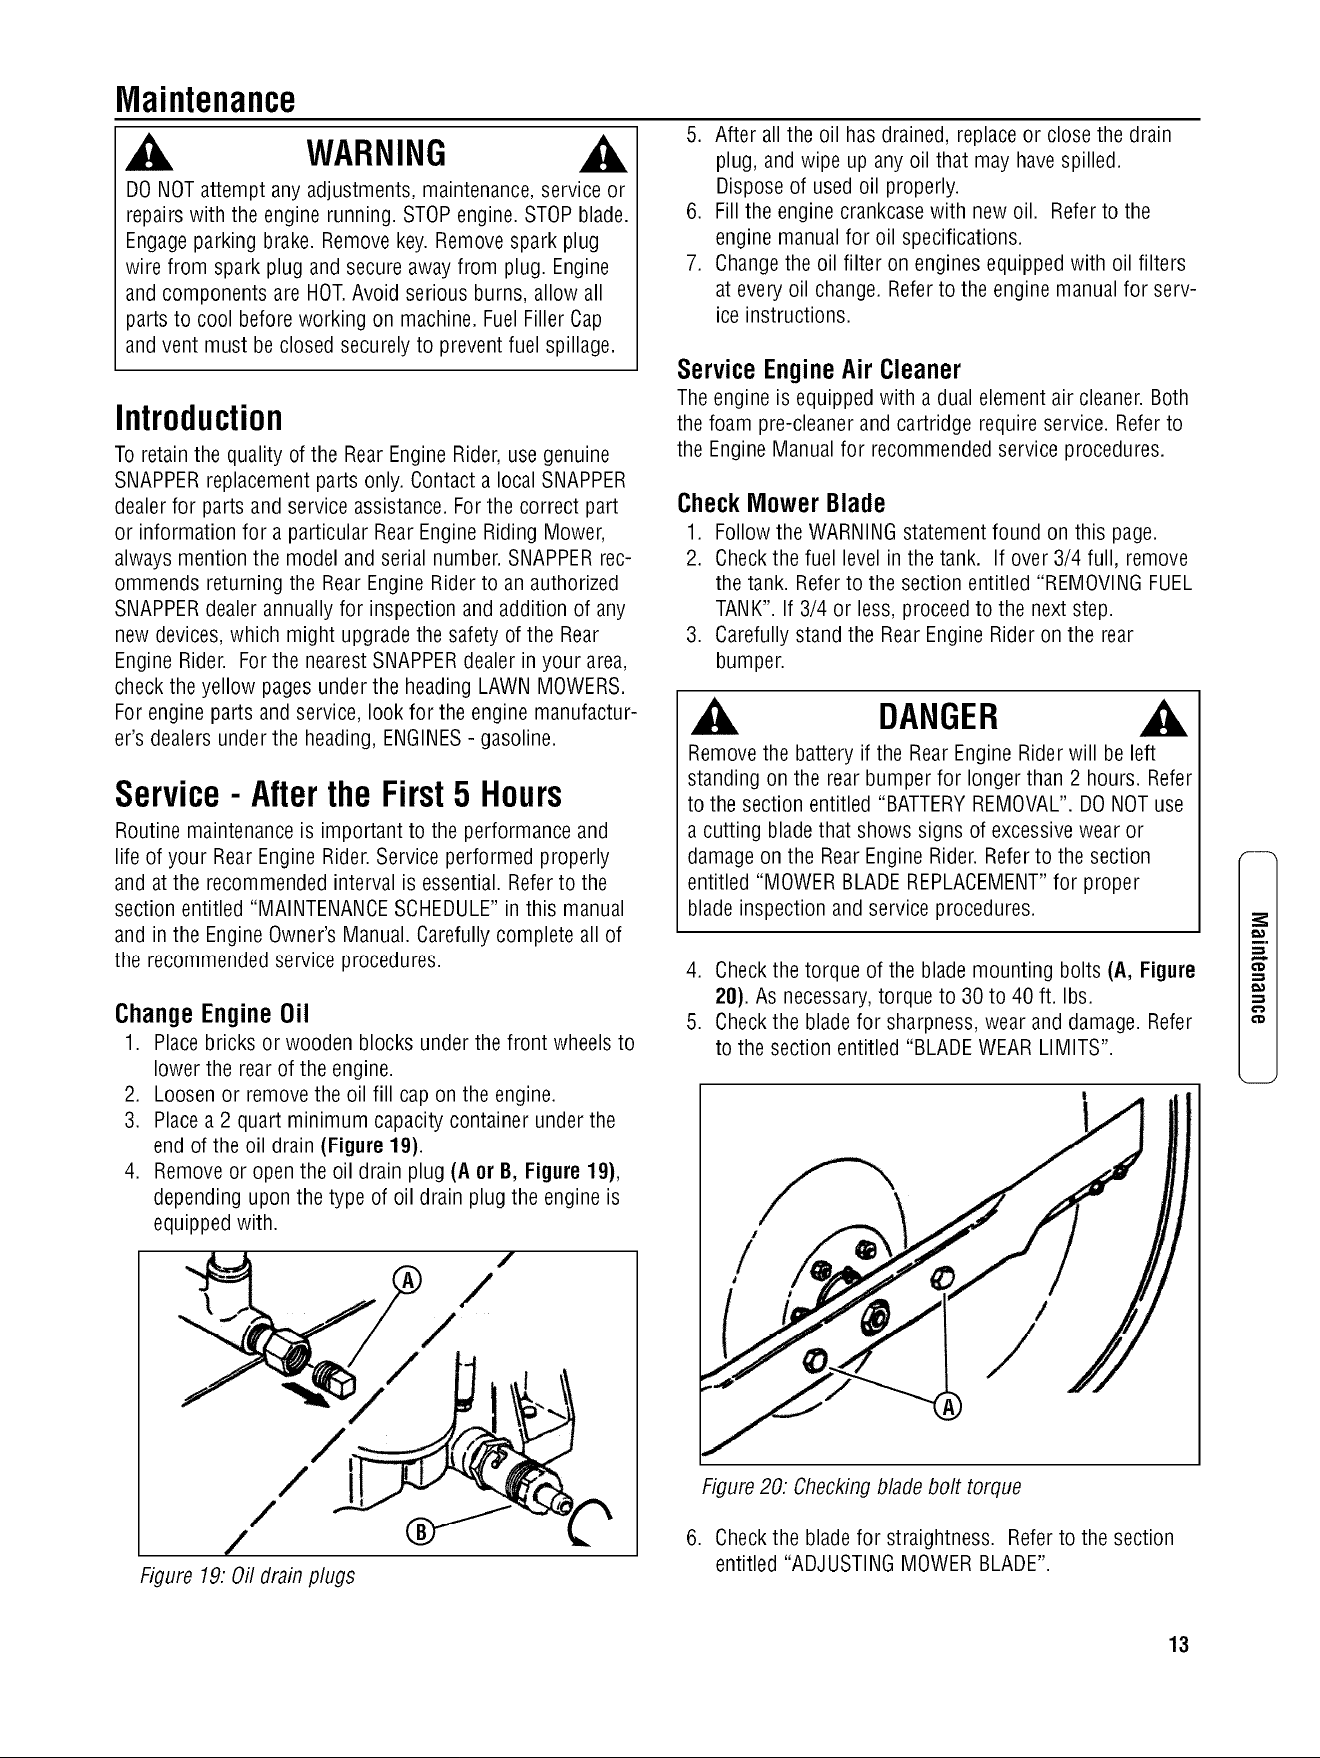
1. Placebricks or wooden blocks under the front wheels to
lower the rear of the engine.
2. Loosen or removethe oil fill cap on the engine.
3. Placea 2 quart minimum capacity container under the
end of the oil drain (Figure 19).
4. Removeor open the oil drain plug (A or B, Figure 19),
depending upon the type of oil drain plug the engine is
equipped with.
/
/
/
Figure 19.Offdrain plugs
5. After all the oil hasdrained, replaceor close the drain
plug, and wipe up anyoil that may havespilled.
Disposeof used oil properly.
6. Fill the engine crankcasewith new oil. Referto the
engine manualfor oil specifications.
7. Changethe oil filter on enginesequipped with oil filters
at every oil change. Referto the engine manualfor serv-
ice instructions.
ServiceEngineAir Cleaner
Theengine is equipped with a dual element air cleaner.Both
the foam pre-cleanerand cartridge require service. Referto
the Engine Manualfor recommendedservice procedures.
CheckMowerBlade
1. Followthe WARNINGstatementfound on this page.
2. Checkthe fuel level in the tank. If over 3/4 full, remove
the tank. Referto the section entitled "REMOVINGFUEL
TANK".If 3/4 or less, proceedto the next step.
3. Carefullystand the RearEngine Rideron the rear
bumper.
DANGER
Removethe battery if the RearEngine Riderwill be left
standing on the rear bumper for longer than 2 hours. Refer
to the section entitled "BATTERYREMOVAL".DONOTuse
a cutting blade that shows signs of excessivewearor
damageon the RearEngineRider. Referto the section
entitled "MOWERBLADEREPLACEMENT"for proper
blade inspection and service procedures.
4. Checkthe torque of the blademounting bolts (A, Figure
20). As necessary,torque to 30 to 40 ft. Ibs.
5. Checkthe bladefor sharpness, wear and damage. Refer
to the section entitled "BLADEWEARLIMITS".
/
/
Figure20. Checkingblade bolt torque
6. Checkthe bladefor straightness. Referto the section
entitled "ADJUSTINGMOWERBLADE".
m.
13
Loading ...
Loading ...
Loading ...