Loading ...
Loading ...
Loading ...
page 6
6. Fan Assembly (flushmount).
Attach safety cable per instructions in last
paragraph of Section 5, page 5.
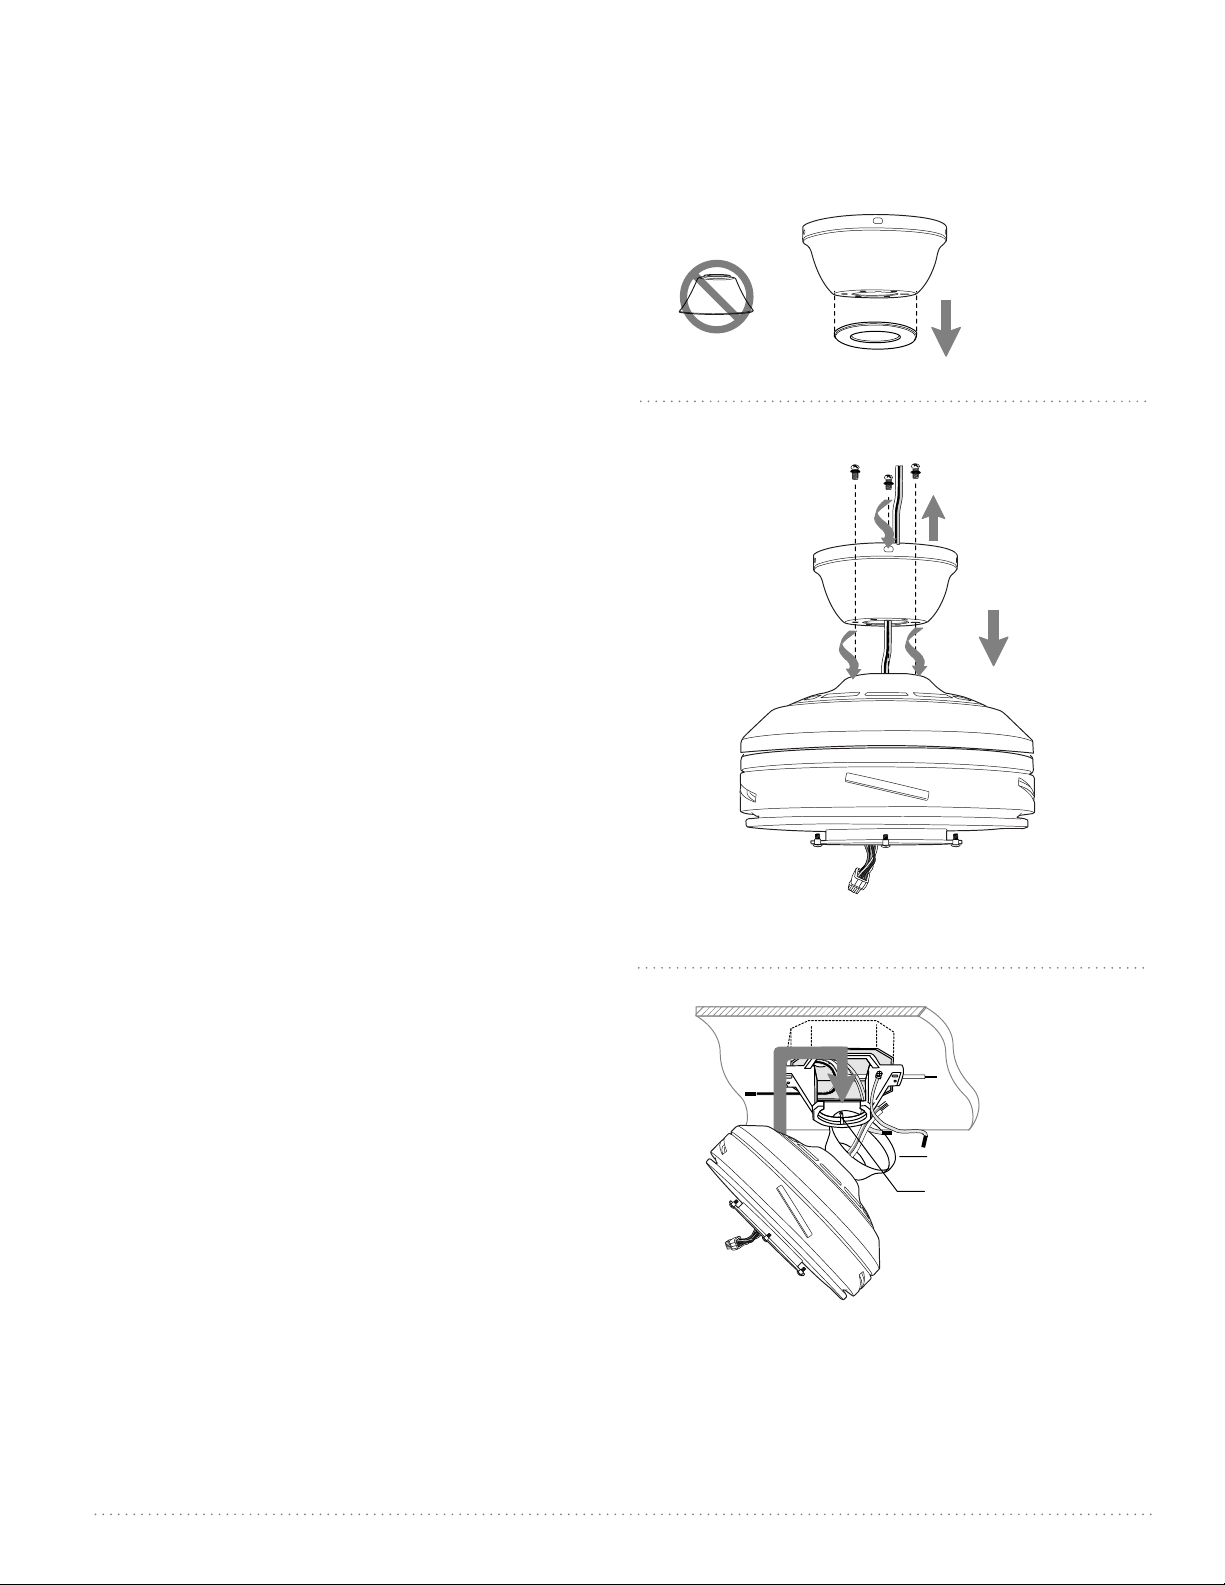
Remove and set aside canopy cover to reveal
6 holes. Notice that 3 holes are larger than the
others.
If there are only 3 screws in top of motor
housing, please proceed to next paragraph. If
there are 6 screws in top of motor housing,
removed every other screw and lock washer.
Note: Yoke cover is not used with this type of
installation.
Thread wiring through canopy. Place canopy
over yoke, aligning larger holes in canopy with
the 3 existing screws in top of motor housing.
Insert the 3 screws and 3 lock washers that were
removed (if there were only 3 screws located in
top of motor housing, these screws/lock washer
will be located in one of the hardware packs) into
the remaining holes. Securely tighten these
screws.
To prepare the fan for wiring, hang fan onto
hanging bracket by sliding the canopy over the
hanging bracket tab. (Use one of the non-slotted
holes on the rim of the canopy to do so.)
canopy
canopy cover
yoke cover
canopy
motor housing
hanging bracket tab
canopy
screws/
lock washers
wiring
motor housing
Loading ...
Loading ...
Loading ...