Loading ...
Loading ...
Loading ...

Caring for YourDishwasher
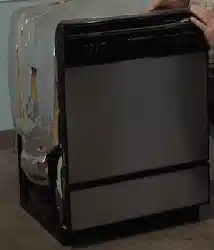
Cleaning your dishwasher
Cleaning the interior
The porcelain enamel interior of your
dishwasher will seldom need cleaning.
However, if mineral deposits from hard
water accumulate, clean the interior with a
mild scouring powder or follow the sugges-
tions indicated in the "Removing spots and
film"section on page 27.
DO NOT USE any type of cleanser that
may cause foaming or sudsing. USE
cleansers made for stainlese-steel products.
Wipe door seal regularly with a damp
cloth to remove food residue.
NOTE: Run the dishwasher through a
normal cycle with detergent after cleaning
the interior.
Cleaning the exterior
Wipe the control panel with a damp cloth,
then dry. Never use abrasive detergents or
powdered cleansers which may scratch the
finish.
Clean the front and sides with a soft cloth
and a mild, nonabrasive soap and water
solution. Dry with a soft cloth.
Storingyour dishwasher
Storing for the winter
Property Damage Hazard I
Protect dishwasher and water lines I
against freezing.
Fai ure to do so can cause water damage. I
To safeguard your KitchenAid e dishwasher
when it is exposed to freezing temperatures
in a seasonal dwelling, refer to the Installa-
tion Instructions and have a qualified person
do the following:
1. Close and latch the door.
2. Turn off electrical power supply to the
dishwasher.
3. Shut off water supply. Place pan under
fill valve and disconnect fill valve at both
inlet and outlet sides. Drain water into pan.
=
Place a pan under the check valve outlet,
and disconnect the flexible tubing at the
check valve. Drain machine water into pan.
Leave fill and check valve disconnected.
To restore service, reconnect the fill valve and
the flexible tubing at the check valve. Turn on
the electrical power supply and the water
supply. Close and latch the door. Select the
NORMAL cycle and letthe machine complete
the cycle. Check connections to make sure
they are water tight and do not leak.
19
Loading ...
Loading ...
Loading ...
