Loading ...
Loading ...
Loading ...
52
MULTI F / MULTI F MAX Outdoor Unit Installation Manual
Due to our policy of continuous product innovation, some specifications may change without notification.
©LG Electronics U.S.A., Inc., Englewood Cliffs, NJ. All rights reserved. “LG” is a registered trademark of LG Corp.
MULTI
F
MAX
MULTI
F
Installing Field Piping to the Branch Distribution Unit Piping Connections
1. Remove any caps, etc., that could be on the branch distribution unit.
2. Tighten each piping connection individually following the “Tightening the Flare Nuts” procedure below.
3. When all piping installation has been completed, perform the triple leak / pressure and evacuation tests (see the Final Installation Proce-
dures Section), verify that the system does not have any leaks, and then fully insulate all joints / connections.
13.0 - 18.0
24.6 - 30.4
39.8 - 47.7
Tightening Torque for Flare Nuts.
Tightening the Flare Nuts
1. When connecting the flare nuts, coat the flare (outside only) with polyvinyl ether (PVE) refrigeration oil only.
2. Initially hand tighten the flare nuts using three (3) or four (4) turns.
3. To finish tightening the flare nuts, use both a torque wrench and a backup wrench.
4. After all the piping has been connected and the caps have been tightened, check for refrigerant gas leaks.
Do not use polyolyester (POE) or any other type of mineral oil as a thread lubricant. These lubricants are not compatible with the PVE oil
used in this system and create oil sludge leading to equipment damage and system malfunction.
Pipe Size (in. O.D.) Tightening Torque (ft-lbs.)
1/2
1/4
5/8
3/8
3/4
Outside Diameter (mm)
6.35
9.52
12.7
15.88
19.05
45.4 - 59.3
71.5 - 87.5
Do not add any contaminants inside the refrigerant piping.
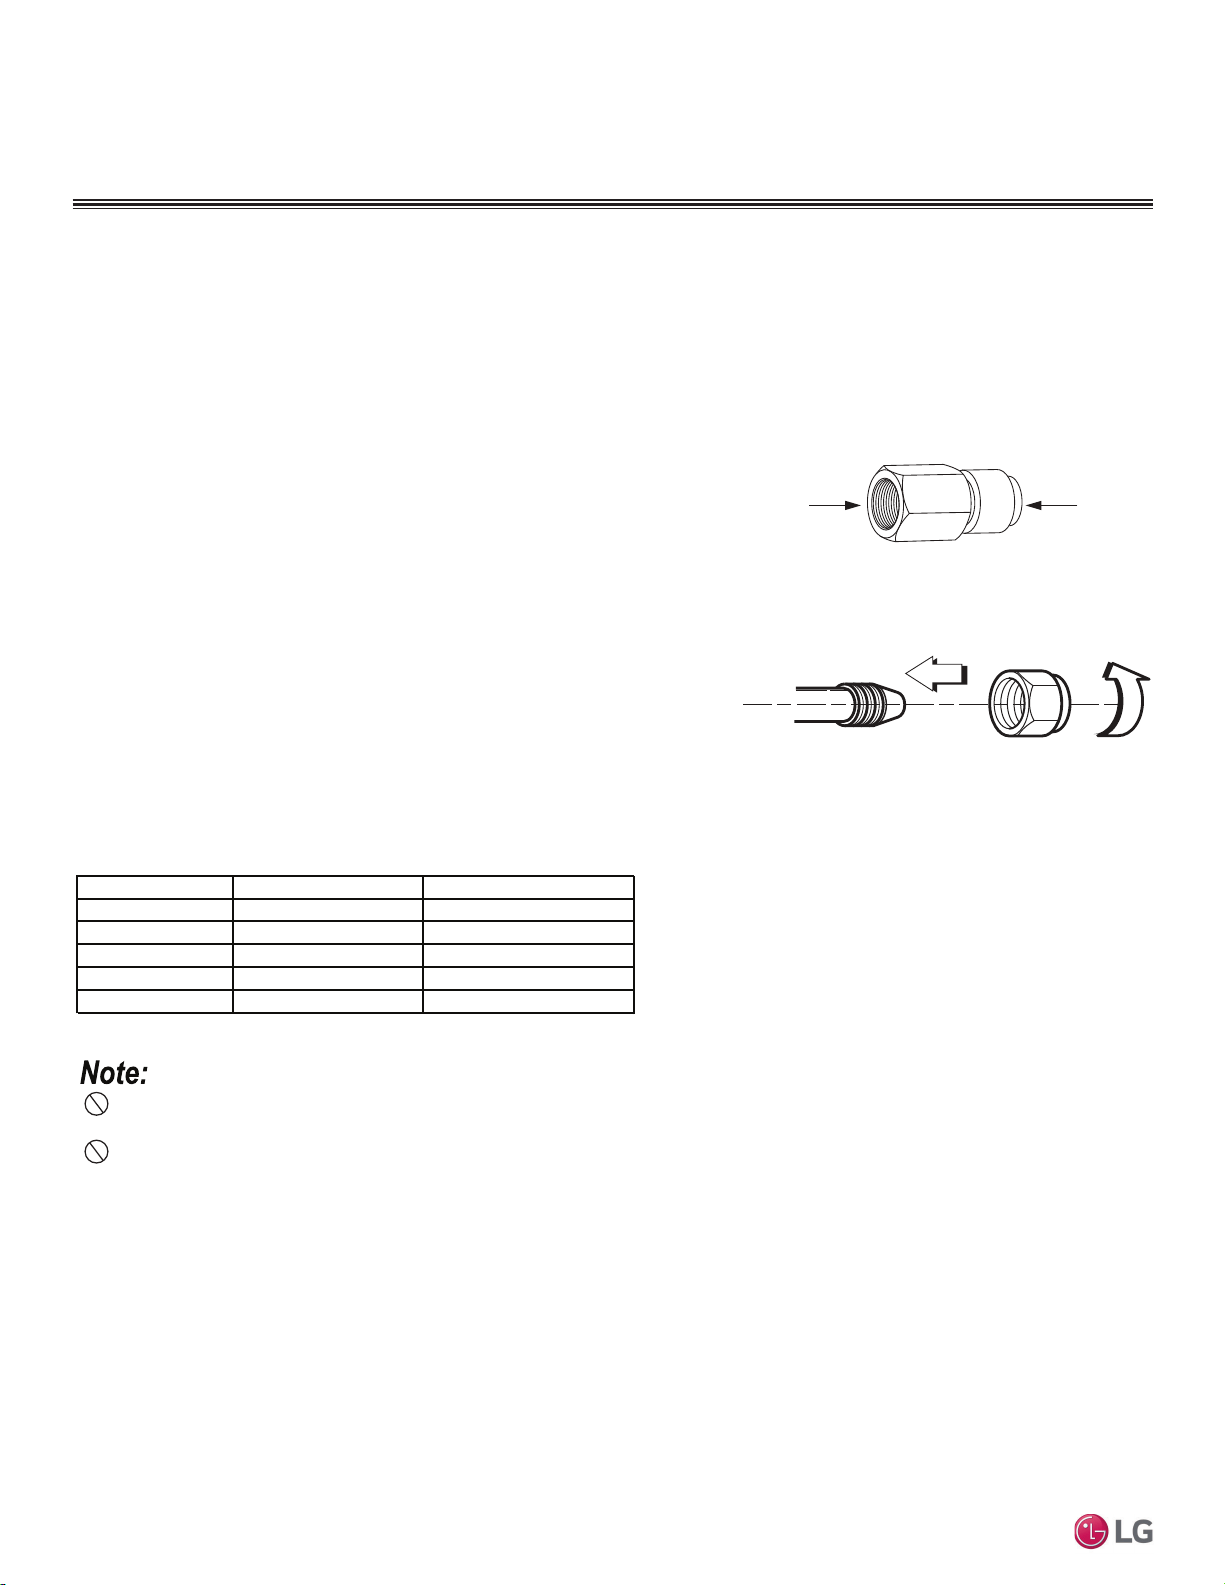
Using the Connection Socket
Some indoor units require the use of a connection socket when piping the indoor
units to the branch distribution unit. (See previous page and below for information.)
The connection sockets are included as a factory-supplied accessory with the in-
door units, or in the case of the 36k indoor unit, it is factory supplied with the branch
distribution units. To install:
1. Remove any caps, etc., that could be on the branch distribution unit.
2. Align the center of the piping sections as seen in the diagram at right.
3. Tighten each piping connection individually following the “Tightening the Flare
Nuts” procedure below.
4. When all piping installation has been completed, perform the triple leak /
pressure and evacuation tests (see the Final Installation Procedures Section),
verify that the system does not have any leaks, and then fully insulate all joints /
connections.
Connection Socket
To Branch
Distribution
Connection
To Flared
End of
Field Piping
INSTALLING MULTI F MAX SYSTEMS
Figure 51: Connection Socket Diagram, External View.
Figure 52: Socket Connection.
Loading ...
Loading ...
Loading ...