
Loading ...
Loading ...
Loading ...
12 OPERATING THE PROGRAMMABLE CLOCK Built-in Cooking Built-in Cooking OPERATING THE PROGRAMMABLE CLOCK 13
operating the programmable clock operating the programmable clock
• Slide the pizza rack fully in and close the door.
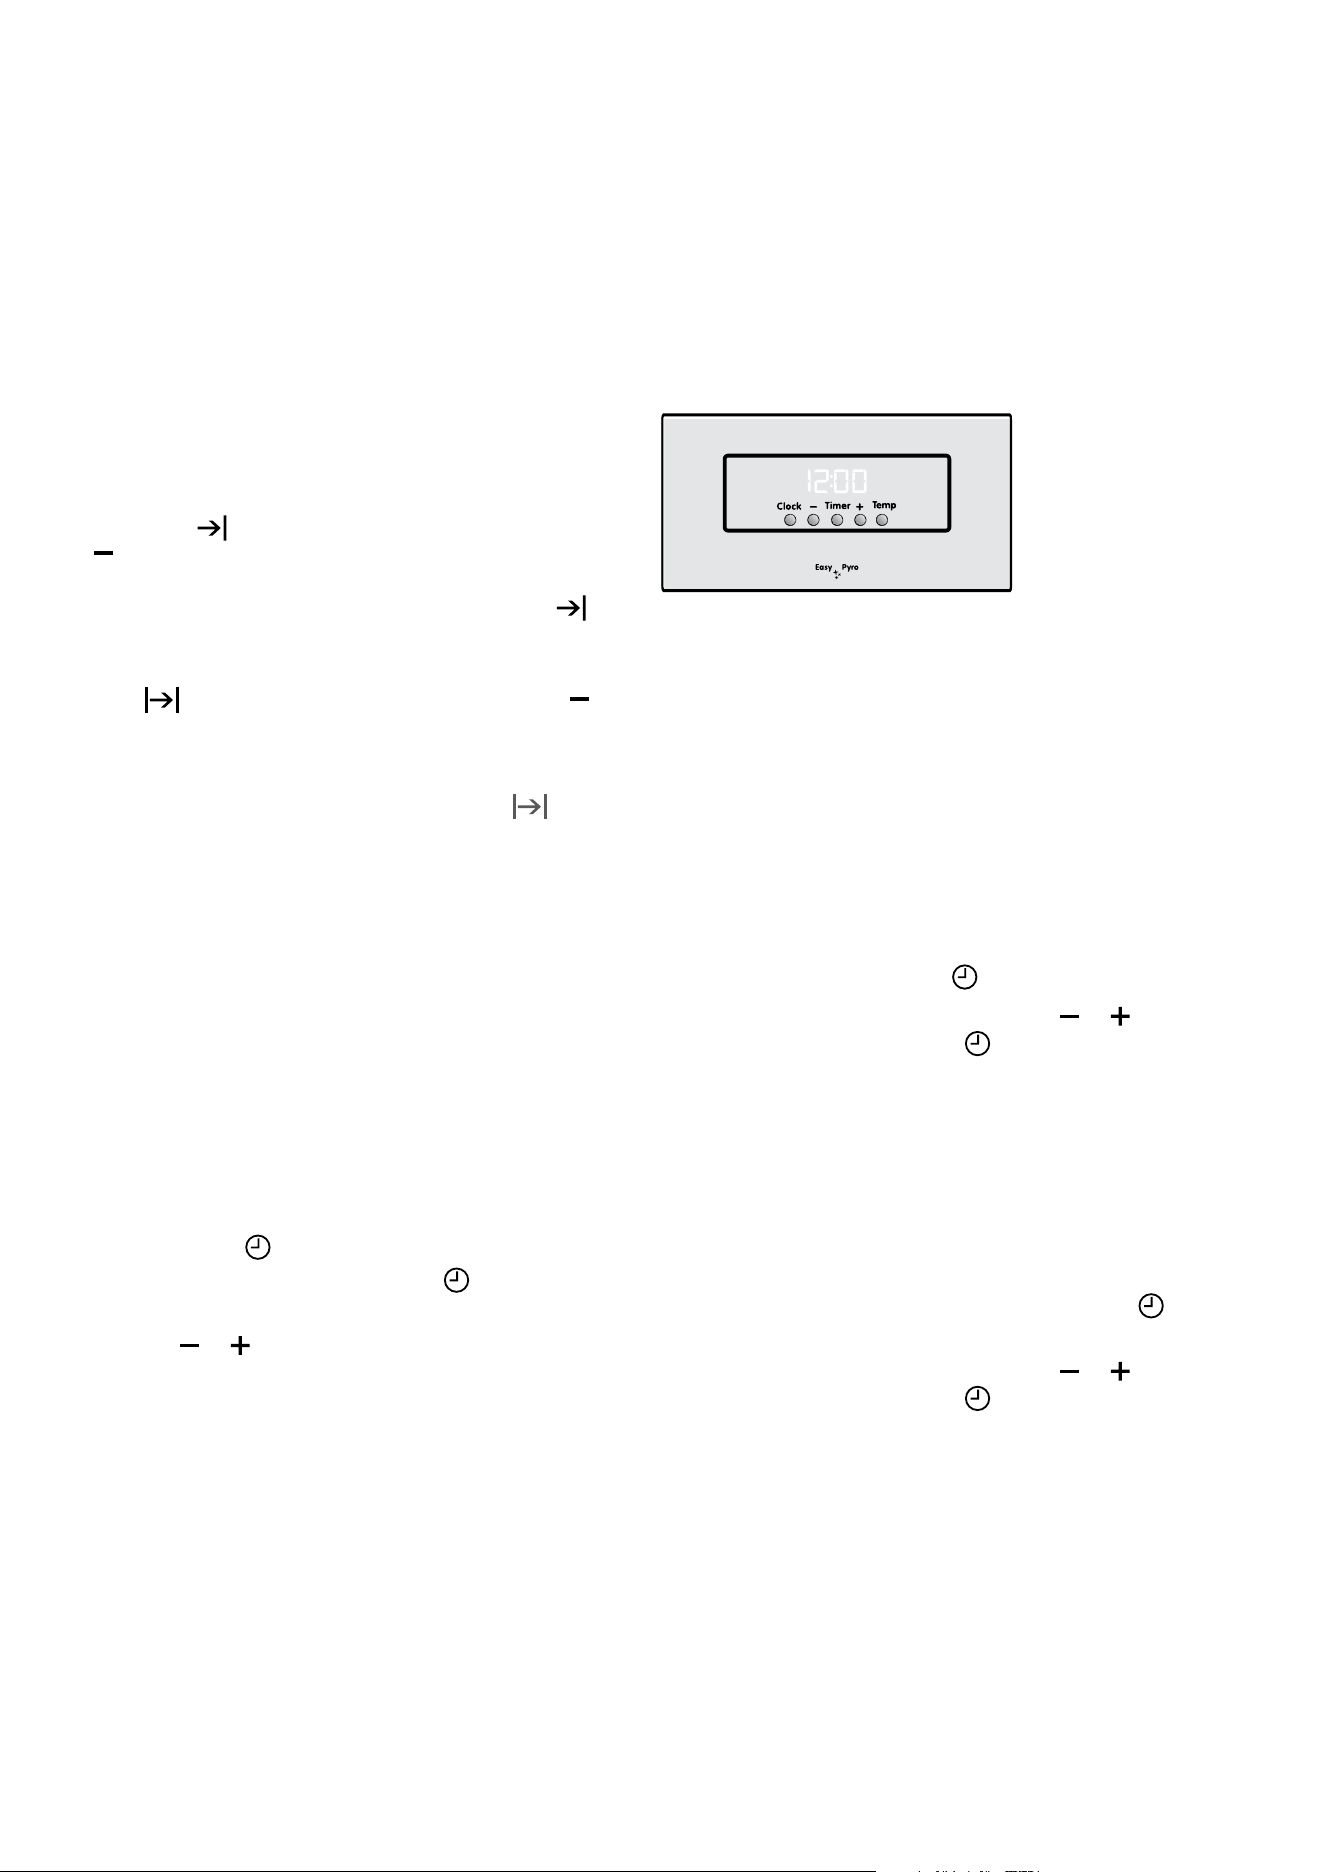
3 button programmable clock
Your oven is equipped with a 3 button timer that has the
following features:
• Timer
- you can set a countdown time that will beep
when the set time has elapsed.
• Cook time
- you can set cooking duration. A timer will
count down the preset cooking time, beep when the time
has elapsed and turn the appliance off.
• End time
- instead of setting a cooking duration
you can set a cooking finish time. When the finish
time has been reached the timer will beep and turn the
appliance off.
• Delayed start cooking time - you can combine the cooking
time and end cooking time to switch oven on and off at
a specific time during the day.
Selecting the timer
• Press the MODE button until the timer ‘indicator’ begins
flashing.
• Set the countdown time you want by using the
and
buttons. 5 seconds after the last change the timer
‘indicator’ will stop flashing and the countdown will
start in minutes.
• To stop the beeper, press any button.
• Maximum countdown time is 2hrs 30mins
Setting the cooking duration
• Select the desired oven function and temperature.
• The oven indicator light will glow and the heating source
will come on.
• Press the MODE button until the cook time
‘indicator’
begins flashing.
• Set the cooking duration you want by using the
and
buttons. Five seconds after the last change the cook time
‘indicator’ will stop flashing, and the time of day will be
displayed.
• To stop beeper, press any button.
NOTE: Remember to add pre-heating time if necessary.
Setting the cooking end time
• Check that the clock displays the correct time of day.
• Select the desired oven function and temperature. The
oven indicator light will glow and the heating source will
come on.
• Press MODE button until the end time
‘indicator’
begins flashing.
• Enter the time of day you want to finish cooking by
pressing
or buttons. Five seconds after the last
change, the end time ‘indicator’ will stop flashing and
the current time of day will be displayed.
• To stop beeper, press any button.
Setting the delayed start cooking time
• Set the cook time
and end time as described in
the previous sections.
• Once both the cook time and end time have been set, the
cook time and the end time ‘indicators’ will stop flashing
and the current time of day will be displayed.
• To stop beeper, press any button.
3 button programmable clock (cont)
To check or cancel settings
• To check your settings, press the MODE button until the
indicator you want is flashing.
• To cancel “delayed start” press the mode button until
“end time”
symbol starts flashing. Press and hold the
button until the clock no longer reverses (you will hear a
beep). If you have left the temperature and function knobs
at a setting the oven will start once the “end time”
indicator stops flashing.
• To cancel “auto shut off” press the mode button until “cook
time”
indicator starts flashing. Press and hold the
button until the clock no longer reverses (at 0:00 you will
hear a beep). This automatically cancels “delayed start”.
If you have left the temperature and function knobs at a
setting, the oven will start once the “cook time” indicator
stops flashing. Because you have cancelled “auto off” the
oven will continue to heat until you manually turn it off.
On completion of cooking
• The heat source will turn off, the timer will beep and the
end time and/or cook time ‘indicators’ will flash.
• Even though the heating element turns off, the oven will
still retain substantial heat. This will continue to cook the
food until it is removed or the oven cools down. If you do
not plan on being present when the oven turns off, you
should take this extra heating time into account.
• Turn the function and temperature controls to the off position.
• Press any button to stop the timer beeping.
Adjusting the clock
• Press the MODE button until the clock ‘indicator’
begins flashing.
• Press the
or buttons to change the time of day.
5 seconds after the last change, the clock ‘indicator’
will disappear, confirming the time has been adjusted.
5 button programmable clock
(CVEP604, CVEP614, SVEP614)
General features
The oven is equipped with an electronic clock that can be
used to turn the oven on and off automatically. The COOK
TIME function automatically turns the oven off after a set
amount of time. The END TIME function is used to set the
time of day you want the cooking cycle to finish. A “Delayed
start” is possible by combining the COOK TIME and END
TIME features to switch the oven on and off at a specific time
during the day.
Setting the time of day (after electrical connection):
1. After the appliance has been electrically connected, “12”
and the “Set Clock” symbol
will flash.
2. To set the time of day “Hours” press the
or buttons
while the “Set Clock” symbol is flashing.
3. Press the CLOCK button and the time of day “Minutes”
will flash and can be set in the same manner.
4. After 5 seconds from the last change, the clock display
will stop flashing, confirming the time is set.
NOTE: The clock has a 24-hour display.
Changing the time of day
1. Press CLOCK button until the “Set clock” symbol
begins to flash on the clock display.
2. To set the time of day “Hours” press the
or buttons
while the “Set Clock” symbol is flashing.
3. Press the CLOCK button and the time of day “Minutes”
will flash and can be set in the same manner.
4. After 5 seconds from the last change, the clock display
will stop flashing, confirming the time is set.
NOTE: The clock has a 24-hour display.
Loading ...
Loading ...
Loading ...