Loading ...
Loading ...
Loading ...
31
INSTALLATION
Check the appliance is electrically safe when you have nished.
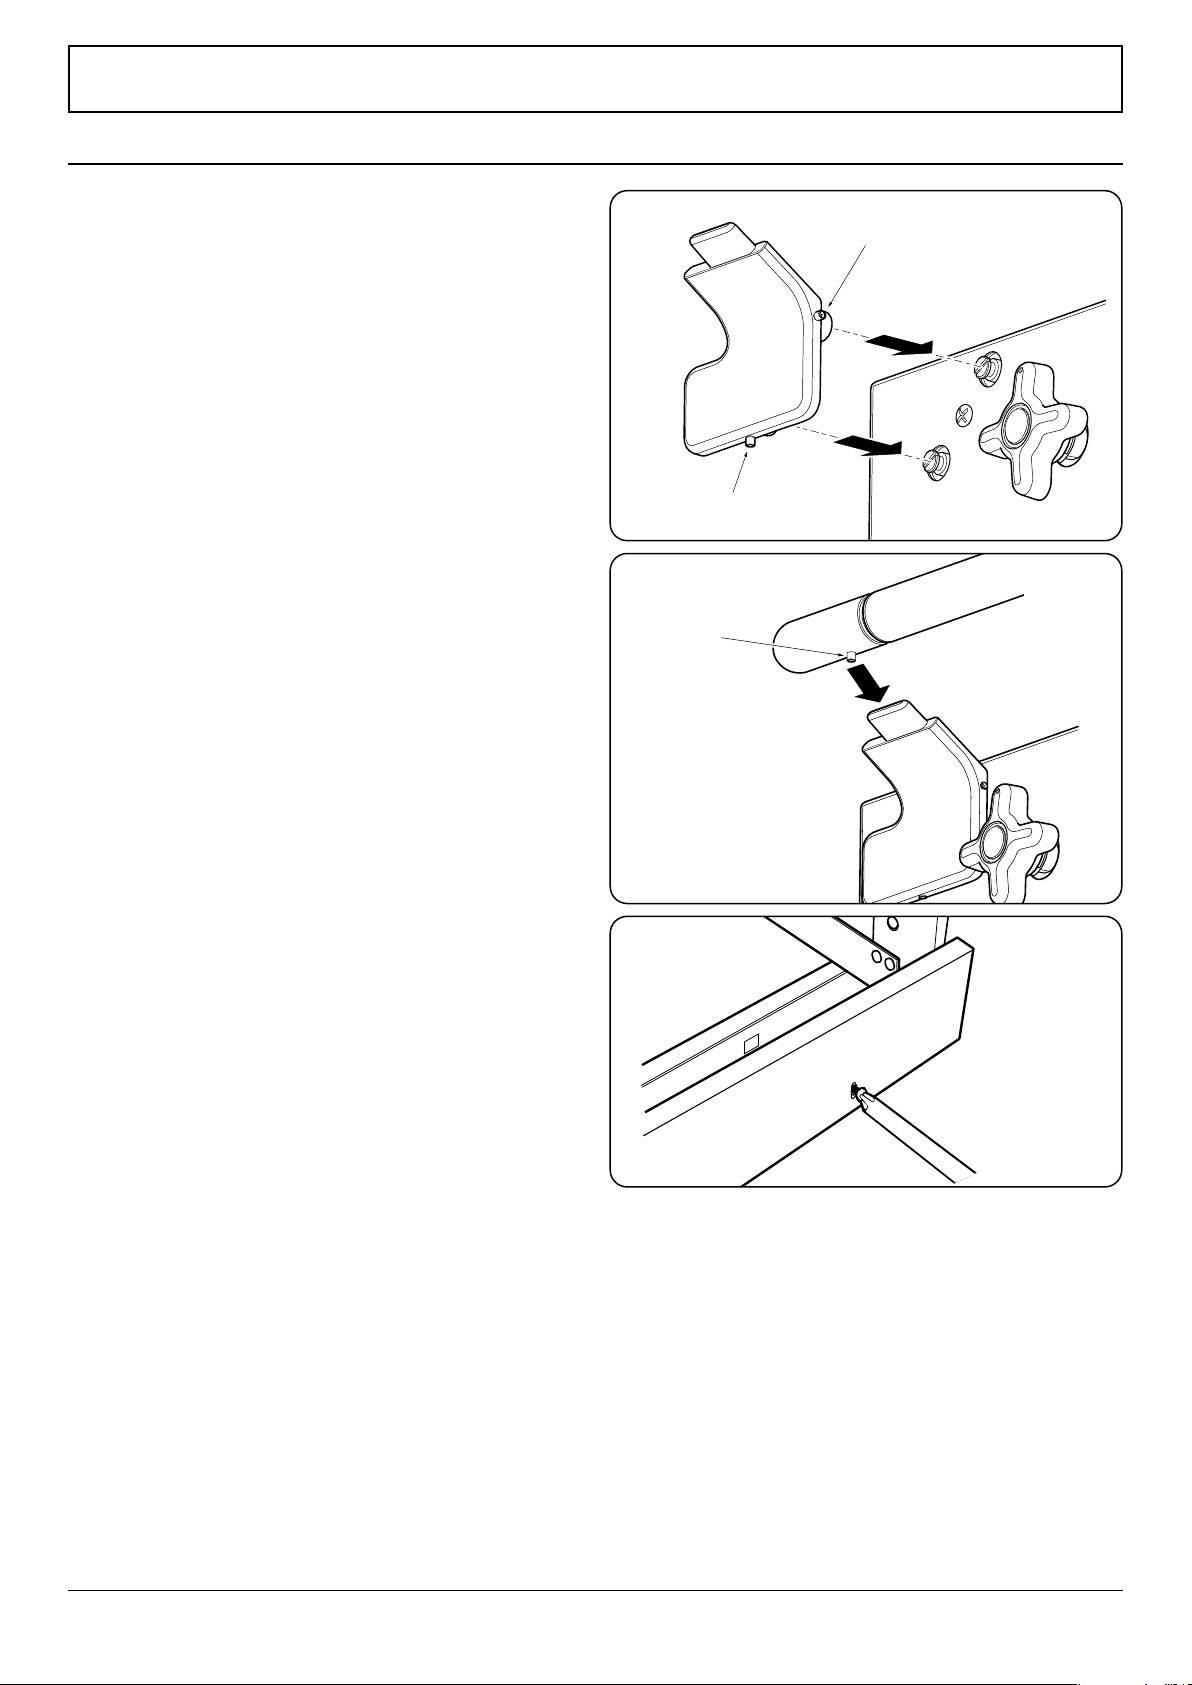
Fitting the Handrail
1. Using the 2 mm Allen key supplied, loosen the two
retaining screws in the base and side of the handrail
support. Fit the handrail support onto the locating
bosses on the fascia (Fig. 10.1).
NOTE: The handle support should face upwards.
2. Push the support back against the fascia and tighten the
oneretaining screws. Repeat for the other side. Check
that each support is secure.
3. Locate the handrail onto the support tabs and, using
the 3 mm Allen key supplied, tighten the one retaining
screws in the bottom to secure (Fig. 10.2).
Fitting the Plinth
Remove the three screws for the plinth mounts along the
front bottom edge of the cooker (Fig. 10.3). Fasten the plinth
using these screws.
Final Checks
After completing installation check operation of the
appliance:
Hob Check
Check each cooking zone in turn. Be sure to use pans of the
correct size and material.
Grill Check
Turn on the grill control and check that the grill heats up.
Oven Check
Turn on the oven. Check the oven fans start to turn and that
the oven heats up.
Customer Care
Installer:
Please complete your details in this guide, inform
the user how to operate the cooker and hand over the
instructions.
10. Final Fitting
Retaining screw
Retaining screw
Retaining
screw
Fig. 10.1
Fig. 10.2
Fig. 10.3
Loading ...
Loading ...
Loading ...