Loading ...
Loading ...
Loading ...
3
Shooting
53
1 Set the mode dial to M.
2 Use R to set the
aperture value.
3 To enable the timed exposure, press M, and
then use Q to set the exposure time.
You can set the exposure time within the range from 10" to
20'00".
4 Press 0.
While 0 is pressed, exposure continues.
If the timed exposure is enabled in Step 3, the exposure
ends when the set exposure time elapses after 0 is
fully pressed.
t Memo
• You can start and end exposure also by pressing 0. Set
in [7 Bulb (B) Mode Options] of the E1 menu.
• When performing the bulb exposure, use a tripod and mount
the camera on it securely. The use of the optional remote
control unit or cable release is recommended. (p.55, p.67)
u Caution
• The drive mode cannot be set to [Continuous Shooting],
[Bracketing], or [Interval Shooting].
Checking the Depth of Field (Preview)
When [Preview] is assigned to X or Y in [Button
Customization] of the A5 menu, you can check the depth of
field before taking pictures. (p.106)
Locking the Exposure
To lock the exposure before shooting, use the AE Lock
function. This function can be used by assigning [AE Lock]
to the f button in [Button Customization] of the A5 and
C2 menus. (p.106)
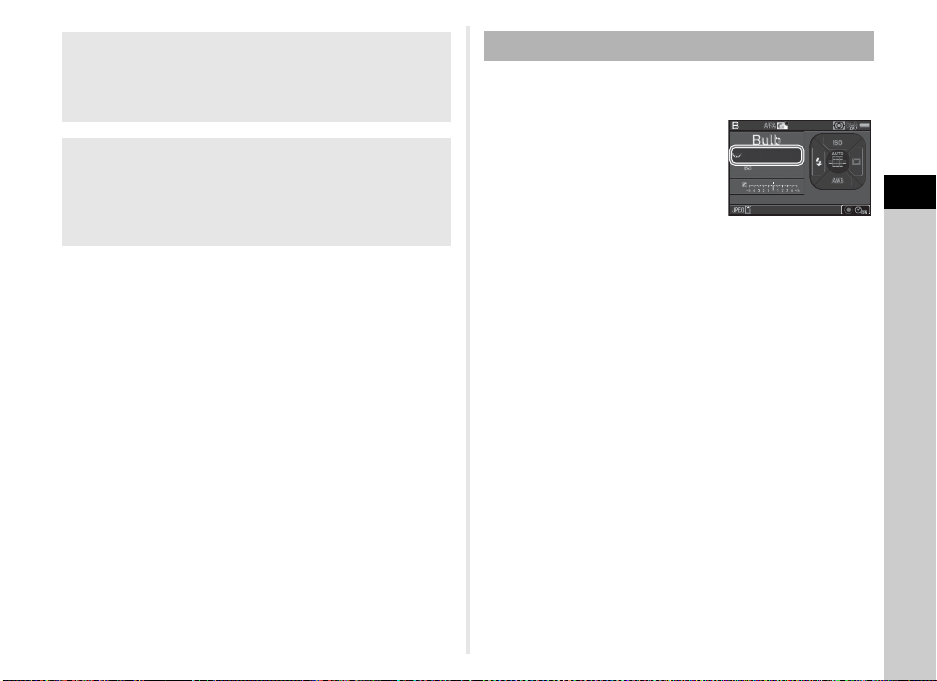
Bulb Exposure
99 99 999999
FF
8.08.0
160 01600
Loading ...
Loading ...
Loading ...