Loading ...
Loading ...
Loading ...
_i:i_ii_iiJi_!ii:i_ii:i_ii:i_ii:i_ii:i_i_i:!ii_!:_ii_!:_ii_!:_ii_!:_i_!_ii_i_i!i_!;!;!_i_;ii_;!_i_ii_i_ii_%:i_!
Water Supply Connection
Connecting the Water Supply
When connecting the water supply follow these
gu de nes'
• , k W'at_: _nd _ltalD :::::: :
* Review the local plumbing codes before you
nsta the unt
......... i
* tne water pressure snoula De between 30
::: : and 120 psi.
4 Plug in the power cord•
[:_ _ N 5 Gentypushtheunt ntoposton fdesred
the un t may be recessed nto cab net or wa
6 Allow at least 1-1/2 inches clearance behind
the unit for electrical, water supply and drain
* Make ce rtain a SmUT-OFF VA LVE is installed con nection s.
in t he 1/4 in ch water su pply line.
* Connect sufficient tubing to the unit to
allow the unit to be moved for cleaning and
servicing• However, make certain that the
tubing is not pinched or damaged during
installation.
. Electrolux recommends the use of copper
..... tubing for installation• DO NOT use plastic
water supply line since it may crack or
rupture with age and may cause water
damage to your house•
Figure 6
WATER
Figure 5
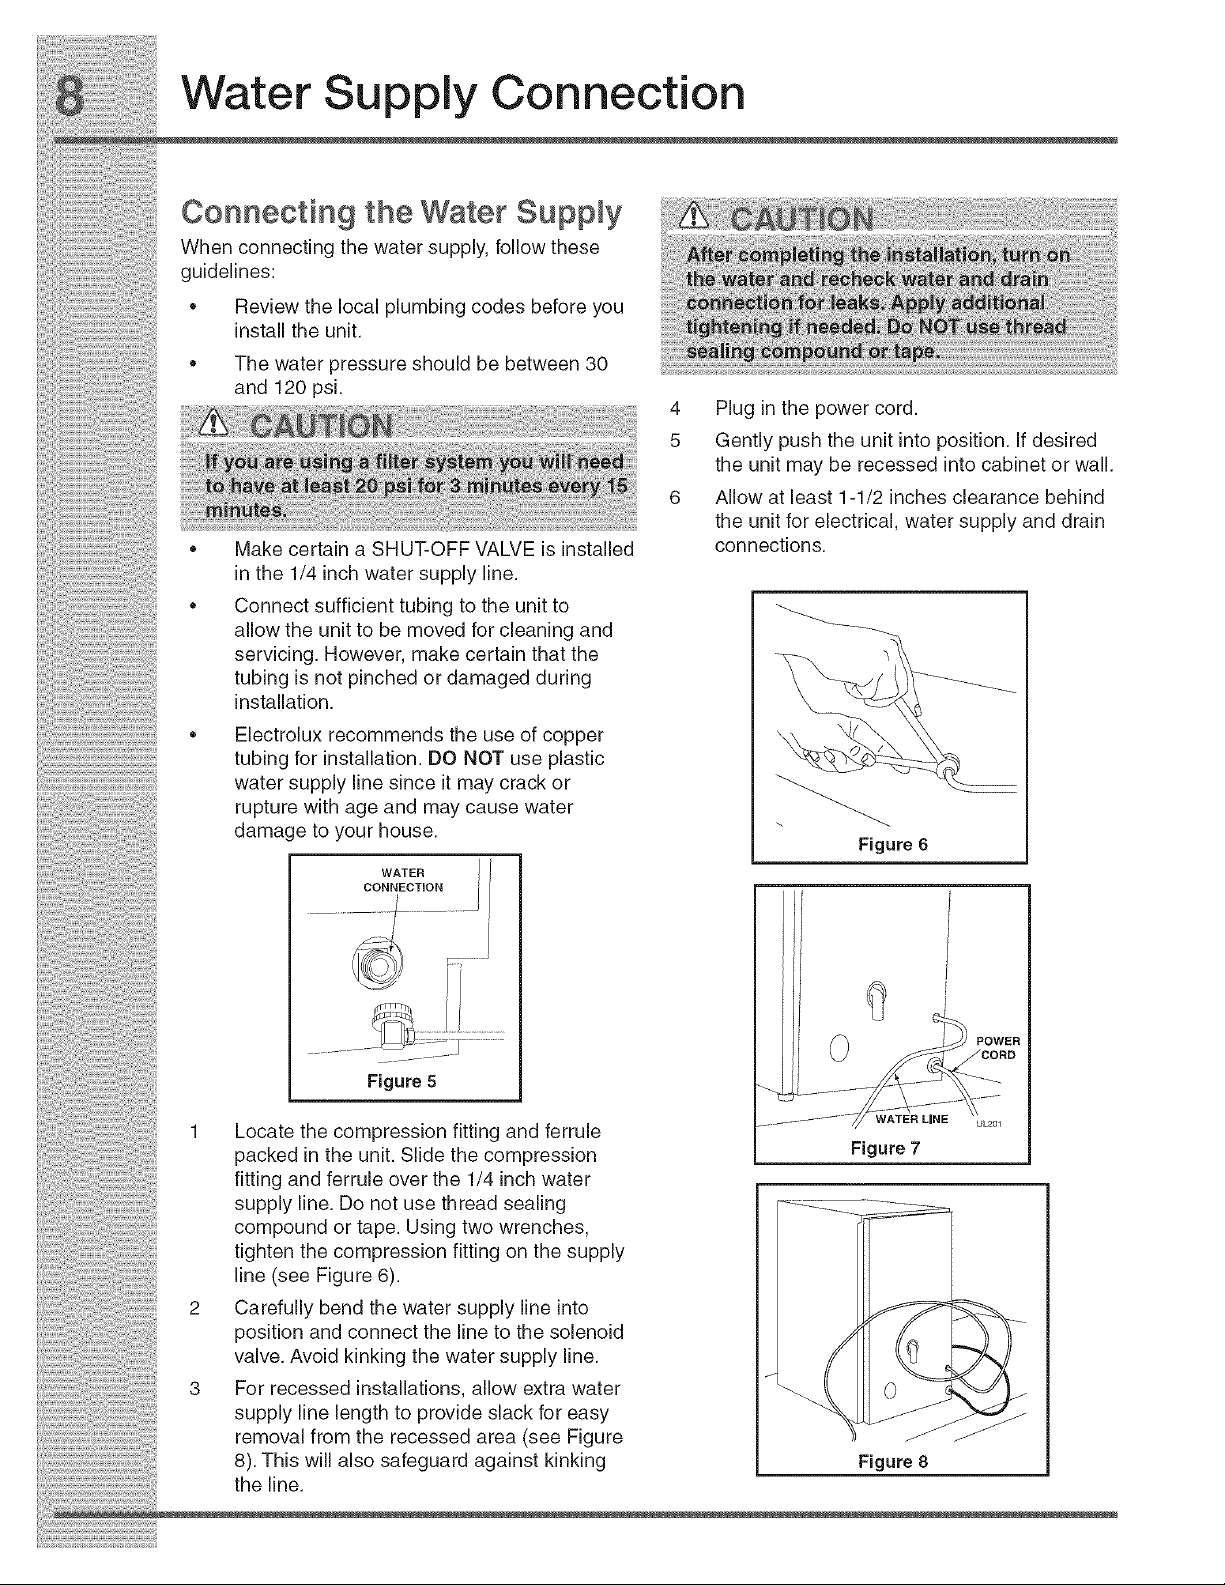
1 Locate the compression fitting and ferrule
packed in the unit. Slide the compression
fitting and ferrule over the 1/4 inch water
supply line. Do not use thread sealing
compound or tape. Using two wrenches,
tighten the compression fitting on the supply
line (see Figure 6).
2 Carefully bend the water supply line into
position and connect the line to the solenoid
valve• Avoid kinking the water supply line.
3 For recessed installations, allow extra water
supply line length to provide slack for easy
removal from the recessed area (see Figure
8). This will also safeguard against kinking
the line.
WATER LiNE
Figure 7
Figure 8
Loading ...
Loading ...
Loading ...