Loading ...
Loading ...
Loading ...
B102188-0-0114 Page 19
Checking for Gas Leaks
Check for gas leaks every time you connect your Broilmaster pro-
pane gas grill to a Propane gas cylinder, when a connected cylinder
has not been used recently, or when either a natural or propane grill
is being used for the rst time.
Caution: Do not use an open ame when checking for leaks.
Checking for leaks with an open ame may lead to a re or
explosion, resulting in property damage or personal injury.
To check for gas leaks:
1. Use dish washing liquid and a little water to make a soapy solu-
tion.
2. Turn OFF the knob on the control panel.
3. Turn ON the gas at the supply or cylinder. A hissing sound
indicates a leak. Turn OFF the gas and repair the leak.
4. Apply the soapy water solution to all gas connections.
5. Look for bubbles. Bubbles indicate a leak.
6. If there are bubbles turn OFF the gas and repair the leak.
7. Turn the gas back ON and repeat the above procedures until
all leaks are repaired.
Air Shutter Adjustment
The venturi air shutter(s) are preset at the factory so that after ve
minutes the burner ames are blue with well dened cones. If,
after ve minutes the ame is yellow, or there is a gap between
the burner and the ame, adjust the venturi air shutter as follows:
1. Turn gas OFF and let the burner cool.
2. Loosen shutter set screw
3. Close the air shutter to the minimum opening.
4. Light the burner, wait ve minutes and then carefully open the
air shutter until the ame is blue and well dened.
5. Retighten the set screw.
Heat Indicator Recalibration
The heat indicator can be recalibrated if needed. Remove the heat
indicator from the grill and place the probe end in a pot of boiling
water. Set the heat indicator by turning the nut on the back until it
reads 212 degrees. The indicator is now set.
OPERATION - PROPANE & NATURAL GAS GRILLS
Lighting Instructions
Using the Ignitor
Caution: If a burner fails to light after 5 seconds, turn the
burner OFF for 5 minutes and open grill lid, to allow the gas
to clear, then try again.
1. Turn knob on the grill CLOCKWISE to the OFF position.
2. Turn ON gas at the source.
3. With the grill lid open, push and turn the burner valve knob
COUNTERCLOCKWISE to Hi.
4. Push and hold the ignitor button until the burner lights (approxi-
mately 5 seconds).
5. If a burner does not light, turn OFF all gas and refer to the
Troubleshooting section of this manual.
Using Matches
Caution: If a burner fails to light after 5 seconds, turn the
burner OFF for 5 minutes and open grill lid, to allow the gas
to clear, then try again.
1. Turn knob on the grill CLOCKWISE to the OFF position.
2. Turn ON gas at the source.
3. Open the grill lid.
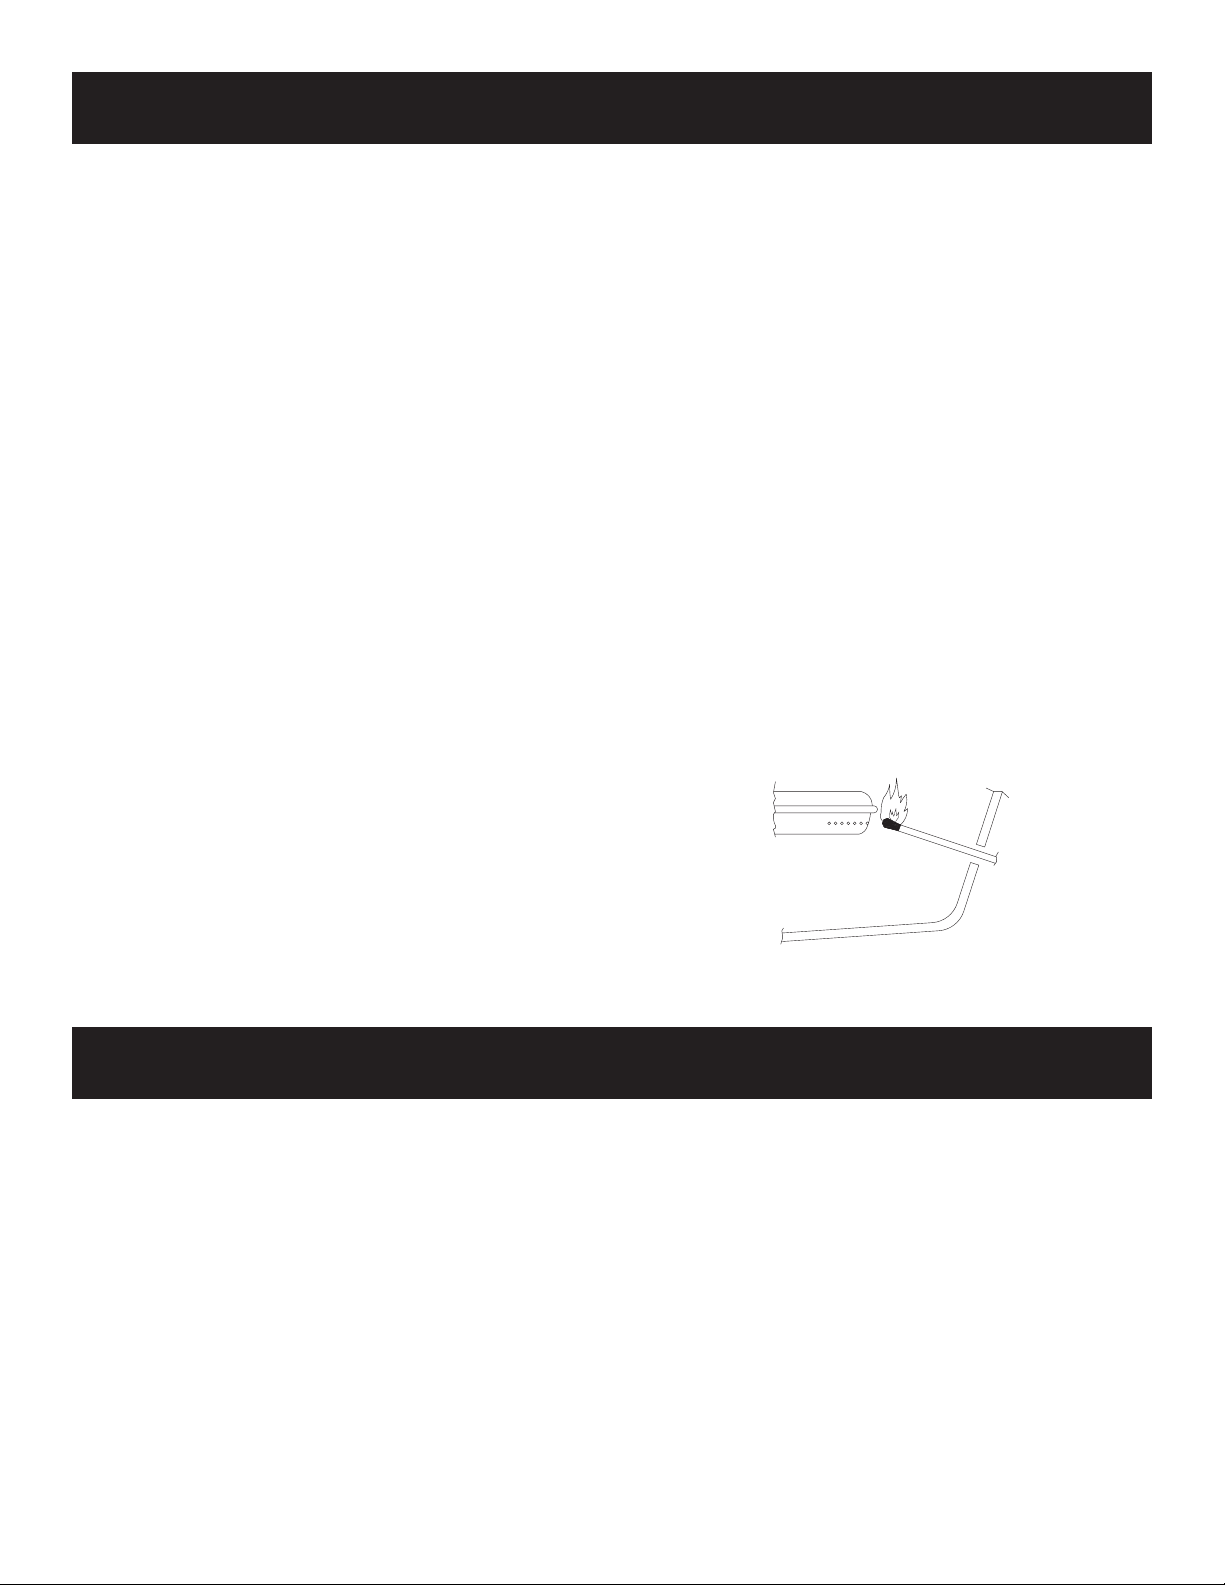
4. Insert a burning long wooden match through the lighter hole on
either side of the grill. See Figure 25.
5. Turn the burner valve knob COUNTERCLOCKWISE to HI.
6. If a burner does not light, turn OFF all gas and refer to the
Troubleshooting section of this manual.
Figure 25
Before Cooking
Before cooking on a grill for the rst time, burn off any manufacturing
process oil residue.
1. Raise the grill lid.
2. Light grill burner.
3. Burn on HI for ten minutes.
4. Close the lid and burn on HI for an additional ten minutes.
5. The grill is now ready for use.
Preheating
Before cooking on a gas grill, allow the grill to preheat on HI for 15
minutes with the lid closed.
This uses very little fuel and provides better avor.
OPERATION
Electrical Accessories
• If an electrical accessory is used on your grill, the accessory
must be electrically grounded in accordance with local codes or,
in the absence of local codes, with the National Electric Code,
ANSI/NFPA 70. In Canada, the electrical accessory must be
electrically grounded in accordance with the applicable section
of the current Canadian Electrical Code, CSA C22.1.
• Any electrical accessory should be equipped with a three-
prong (grounding) plug, and plugged into a properly grounded
three-prong receptacle or wall outlet. Do not cut or remove
the grounding prong from the plug.
• If an extension cord is required, use only a three-prong cord and
plug into a properly grounded receptacle as described above.
• Do not expose an electrical accessory to water. Avoid using
any electrical accessory in wet weather as it may present a
shock hazard.
• Keep any electrical cord and fuel supply hose away from all
heated surfaces.
Loading ...
Loading ...
Loading ...