Assembly Instructions
30199
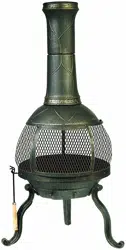
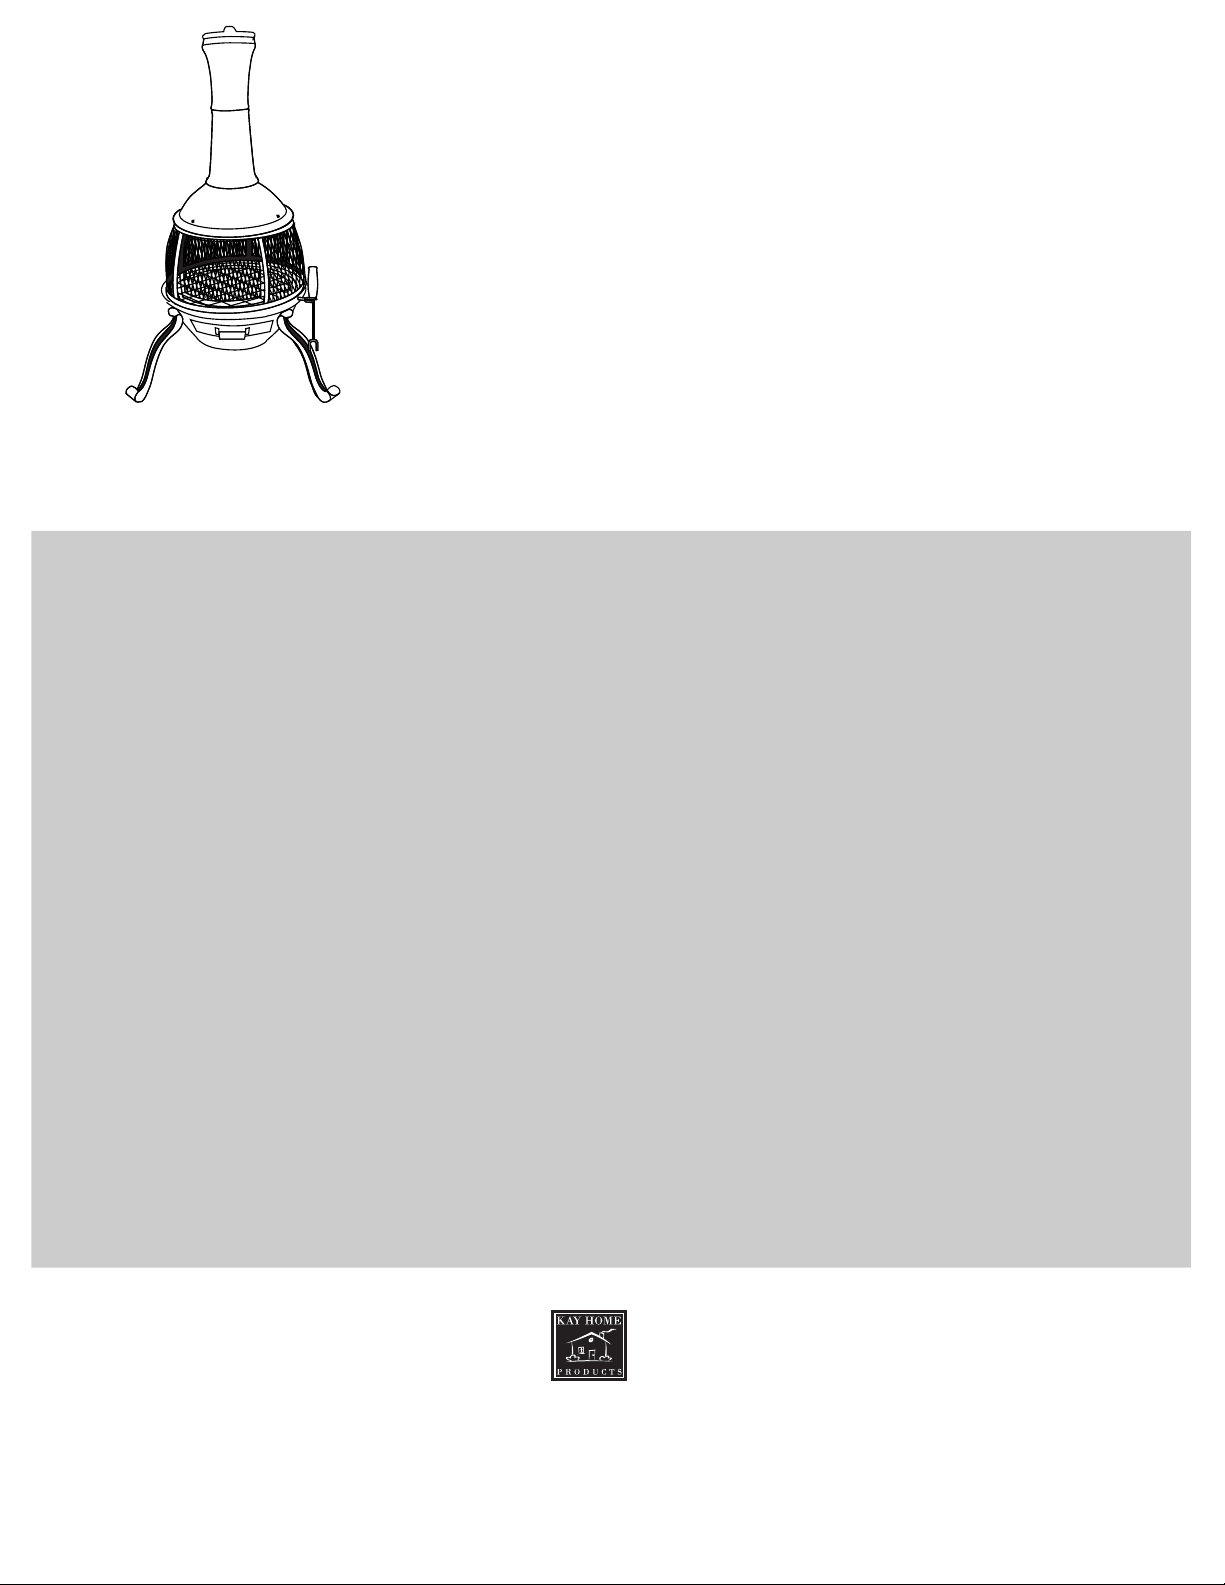
Outdoor Fireplace
30199 11/29/16
Kay Home Products
WARNING:
Read the entire owners manual and all the warnings before using this outdoor fireplace.
Check that all parts are present. Handle sheet metal parts with care.
Save this instruction sheet when complete.
Plastic bags can cause suffocation. Dispose of all packaging materials properly.
• Your fireplace is for outdoor use ONLY. Do not use for indoor cooking or heating. Use indoors will lead
to accumulation of carbon monoxide fumes. These fumes are HAZARDOUS to your health. Inhalation
will cause sickness and may cause death.
• For your safety, operate only in an open, well-ventilated area.
• DO NOT use gasoline or kerosene to ignite a fire. Use only methods of ignition which are acceptable in
accordance with your local fire safety codes.
• Failure to read and observe all warnings, directions for use and extinguishing, may result in unsafe
conditions leading to damage to property, injury or death to persons.
• Do not use alcohol, intoxicants, narcotics, or any form of non-prescription drug when handling the
fireplace, as the ability to safely assemble and operate will be impaired.
• Never operate in an enclosed space such as a house, garage, trailer, tent, building, or under overhead
construction.
• Do not use this outdoor fireplace near any type of vehicle. This fireplace should never be used in or on
boats or recreational vehicles.
• Do not operate under hanging trees or near shrubs. A burning fireplace must be kept at a distance of
15 feet from any building or flammable material to ensure that there is no fire or fire related damages
caused.
• Do not build fire in extremely windy conditions.
• Do not use near electrical cords or appliances.
• Do not place hot fire place tools or spark screen on combustible surfaces.
Made in China
90 McMillen Road • Antioch, IL 60002
Customer Service (800) 635-3831 • Fax: (847) 395-3305

• Do not use this outdoor fireplace on a wooden deck or combustible surface.
• Do not use fireplace near combustible materials or flammable fluids such as gasoline, alcohol, diesel
fuels, kerosene and charcoal lighter fluid.
• This fireplace is only for use on level, hard, non-combustible surfaces.
• This unit has been designed for burning of untreated wood only. Artificial fire logs can be used.
• When burning a fire, keep it small. Do not add wood until the fire has burned down.
Only add wood in small amounts.
• Do not add/place wood on the bottom bowl/pan of the fireplace – only place wood on the log grate.
• Never handle fireplace while in use. Do not touch surfaces as they will be hot.
• Never leave open flame or burning embers unattended.
• Spark screen must be kept in place on fire pit during use to prevent fire.
• CAUTION: Fireplace will remain very hot for a long time after it is used. Be sure fireplace has cooled
before moving.
• Always inspect for signs of damage before use. Do not use until proper repairs have been made.
Only use Kay Home Products service parts.
• Do not allow children to use fireplace. Designate the fireplace area as a “no play” zone. Keep kids
and pets away from hot fireplace.
• Always keep fire suppression tools nearby.
• Protective gloves and long-handled tools are required for use with this fireplace.
• Use care when working near fire, do not stand over fire when lighting or during use, loose clothing
can catch fire easily. If clothing catches fire, always remember to stop, drop and roll.
• Failure to follow all instructions and warnings could result in death, serious injury and/or property
damage.
• Follow all local, state and national codes when using this unit. Contact your local fire department
for information on outdoor burning.
WARNING:
Directions for use
• Check fireplace for any signs of damage or disrepair.
• Place small pieces of wood on log grate and ignite.
• After fire is started larger pieces can be added one at a time.
• After wood is added always replace the spark screen.
• Keep fire reasonable. A large fire can damage or shorten the life of the unit.
• Be sure fire is out before leaving the unit unattended.
Care and Maintenance
• Use care to make sure that ashes are disposed of after each use and only after the unit has completely
cooled.
• Clean only with soap and water and dry completely
• The unit was manufactured with high temperature paint; however, due to the nature of steel, some rusting
can occur. This is not cause for concern. It will not affect the performance of your fireplace.
To extinguish a fire in your fireplace
• Allow the fire to burn completely out. Do not use water to put fire out except in an emergency.
• Do not store the fireplace until it is completely cool.
• Do not store with ashes of combustible materials inside.

Parts List
1a Chimney Cap
1 Upper flue
2 Lower flue
3 Stove top
4 Mesh stove assembly
5 Connector plate - 3
6 Stove bottom
7 Legs - 3
8 Hook
9 Safety tool
10 Grate - 2
11 Door
12 Ash Tray
13 Spark Arrestor Screen
Hardware List
A 1/4”x3/4” Phillips screws (9)
B 1/4”x1” Phillips screws (15)
C 1/4” Nut (22)
Tools Required:
Tools not supplied.
A
B
C
1
2
3
4
5
6
7
8
9
10
11
12
13
1a
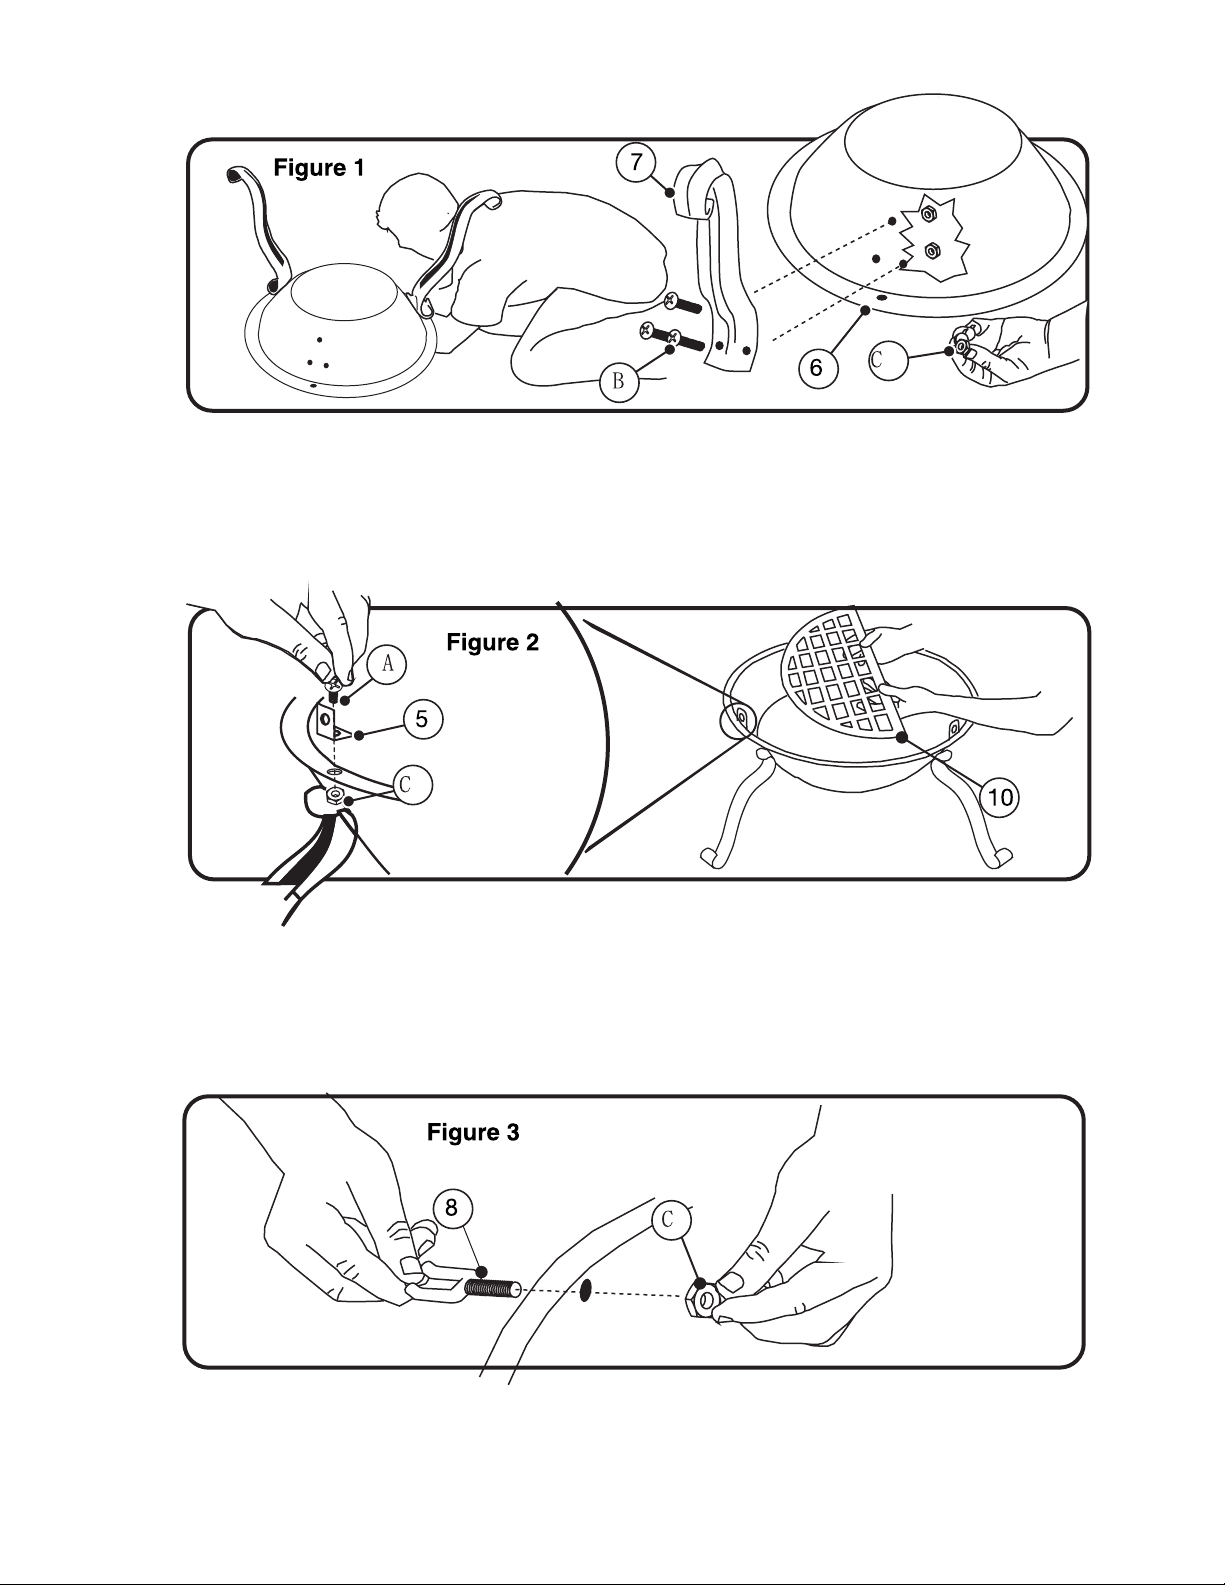
1. Place stove bottom (6) on its side and attach three legs (7) using nine 1/4” x 1” screws and nuts.
Tighten securely.
3. Attach the hook (8) on the left side of the mesh stove assembly (4) using a nut.
2. Insert two grates (10) in the stove bottom (6). Attach three connector plates (5) to stove bottom (6)
using three 1/4” x 3/4” screws and nuts. Leave loosely tightened.

4. Install mesh stove assembly (4) on stove bottom assembly from previous steps. Align connector
plates and fasten using three 1/4” x 3/4” screws and nuts.
5. Install stove top (3) on mesh stove assembly (4). Align the holes on the top with the holes in the
connector plates and connect using three 1/4” x 1” screws and nuts. Leave loosely tightened.
6. Connect lower flue (2) to stove top (3) using three 1/4” x 1” screws and nuts. Secure all bolts
from previous steps, but do not over tighten.

7. Attach upper flue (1) to lower flue (2) using three 1/4” x 3/4” screws. Tighten securely.
8. Insert ash tray (12) into stove bottom and put safety tool (9) on the hook. Install the door (11)
onto the mesh stove assembly (4). Be sure to tighten all of the loose screws in steps 1-8.