Loading ...
Loading ...
Loading ...
EN
20
Installation
www.bora.com
5.8.1 Connecting the control knobs
i
Control knobs must only be connected to the ports
provided on the appliance.
1
Fig. 5.19 Back of control knob with port
[1] Port on the back of the control knob
XX
Connect the control knobs to the appliances.
Connecting the control knobs to the cooktop
i
In the normal set-up the ports are on the front of the cooktops.
i
According to the default settings, the left control knob
operates the front cooking zone (zone 1) and the right
control knob operates the rear cooking zone (zone 2).
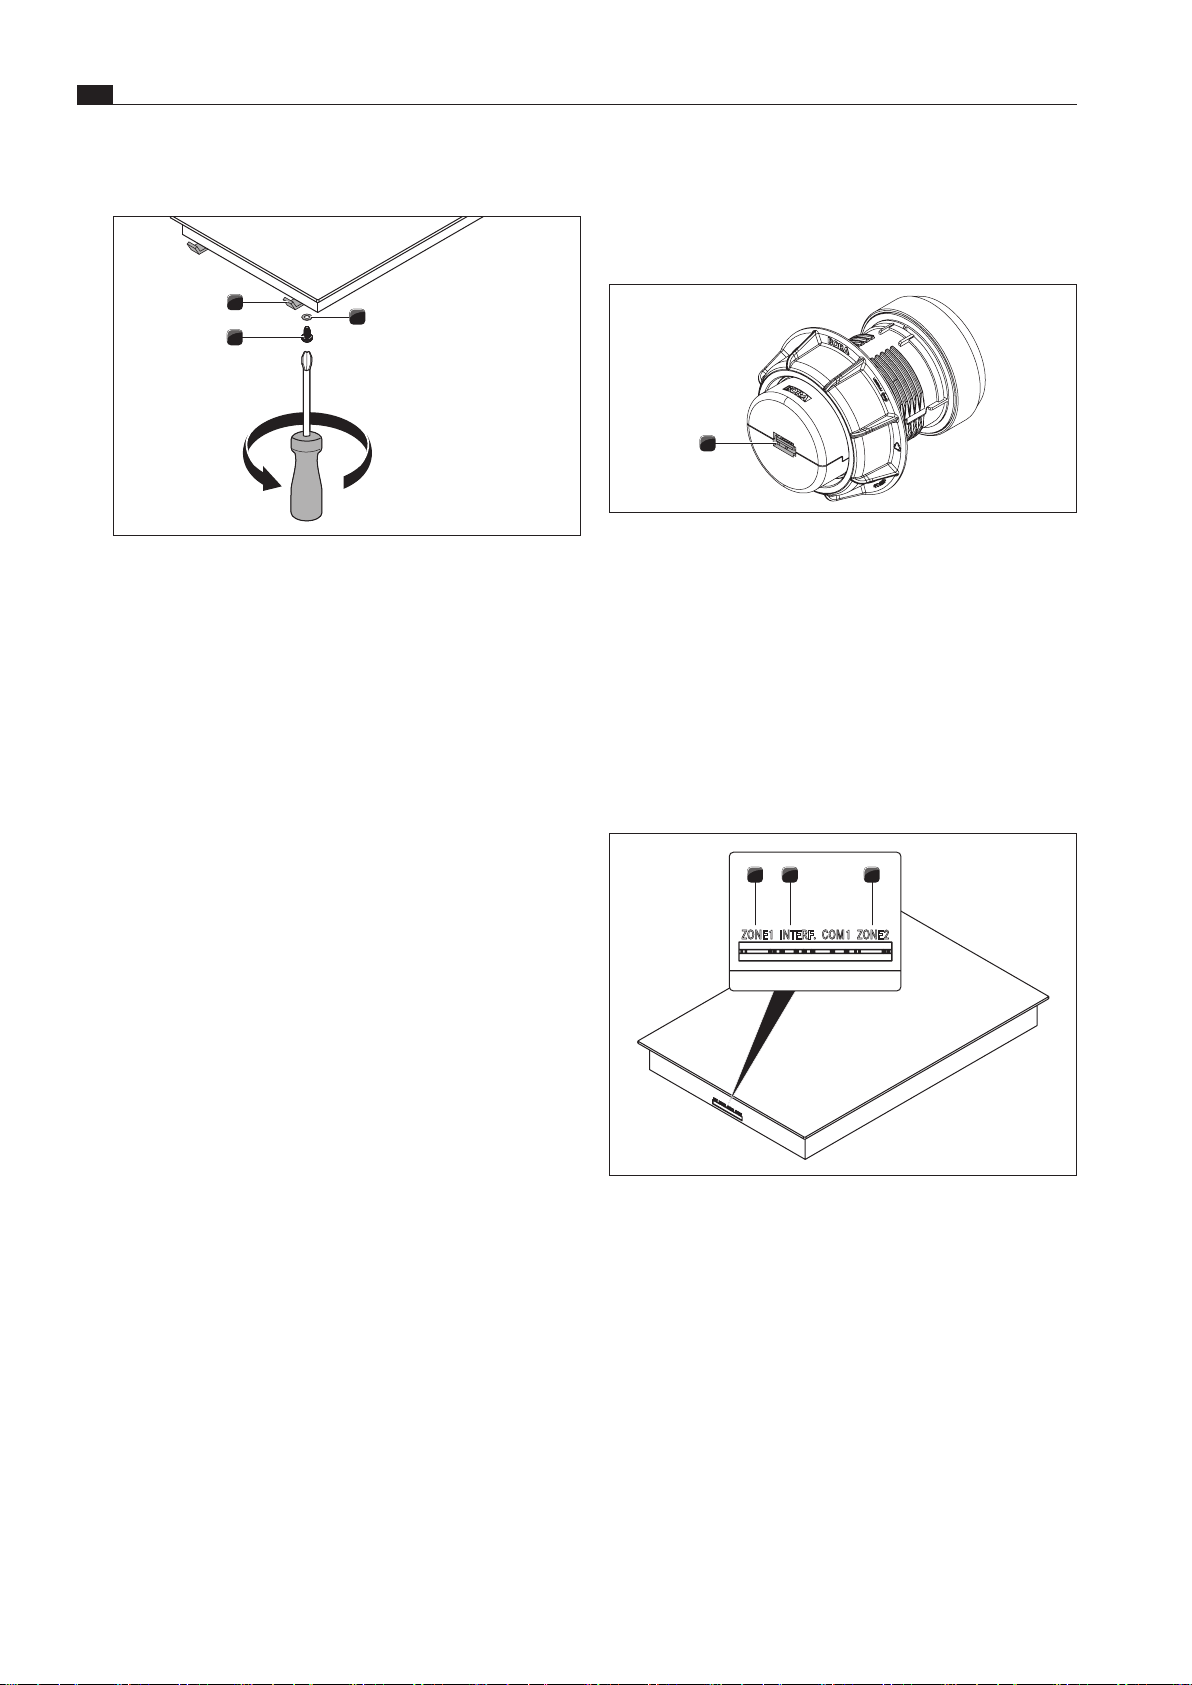
321
ZONE1 INTERF. COM1 ZONE2
Fig. 5.20 Ports on the cooktop
[1] Front cooking zone control knob port (zone 1)
[2] Extractor electronics interface port
[3] Rear cooking zone control knob port (zone 2)
Securing the cooktop
1
3
2
Fig. 5.18 Mounting brackets
[1] Mounting bracket
[2] Washer
[3] Screw
XX
Secure the appliance using the mounting brackets [1].
XX
Tighten the mounting brackets with the screw [3] using the
washer [2] with max. 2Nm.
XX
Verify that the alignment is correct.
5.7.2 Installation rotated by 180°
(alternative installation variation)
Installation rotated by 180°
XX
Rotate the cooktop 180°.
XX
For the installation, proceed as described above.
XX
Change the installation direction in the configuration menu
(see “Configuration menu”).
i
If installation is rotated by 180°, the ports for the control
knobs and the automatic extractor function are at the
rear.
i
If installation is rotated by 180°, on cooktops PKFI3
and PKI3 the cooktop display is automatically rotated by
180°.
i
Cables of sufficient length are provided.
5.8 Establishing communication and
power connection
XX
Observe all safety and warning information (see the “Safety”
chapter).
XO
The plug for the power supply must be accessible following
installation.
XO
If the power supply cable has been damaged this must be replaced.
i
The appliance components are linked by the ribbon cable
provided.
Loading ...
Loading ...
Loading ...