Loading ...
Loading ...
Loading ...
36
■ Dust, fat and liquids from food that has
boiled over must be removed as soon
as possible.
■ If they are allowed to harden they
become increasingly difcult to remove.
This is especially true in the case of
sugar/syrup mixtures which could
permanently pit the surface of the
hob if left to burn on it.
■ Keep all objects that could be melted
by the heat away from the top: plastic
objects, aluminium foil, sugar or sugary
products.
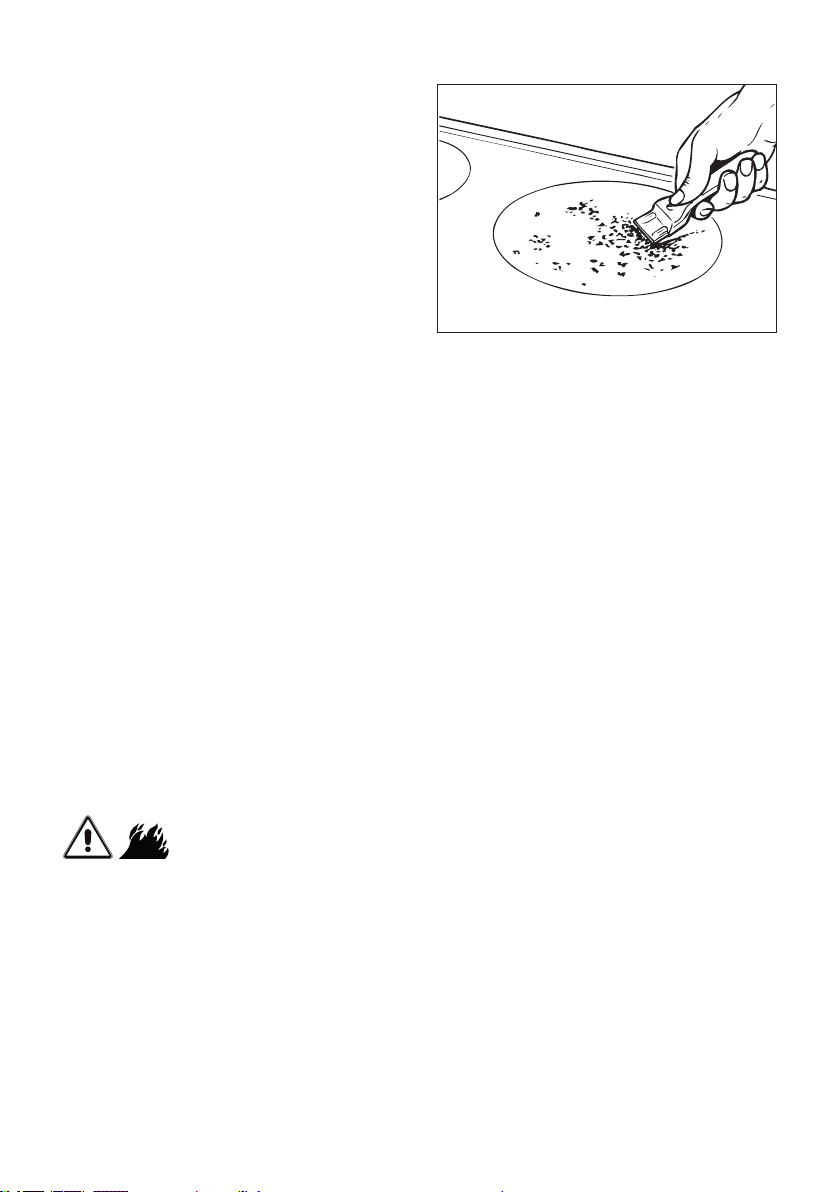
■ If any of these products has melted on
the ceramic surface, you should remove it immediately (when the surface is still hot)
by using the scraper supplied with the appliance to avoid any permanent damage to
the surface of the hob.
■ Avoid using a knife or other sharp utensil as these may damage the ceramic surface.
■ Do not use steel wool or an abrasive sponge which could scratch the surface
permanently.
■ ATTENTION - MOST IMPORTANT!
If cleaning the glass ceramic hob using a special scraper tool take extra care to
avoid damaging the seal at the edges of the glass ceramic surface.
INSIDE OF OVEN
The oven should always be cleaned after use when it has cooled down.
The cavity should be cleaned using a mild detergent solution and warm water.
Suitable proprietary chemical cleaners may be used after rst consulting with the
manufacturers recommendations and testing a small sample of the oven cavity.
Abrasive cleaning agents or scouring pads/cloths should not be used on the cavity surface.
NOTE: The manufacturers of this appliance will accept no responsibility for damage caused
by chemical or abrasive cleaning.
Do not store ammable material in the oven.
Let the oven cool down and pay special attention no to touch the hot heating
elements inside the oven cavity.
GRILL HEATING ELEMENT
■ The heating element is self-cleaning and does not require maintenance.
GREASE FILTER
Clean the lter after any cooking!
The grease lter can be removed for cleaning and should be washed regularly in hot soapy
water (g. 15 at page 18).
Always dry the lter properly before tting it back into the oven.
Figure 28
Loading ...
Loading ...
Loading ...