Loading ...
Loading ...
Loading ...
16
FINAL PREPARATION
1. Some stainless steel parts may have a plastic protective wrap which must be peeled off. The interior of the wine
cellar should be washed thoroughly with hot, soapy water, rinsed and wiped dry to remove film residue and any
installation dust or debris before being used. Solutions stronger than soap and water are rarely needed.
2. All stainless steel parts should be wiped with hot soapy water. If buildup occurs, do not use steel wool, abrasive
cloths, cleaners, or powders. If it is necessary to scrape stainless steel to remove encrusted materials, soak with hot,
wet cloths to loosen the material, then use a wood or nylon scraper. Do not use a metal knife, spatula, or any other
metal tool to scrape stainless steel; scratches are almost impossible to remove.
ELECTRICAL CONNECTION
E
lectrical Requirements
A
115 volt, 60 Hz, AC only 15 amp fused electrical supply is required. (A time
d
elay fuse or circuit breaker is recommended.) It is recommended that a
separate circuit, serving only this appliance, be provided.
•ELECTRICAL GROUND IS REQUIRED ON THIS APPLIANCE.
•DO NOT UNDER ANY CIRCUMSTANCES REMOVE THE POWER SUPPLY
CORD GROUND PLUG.
•DO NOT USE AN EXTENSION CORD.
Recommended Grounding Methods
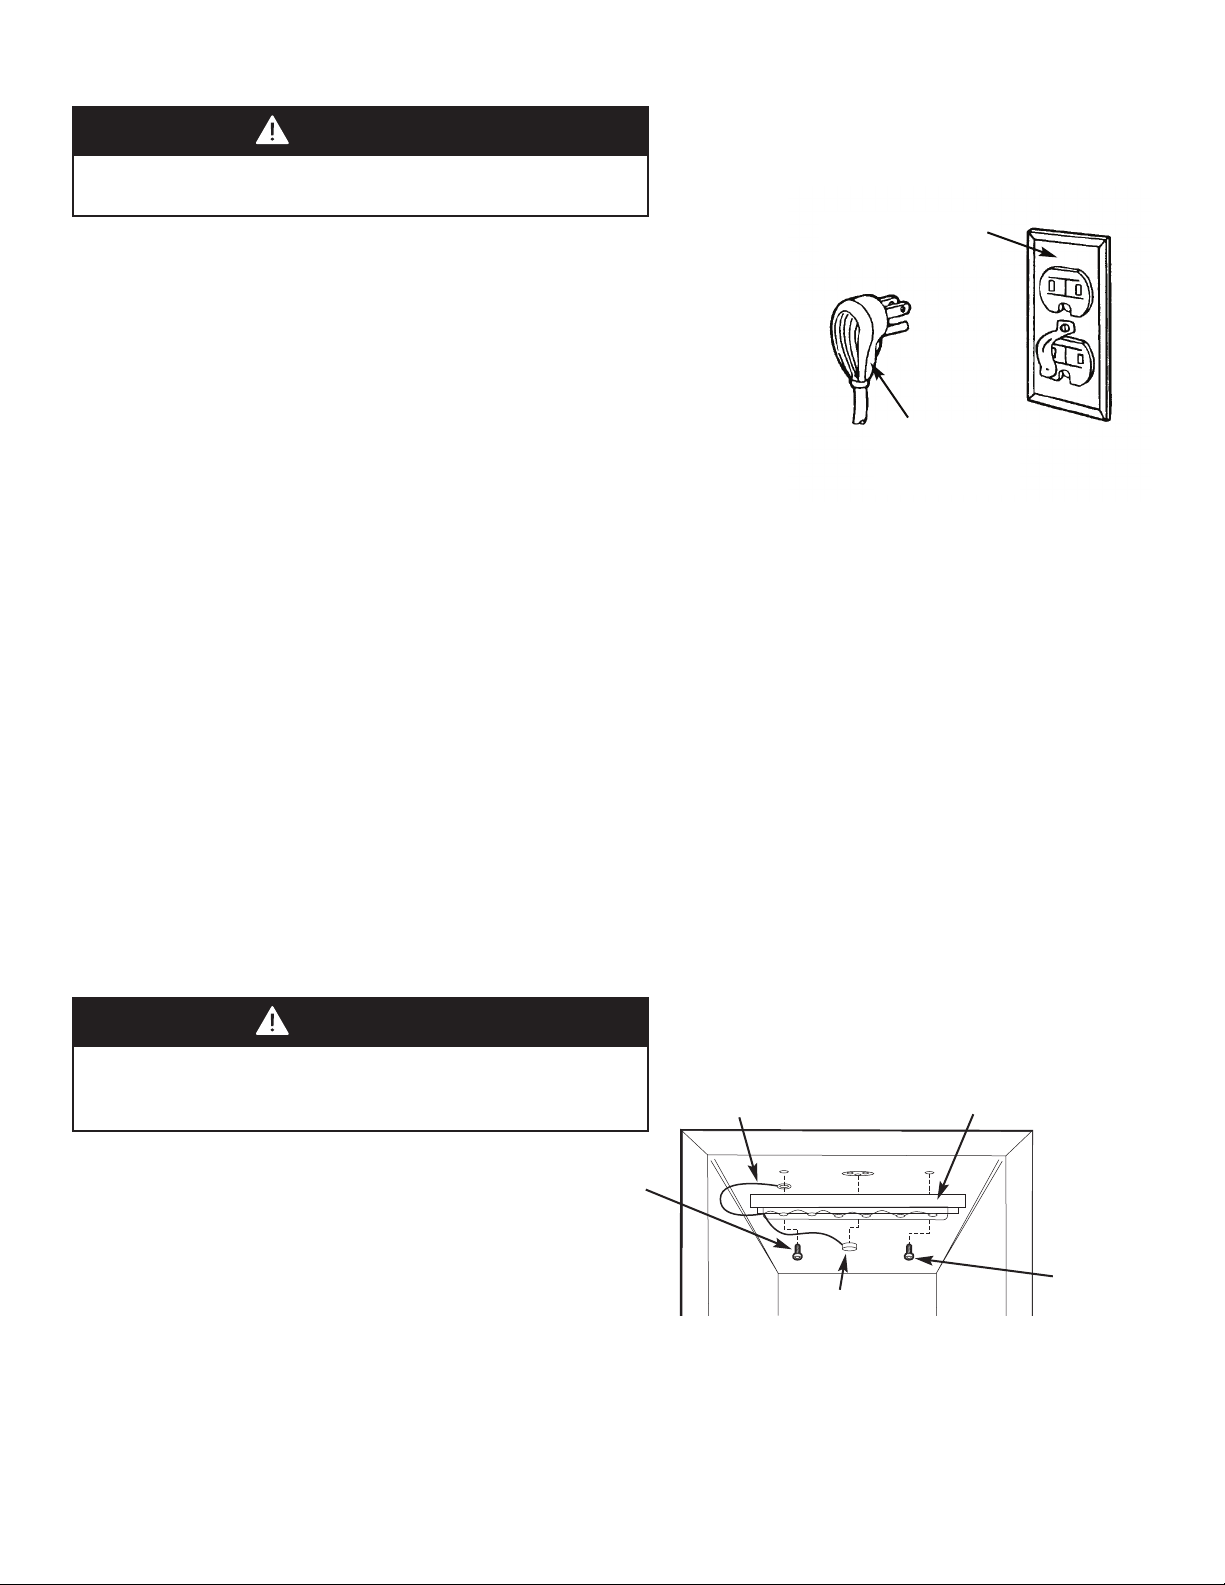
For your personal safety, this refrigeration product must be grounded. This appliance is equipped with a 5’ power
supply cord having a 3-prong grounding plug. To minimize possible shock hazard, the cord must be plugged into a
mating 3-prong grounding type wall receptacle grounded in accordance with the National Electrical Code and local
codes and ordinances. If the circuit does not have a grounding type receptacle, it is the responsibility and obligation of
the customer to exchange the existing receptacle in accordance with the National Electrical Code and applicable local
codes and ordinances. The third ground plug SHOULD NOT, under any circumstances, be cut or removed. All UL listed
refrigerated products are equipped with this type of plug.
WARNING
ELECTRICAL SHOCK HAZARD
Failure to follow these instructions could result in fire or electrical shock.
Grounding type
w
all receptacle
Power Supply
with 3-prong
grounding plug
LIGHT ASSEMBLY REPLACEMENT - 15” W. Models
NOTE: Please contact your local Viking Range
Corporation parts distributor or dealer to order a
new light assembly.
To replace the light, first disconnect the unit’s power
cord. Next, remove both the green ground wire
screw located on the left of the light assembly and
the other screw located on the right of the light assembly with a 5-16” hex head screwdriver. (See drawing). Unplug
the light unit and remove complete light assembly.
To install the new light assembly, screw in the green ground wire screw and the screw located on the right with a 5/16”
hex head screwdriver and plug the light unit in.
Plug
Hex head
screw
Light
assembly
Green
ground wire
Hex head
screw
DANGER
ELECTRICAL SHOCK HAZARD
Failure to to disconnect the power cord when changing the light tube,
could result in fire or electrical shock.
Loading ...
Loading ...
Loading ...