Loading ...
Loading ...
Loading ...
8
ASSEMBLY
NOTE: References to right or left side of the snow blower are determined from
behind the unit in the operating position (standing directly behind the snow
blower, facing the handle panel).
UNPACKING: Removing From Carton
1. Cut the corners of the carton and lay the sides flat on the ground. Remove
and discard all packing inserts.
2. Move the snow blower out of the carton.
3. Make certain the carton has been completely emptied before discarding it.
Handle Assembly
Refer to Figure 1 and proceed to your applicable chute style.
1. Cut cable ties securing chute control rod or upper handle to the lower handle
(if applicable), set aside the chute control rod (if applicable) and remove the
wrap around the handles (if applicable).
NOTE: Do not cut the cable tie securing the cables to the engine for units equipped.
NOTE: Remove rubber bands securing cables to carriage screws and cut cable tie
securing shift rod to lower handle. Refer to Figure to help identify your unit.
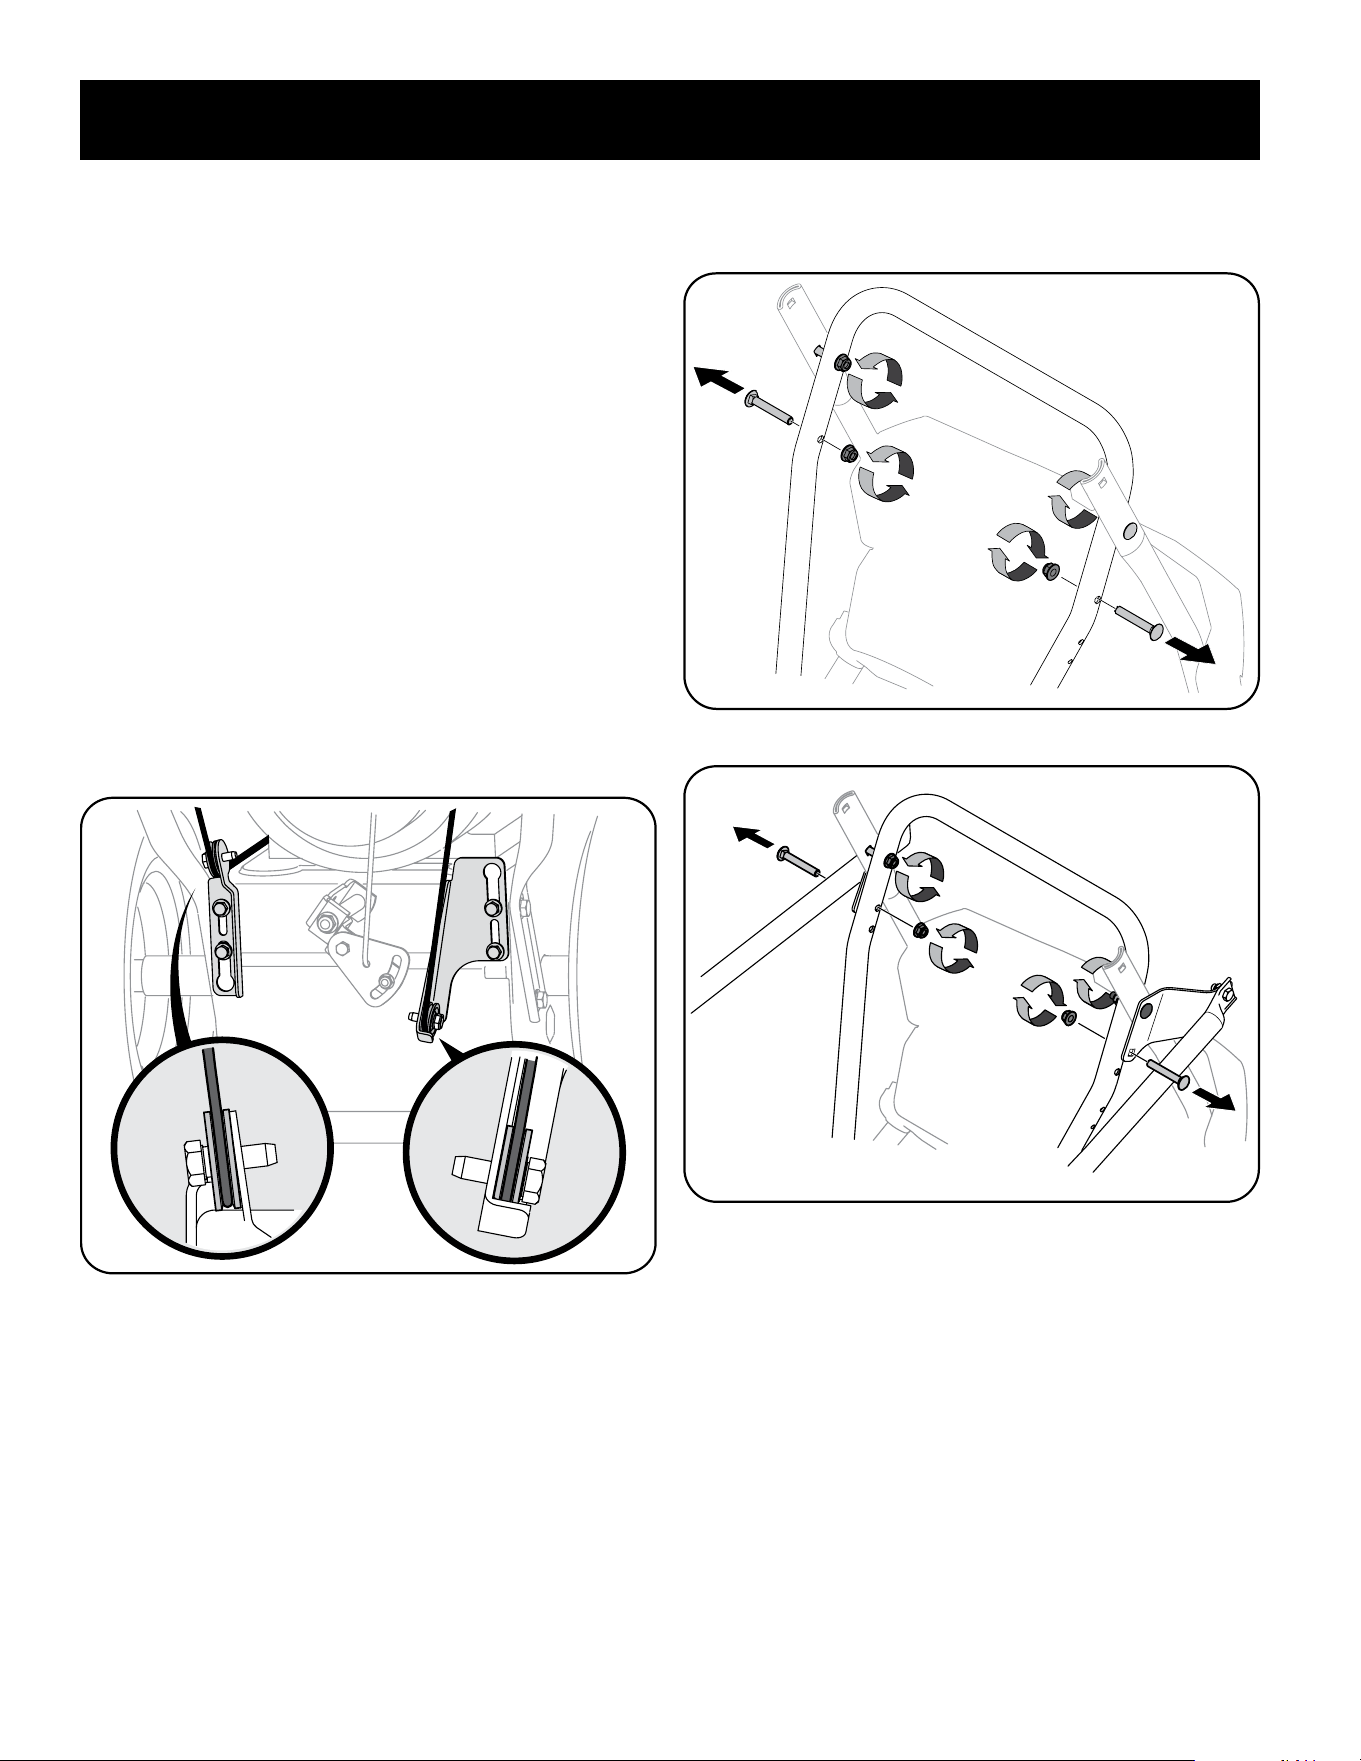
2. Observe the lower rear area of the snow blower to be sure both cables are
aligned with roller guides before pivoting the handle upward. See Figure 2.
Figure 2
3. Loosen the top two lock nuts securing the upper and lower handle and
remove the two carriage screws from the lower handle and set aside. See
Figure 3 or Figure 4 for units with side supports.
Figure 3
Figure 4
Loading ...
Loading ...
Loading ...