Loading ...
Loading ...
Loading ...
Setting Oven Controls (cont'd)
To Set for Broiling:
Note: For optimum browning results when broiling, preheat the broil element for 3 to 4
minutes.
1. Arrange the oven rack while oven is still coo[. Position the rack as suggested in
the Broil Rack Position Table below.
2. Press B_[i. "----" will appear in display.
3. Press and hold the J_. or V until the desired broil setting level appears in the
display. Press the A for HI broil or the V for LO broil. Most foods may be
broiled at the HI broil setting. Select the LO broil setting to avoid excess browning
or drying of foods that should be cooked to the well-done stage.
4. Preheat for 5 minutes before broiling.
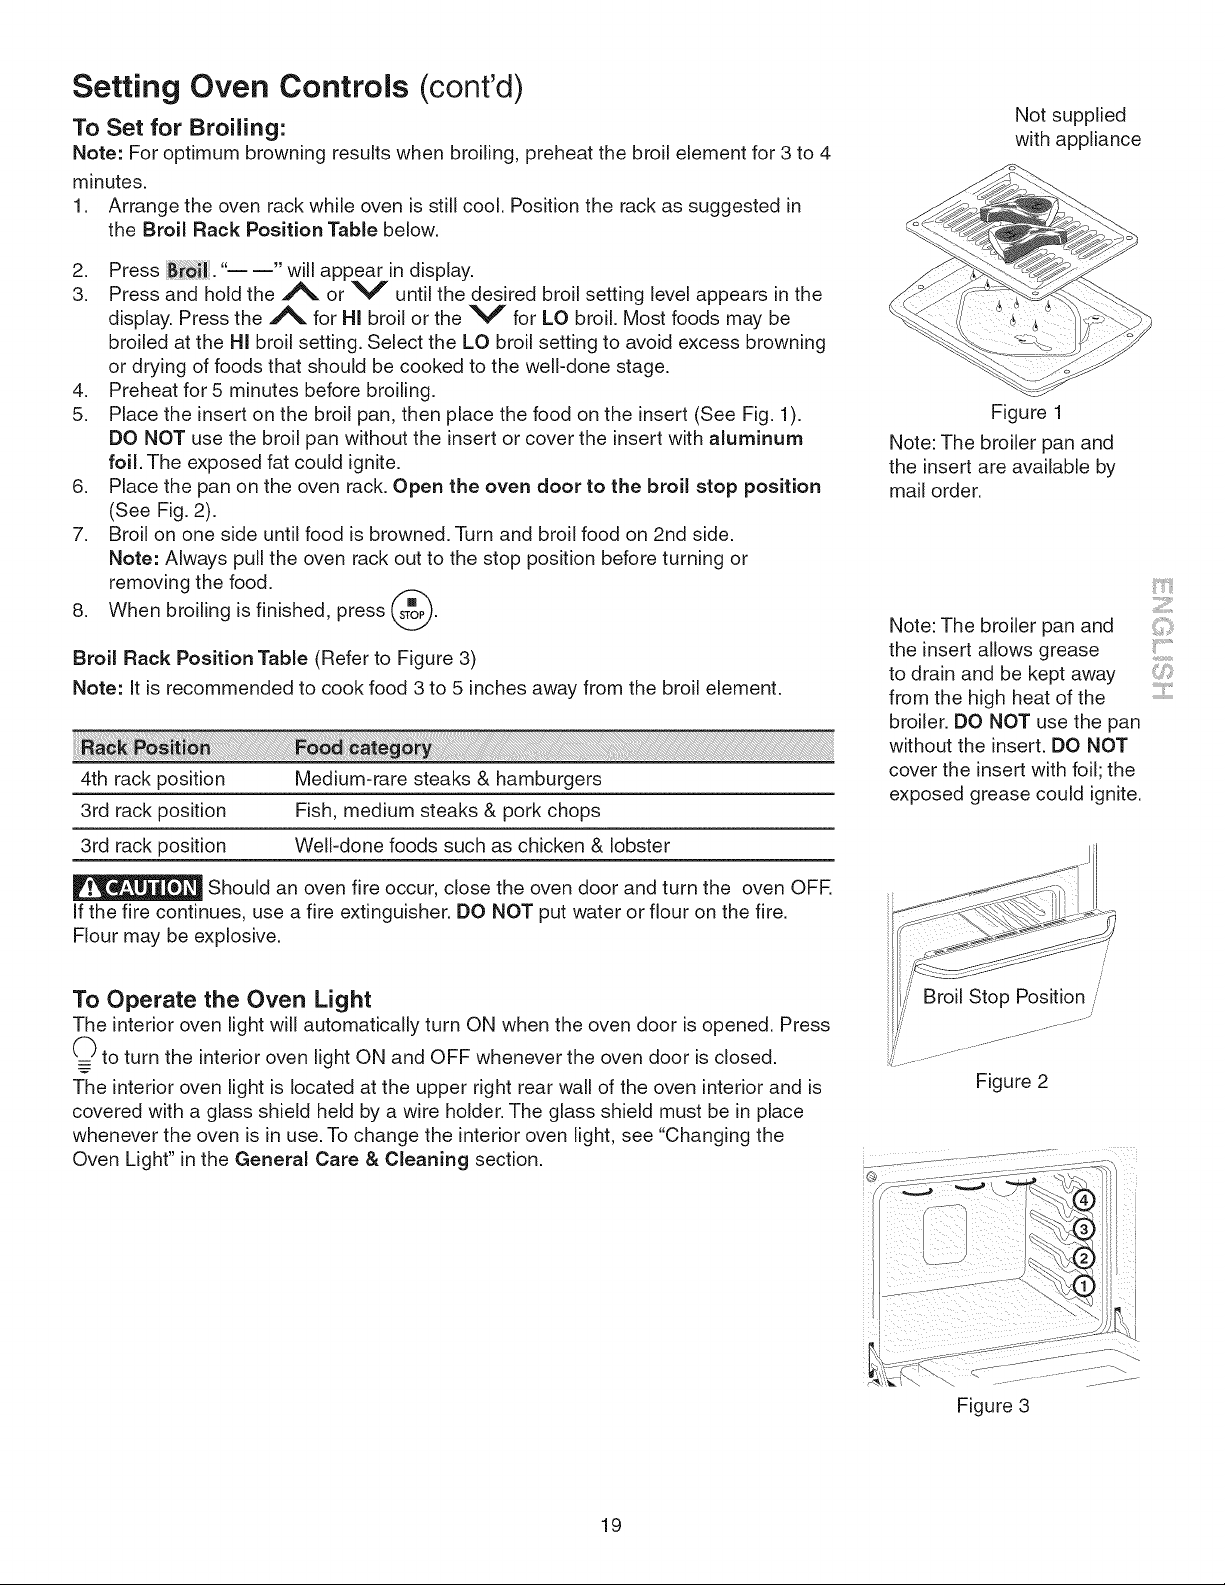
5. Place the insert on the broil pan, then place the food on the insert (See Fig. 1).
DO NOT use the broil pan without the insert or cover the insert with aluminum
foil. The exposed fat could ignite.
6. Place the pan on the oven rack. Open the oven door to the broil stop position
(See Fig. 2).
7. Broil on one side until food is browned. Turn and broil food on 2nd side.
Note: Always pull the oven rack out to the stop position before turning or
removing the food.
8. When broiling is finished, press (s_P).
Broil Rack Position Table (Refer to Figure 3)
Note: It is recommended to cook food 3 to 5 inches away from the broil element.
4th rack position Medium-rare steaks & hamburgers
3rd rack position Fish, medium steaks & pork chops
3rd rack position Well-done foods such as chicken & lobster
Should an oven fire occur, close the oven door and turn the oven OFR
If the fire continues, use a fire extinguisher. DO NOT put water or flour on the fire.
Flour may be explosive.
To Operate the Oven Light
The interior oven light will automatically turn ON when the oven door is opened. Press
-(__to turn the interior oven light ON and OFF whenever the oven door is closed.
The interior oven light is located at the upper right rear wall of the oven interior and is
covered with a glass shield held by a wire holder. The glass shield must be in place
whenever the oven is in use. To change the interior oven light, see "Changing the
Oven Light" in the Genera[ Care & Cleaning section.
Not supplied
with appliance
Figure 1
Note: The broiler pan and
the insert are available by
mail order.
Note: The broiler pan and
the insert allows grease
to drain and be kept away
from the high heat of the
broiler. DO NOT use the pan
without the insert. DO NOT
cover the insert with foil; the
exposed grease could ignite.
Broil Stop Position
Figure 2
iii!"?'_iiii
Z!ii!iiill
ilii................
........iii.......
Figure 3
19
Loading ...
Loading ...
Loading ...