Loading ...
Loading ...
3
OPERATIONS MANUAL
BOTTLE, KEG & BACK BAR COOLERS, GLASS & PLATE CHILLERS
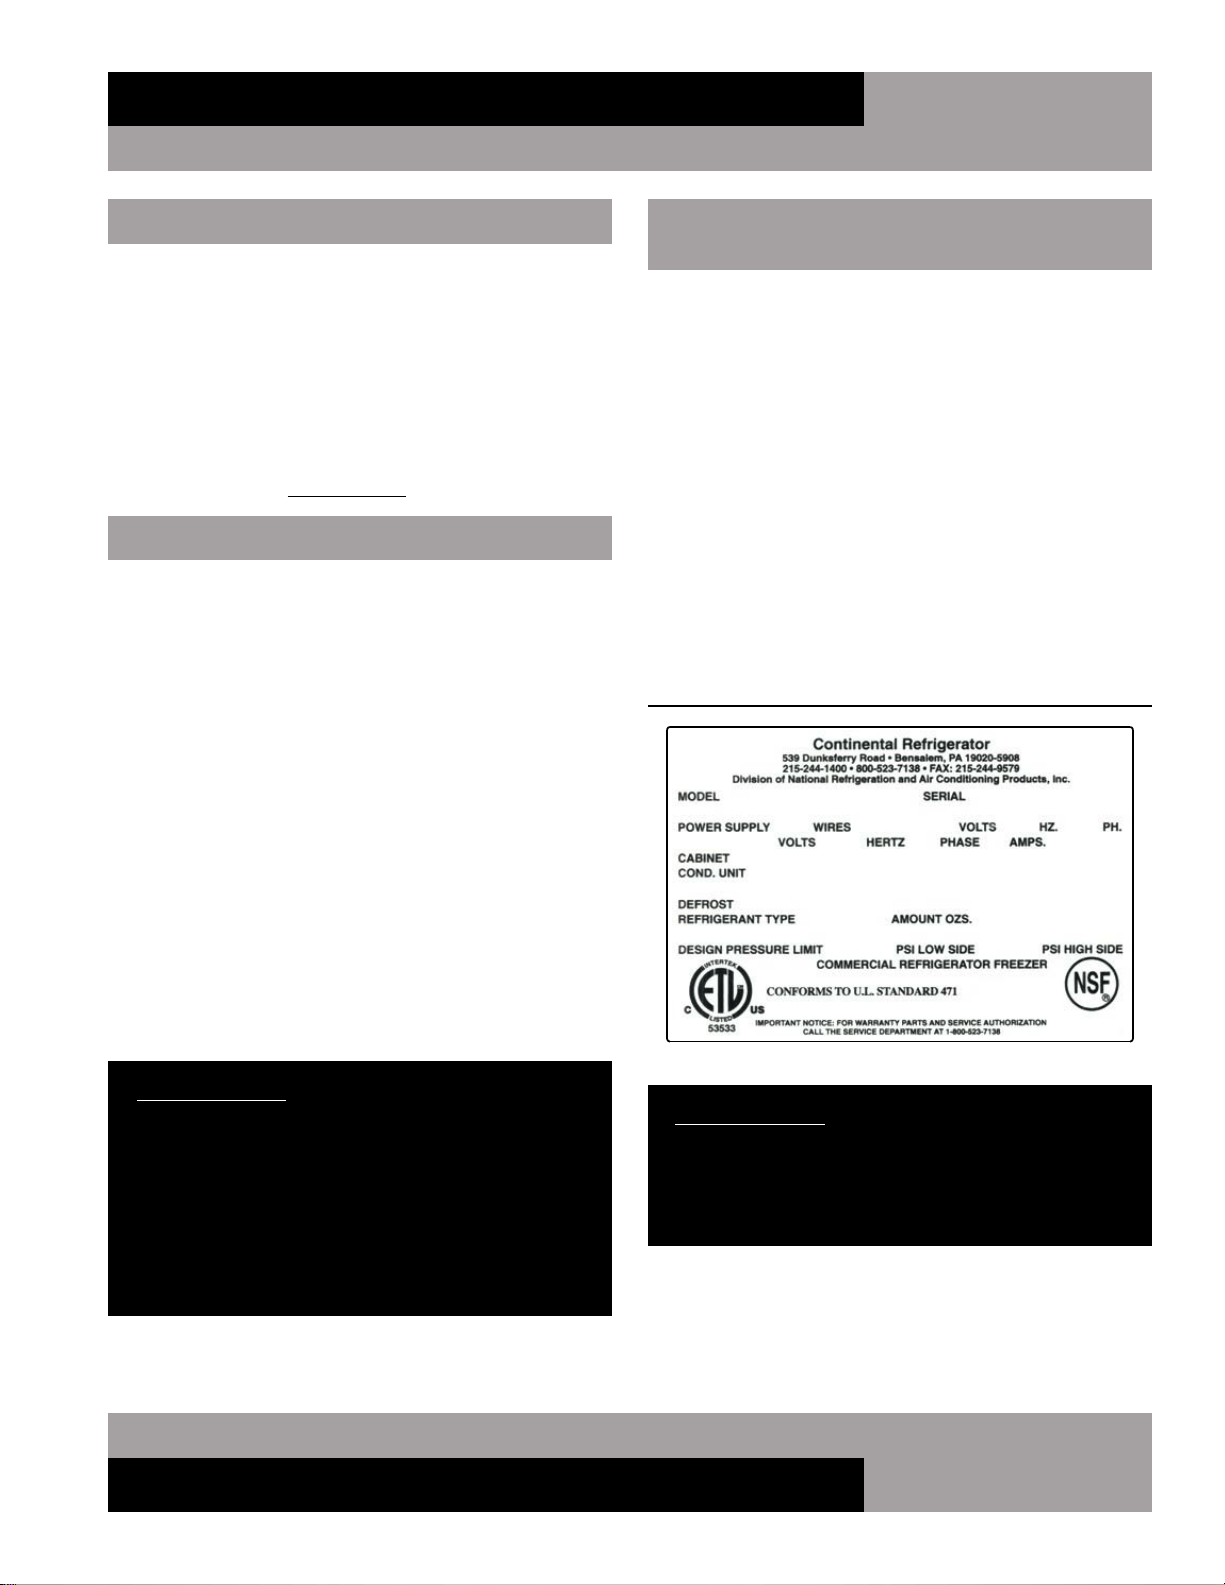
FIGURE 1: Data Tag
GENERAL INFORMATION AND
IMPORTANT OPERATING FACTS
This manual has been compiled to aid in the installation, opera-
tion and maintenance of your new equipment. Please take the
time to read it and familiarize yourself with your equipment and
its operation, to enjoy optimum performance.
Continental Refrigerator offers a variety of accessories for your
model (see “Optional Accessories” section towards the back of
this manual or contact your dealer for more information).
SERIAL DATA TAG
A serialized data tag is permanently attached to the inside right-
hand wall of your unit. (see Figure 1). In addition to identifying
the specific product, this label provides important information
regarding electrical requirements and refrigeration charge, as
well as agency listings and factory contacts.
IMPORTANT NOTE: The model and serial number should
be noted on the front cover of this manual, in the spaces
provided. If parts or service are ever needed for your unit,
this information will be required to verify warranty status
and to properly identify any parts that may be needed.
RECEIVING YOUR NEW MODEL
Congratulations on your purchase of Continental Refrigerator
superior bar equipment! When your shipment arrives, thor-
oughly examine the packaging for any punctures, dents, or
signs of rough handling. It is in your best interest to partially
remove or open the shipping container to examine the contents
for any missing accessories or concealed damage which may
have occurred during shipment. If the cabinet is damaged, it
must be noted on the carrier’s delivery slip or bill of lading.
A Freight Claim must be filed with the shipping company.
FREIGHT DAMAGE IS NOT COVERED UNDER WARRANTY.
UNCRATING YOUR NEW MODEL
The shipping carton should remain on your cabinet to protect
against dents or scratches while transporting to the actual
set-up location. Remove the shipping container only at the last
possible moment by using a pry bar to take out all the staples
from around the bottom of the crate. Slide the cardboard carton
up and off the unit, being careful not to rub against the cabinet.
Remove any accessories or boxes on the skid or in the cabinet.
Dispose of all packaging materials properly.
Four (4) bolts secure the cabinet to the wooden skid. The bolts
are located at each end on the underside of the skid. In order to
remove these bolts, tilt the cabinet backwards and place wooden
blocks at each end in order to hold it in its tilted position. Using
a ¾” socket or open end wrench, remove the bolts and care-
fully slide the cabinet off of the skid. If support plates are to be
installed, save the bolts and washers (see “Mounting Caster/
Leg Support Plates” under “Optional Accessories”). After skid
removal, the cabinet should never be moved without dollies or
rollers to avoid damage to the cabinet bottom or floor.
IMPORTANT NOTE: Do not under any circumstances, lay
your new model on its front or sides. For a brief period
of time, you may lay the cabinet on its back, but only
when it’s properly blocked so as not to crush the back
or end panels and also to allow provision for your hands,
in order to set it in its upright position without damaging
the cabinet. Do not plug in and operate model for at
least three (3) hours after cabinet is set upright from
being on its back as this can damage the compressor.
Loading ...
Loading ...
Loading ...