Loading ...
Loading ...
Loading ...
- 32 -
holes in the wall behind the hook, insert and x
a wooden board and wooden stake, and affix
the machine hook to the reinforced wooden
board. The wooden board must be reinforced
and reliable, able to bear a weight of 60 kg.
8.Take the expansion tube and wood screws out
of the accessory bag, insert the expansion tube
into the hole on the wall and fix the hook with
wood screws. If there is just a wooden stake,
affix it directly with wood screws. Note: Keep
the hook horizontal with a horizontal ruler.
9.Two people take out the complete machine from
the packing box, unscrew the four screws which
x the fan cover to the back of the range hood,
and remove the fan cover and the trim cover.
Screw two of the screws from inside outside to
the top screw hole at the outer cover. Do not
screw too tightly, leave a distance of 3mm
10.Unwrap the fan packaging, place the outlet
housing and sealing gasket on the air outlet of
the range hood and fix the outlet housing and
air outlet with 8 M4×12 screws.
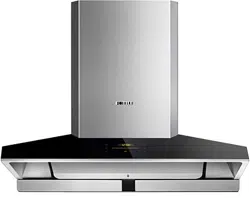
11.Using two people, hang the range hood on
the machine hook and use the horizontal ruler
to keep it horizontal. Fix the range hood and
the main machine hook with a M4*8 screw as
shown in Figure 4.
12.Put the pre-arranged smoke pipe on the
outlet housing, x the outlet pipe and the outlet
housing on both the left and right sides with
3.9×9.5 screws. Then seal the outlet pipe and
the outlet housing with aluminum foil tape. Plug
the power supply of the range hood into the
socket, then turn on the fan to check if there is
any air leakage.
13.Remove the protective film of the fan cover
and the trim cover, put the trim cover into the
fan cover, reaching out a distance of about 2''
(50mm). Pick up the fan cover and the trim
cover and hang the trim cover on the trim cover
hook. Then slowly push it to the right place, then
slowly put the fan cover down into the exhaust
fume collecting hood.
14.Remove the protective lm of the exhaust fume
collecting hood, remove the oil cup protective
film and hang the oil cup. Press the cleaning
button and after the lifting rod is lowered down,
install the outer net of the air inlet. Then remove
the protective film of the wing-like plate and
install it.
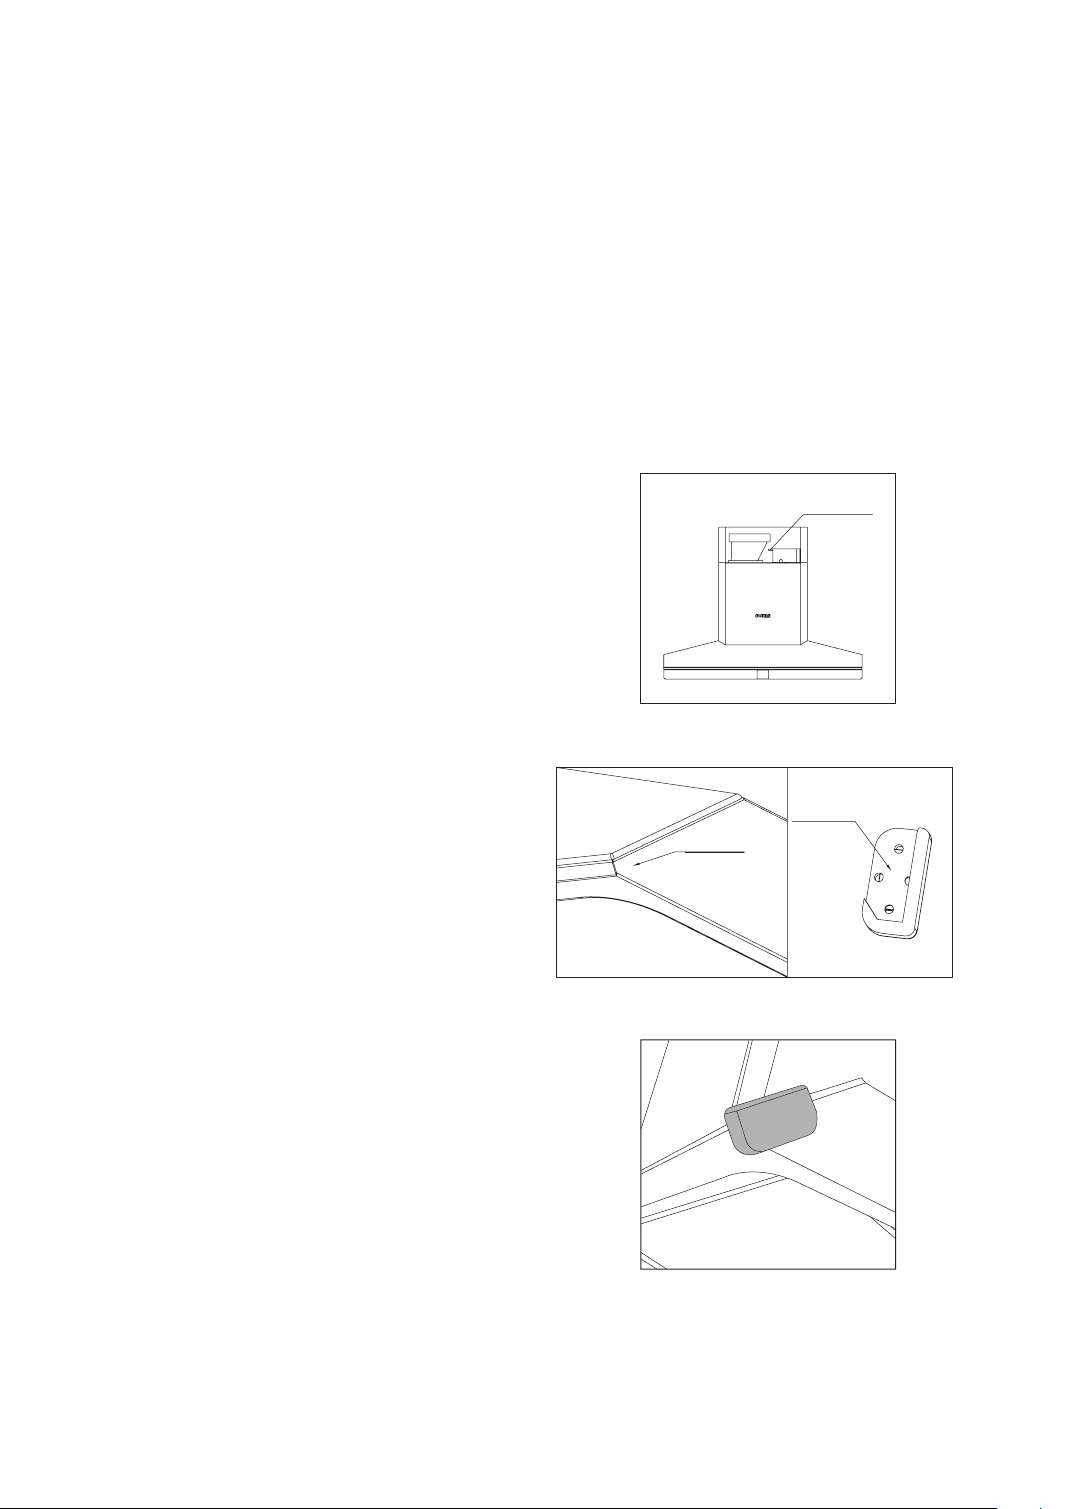
15.Finally, attach the corner bumpers, which help
avoid head collisions, on the hood corners as
shown in (Figure 6). Clean fingerprints from
the surface of the range hood. Installation is
complete.
M4-8
self-tapping
lock screw
Figure 4
Magnetic face
Pull-in position
Figure 5
Figure 6
Loading ...
Loading ...
Loading ...