
Loading ...
Loading ...
Loading ...
W415-2360 / A / 10.31.19
EN
26
installation
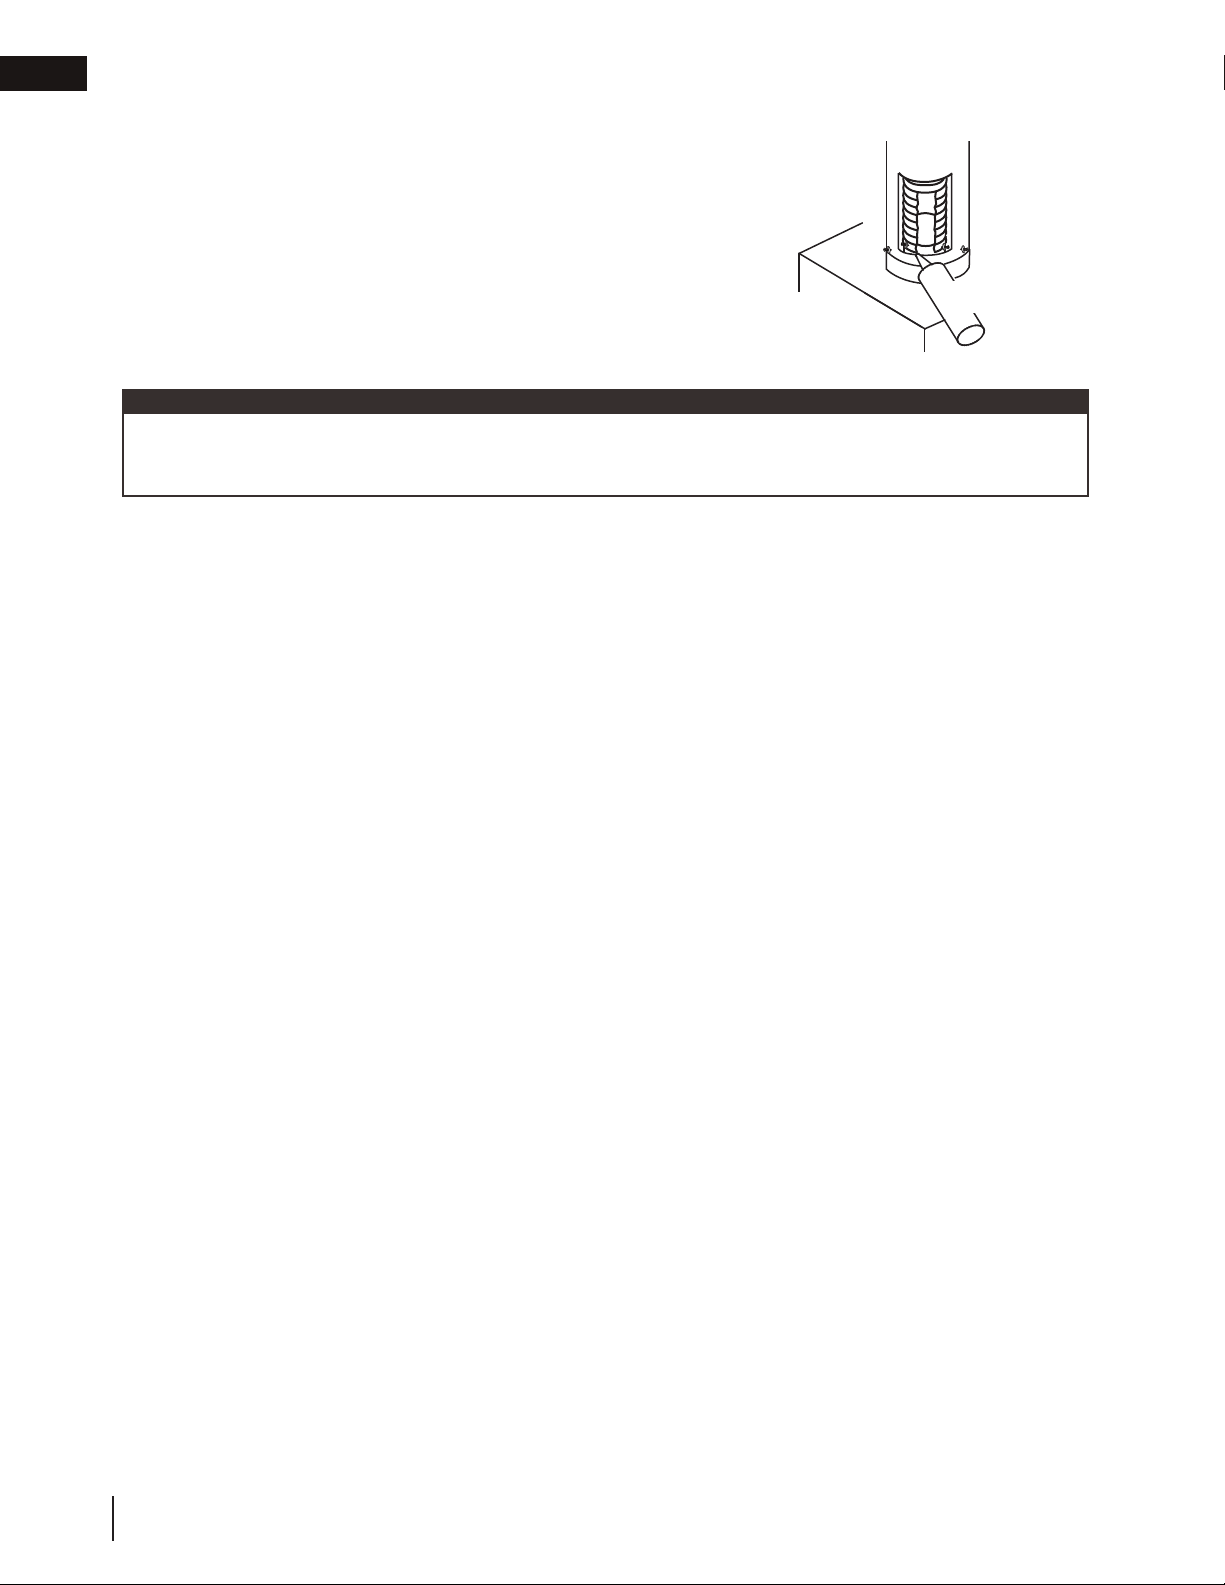
3.3 appliance vent connection
A. Attach the adjustable pipe to the last section of rigid pipe. Secure with
screws and seal.
B. Install the inner fl ex pipe to the appliance. Secure with a minimum of
three screws and fl at washers when installing 3”/5”, 4”/7” or 5”/8”
venting, or six screws and fl at washers when installing 8”/10” or
8”/11” venting. Seal the joint and screw holes using Mill Pac sealant
(W573-0007) (not supplied).
C. Run a bead of high temperature red RTV silicone sealant (W573-
0002) (not supplied) around the inside of the air intake collar. Pull the
adjustable pipe a minimum 2” (50.8mm) into the air intake collar.
INSERT
IMAGE HERE
note:
Always fi nish vent system installation with the appliance vent connection. Ensure that the sealant is not visible on the
exterior pipes once installation is completed. An optional decorative black band may be available with this appliance.
In the event that the venting must be disassembled, care must be taken to reseal the venting.
2” (50.8mm)
Overlap
Mill-Pac
Sealant
#8 X 1/2”
Self Drilling
Screws
Loading ...
Loading ...
Loading ...