Loading ...
Loading ...
Loading ...
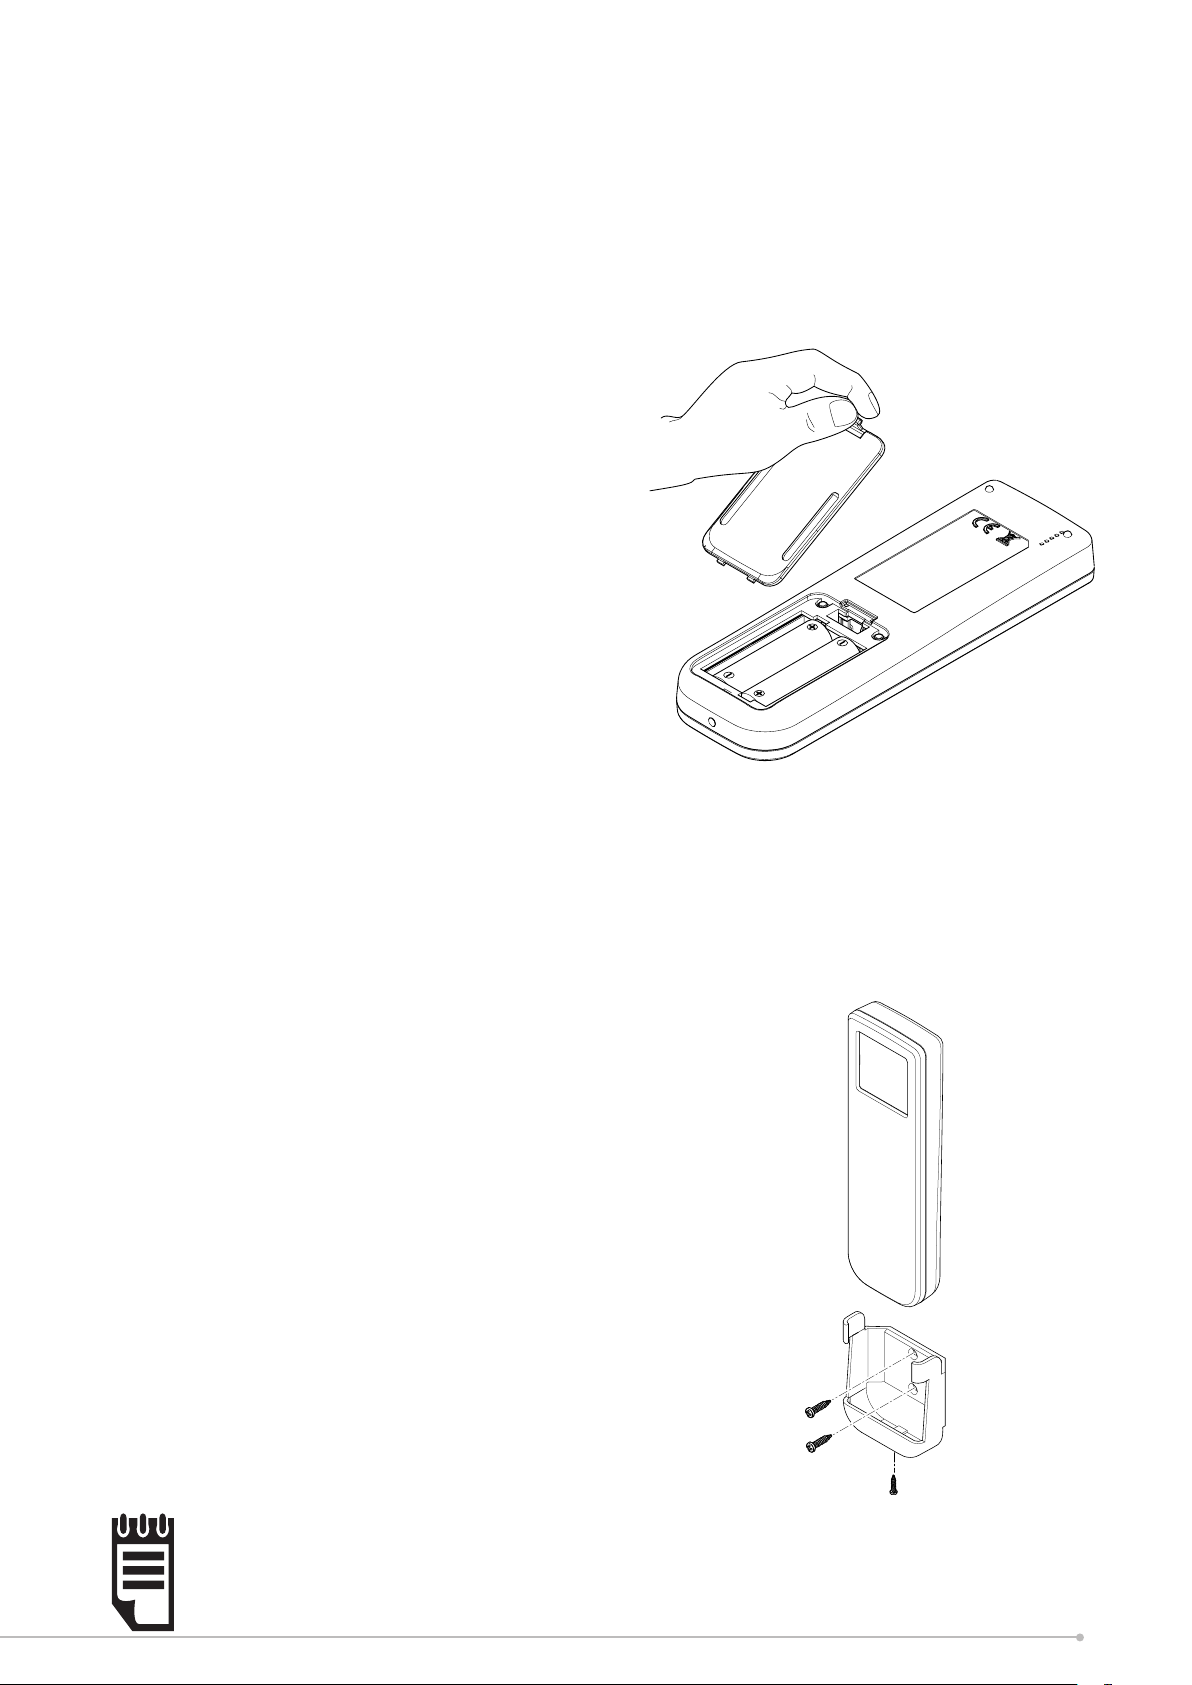
Fitting the Batteries:
The remote requires two AA batteries, these are supplied with the product contained
in the bag along with the instructions and remote.
To t the batteries:
1. On the rear of the remote, remove the
battery cover by pushing the catch
downwards and pulling outwards in one
motion.
2. It should be possible to completely remove
the battery cover to reveal the battery
cavity.
3. Carefully insert the new batteries, ensuring
the polarity is correct. Ensure the ‘+’ and
‘-‘ signs on the batteries match the signs
marked inside the battery cavity.
4. Once the batteries are in place, replace the cover, ensuring the clip has engaged fully.
Once the batteries have been successfully tted the remote control will immediately
start scanning for a product to control. At this stage it is necessary to complete the
pairing process, see Remote Pairing Instructions.
Remote control cradle:
The remote control is supplied with a wall
mounting cradle. If desired, mount the cradle in
a suitable location. The cradle can be mounted
using suitable screws and the appropriate wall
xing solution, not supplied.
Mark and drill the wall accordingly to mount
the remote control cradle. The remote control
can also be xed to the cradle using the
bottom xing screw. The use of this screw is
optional, particularly if the remote will be used
as a portable device.
NOTE:
If the remote cradle is not initially required please store in a suitable
location in case of future use. The bottom fixing screw should also be
stored with the cradle
11
Loading ...
Loading ...
Loading ...