Loading ...
Loading ...
Loading ...

Page 9
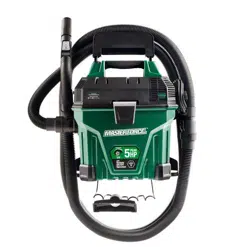
7. Insert the steel rod with hose storage rack
into the two holes located on the top of the
mounting rack. (fig. 7)
Fig. 7
MOUNTING RACK AND STORAGE
ASSEMBLY
IMPORTANT!
• Do not mount the rack over 5 feet from the
loor.
• Do not screw the rack to drywall only. Secure
the screws to a stud.
• Do not hang from or sit on the mounting
rack.
• Do not exceed 40 pounds (18 kilograms) of
maximum weight.
8. Locate a wall stud that is not more than 18
feet (5.5 meters) away from an electrical
outlet. Align the three screw holes on the
mounting rack so that they are over the stud.
Make sure the rack is level and mark the
hole locations. Make a 1/8" (3mm) diameter
pilot hole in each marked location. Secure
the mounting rack to the wall stud with the
three screws provided. (fig. 8)
Fig. 8
MOUNTING THE VACUUM ONTO THE RACK
1. Your vacuum comes ready for dry vacuum
cleaning. If the cartridge filter is not installed
refer to page 18 for filter installation. (fig. 9,
10, & 11)
Fig. 9
Fig. 10
Fig. 11
2. Place the power head on the collection
tank, and secure into place using the 2 side
latches. (fig. 12 & 13)
GENERAL ASSEMBLY INSTRUCTIONS
Loading ...
Loading ...
Loading ...