Loading ...
Loading ...
Loading ...
4
BEFORE INSTALLING PEDESTAL
IMPORTANT: If your washer and dryer are already installed,
they must be uninstalled.
If you need to uninstall your washer or dryer, see the installation
instructions that came with your model for tools required.
Uninstalling your washer
To avoid possible damage to the washer, the transport bolts on
the back of the washer must be in place before installing the
pedestal. For more information on transport bolts, see “Remove
Transport System” in washer Use and Care Guide.
NOTE: If the washer is to be transported, call your local service
center. To avoid suspension and structural damage, your washer
must be properly set up for relocation by a certied technician.
1. Turn off the hot and cold water faucets.
2. Unplug the power supply cord.
3. Slowly loosen the ll hoses at the faucets to relieve the water
pressure. Use a sponge or towel to absorb the released water.
4. Remove the “HOT” and “COLD” ll hoses from the back of the
washer. Drain the water from the hoses into a bucket.
5. Squeeze the ears of the drain hose clamp with pliers to open
and slide the clamp down the hose. Disconnect the drain hose
from the washer and drain any water in the hose into a bucket.
6. Pull the washer away from the wall so it can be tipped on its
back.
7. To avoid oor damage and for ease of installation and
handling, unfold the empty pedestal box at and place it next
to the washer. Lay the washer on its back (make sure that
the power supply cord is not under the washer) so that the
cardboard is under the entire lower back edge of the washer.
8. An additional small amount of water will drain out of the
washer when it is tipped back. Go to “Installing the Pedestal”.
UNPACKING THE PEDESTAL
Preparing the pedestal for installation
IMPORTANT: Set the pedstal box aside for use during
installation.
The four spacer pads are installed on the top of the pedestal.
Spacer pads reduce vibration between the pedestal and the
washer/dryer.
NOTE: If your washer/dryer has feet installed, remove them.
Spacer pads
2. Locate spacer pads
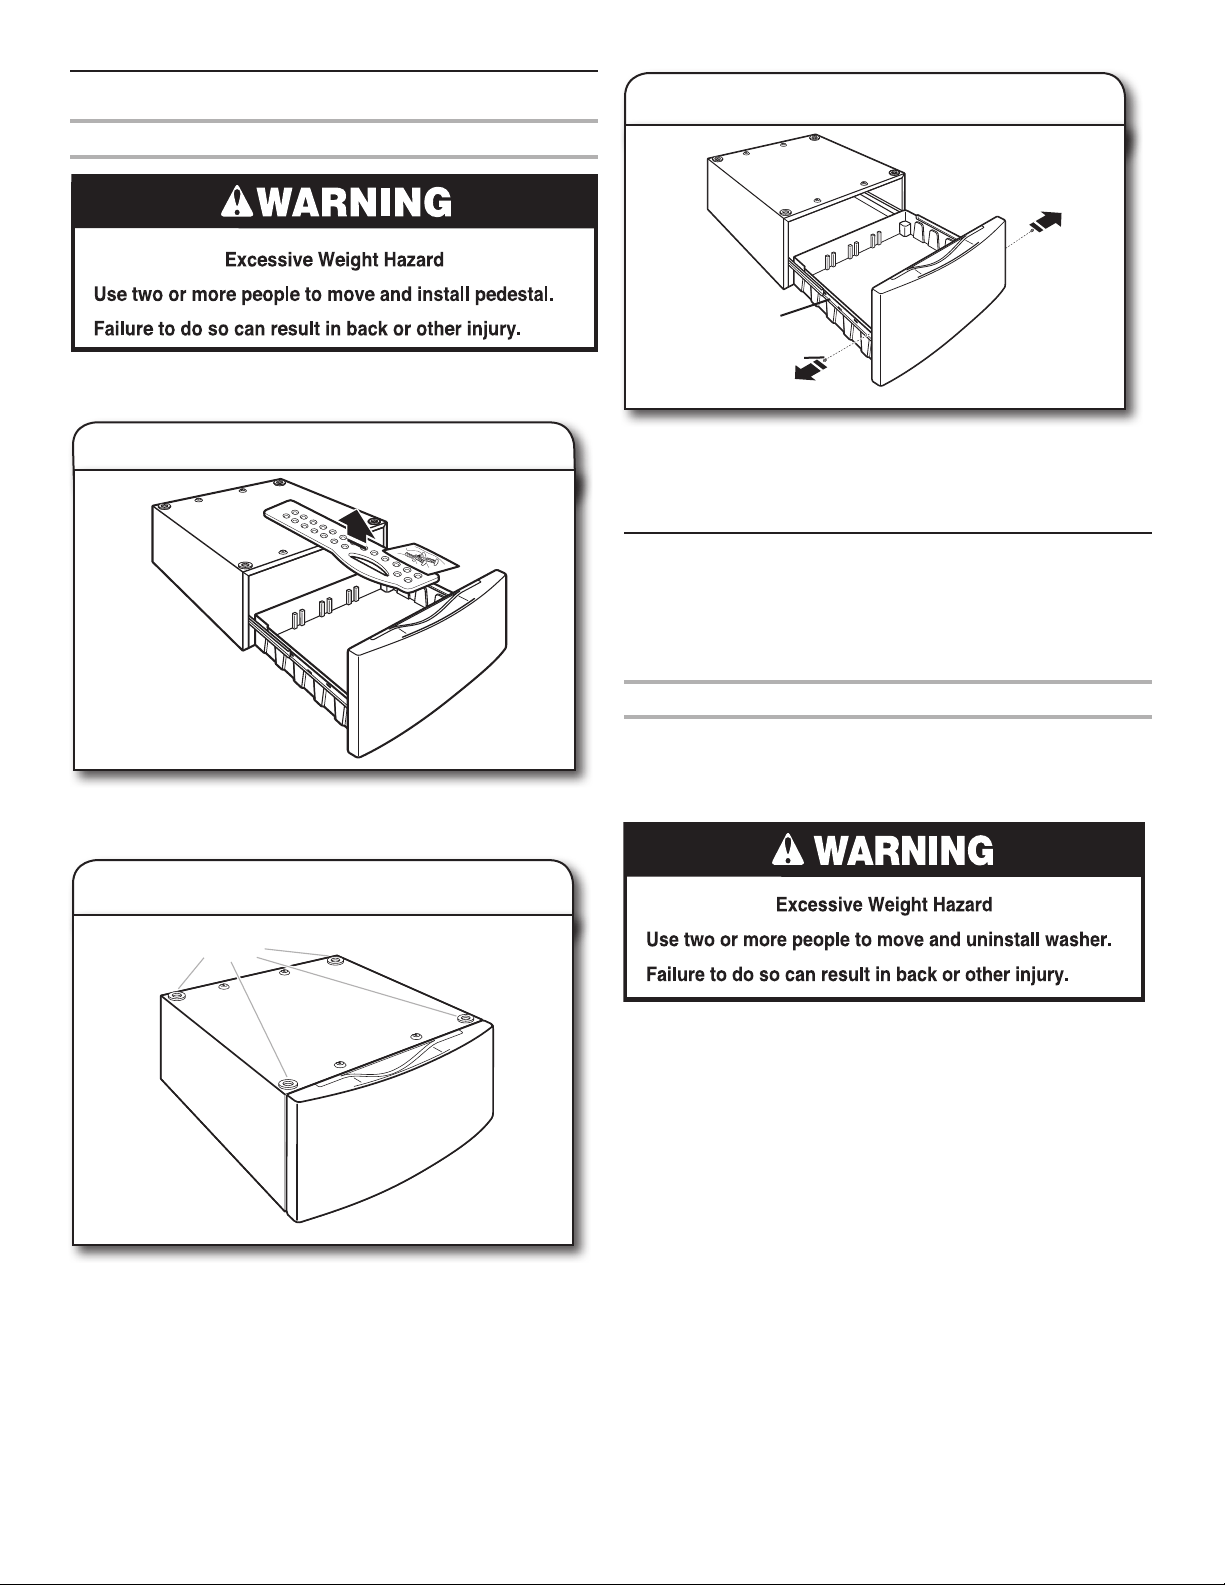
1. Empty pedestal drawer
Open the pedestal drawer as far as possible and remove the
contents. The package contains four #12 x 5/8" hex-head
sheet metal screws and a drawer divider.
Hex-head screw
Drawer slide
3. Remove pedestal drawer
Using a 1/4" nut driver, remove the hex-head screws from
both drawer slides and save screws. Remove the drawer
from the slides and set aside. Push the slides back into
the pedestal.
Loading ...
Loading ...
Loading ...