Loading ...
Loading ...
Loading ...
26
en
3. Turn the rotary
knob (13) to position
4. Press and hold buttons
B (11) and
A (12) simultaneously for at least
5 seconds. Either “off” or “on”
lights up.
5. Press the start button (10) to select “on”.
6. Press and hold the start button (10) for
at least 5 seconds to conrm. All of the
LEDs light up briey.
7. LED D ashes and LED F lights up.
8. Place a container with a capacity of 0.5 l
under the milk frother outlet (6).
9. Pull out the milk frother (6) to open it.
LED F ashes.
10. Water will now ow through the lter and
rinse it.
11. When LED F lights up constantly,
press in the milk frother (6) to close it.
12. Empty the container.
The appliance is ready to use again.
Information: Rinsing the lter simultane-
ously activates the setting for the change
lter display (= LED D ashes).
The lter is no longer effective when the
change lter display appears, or at the
latest after two months. It needs to be
replaced for reasons of hygiene and so
that there is no build-up of limescale (this
could damage the appliance). Replacement
lters can be obtained from retailers or from
customer service (see “Accessories”). If no
new lter is inserted, change the setting for
the lter (see “Water hardness”).
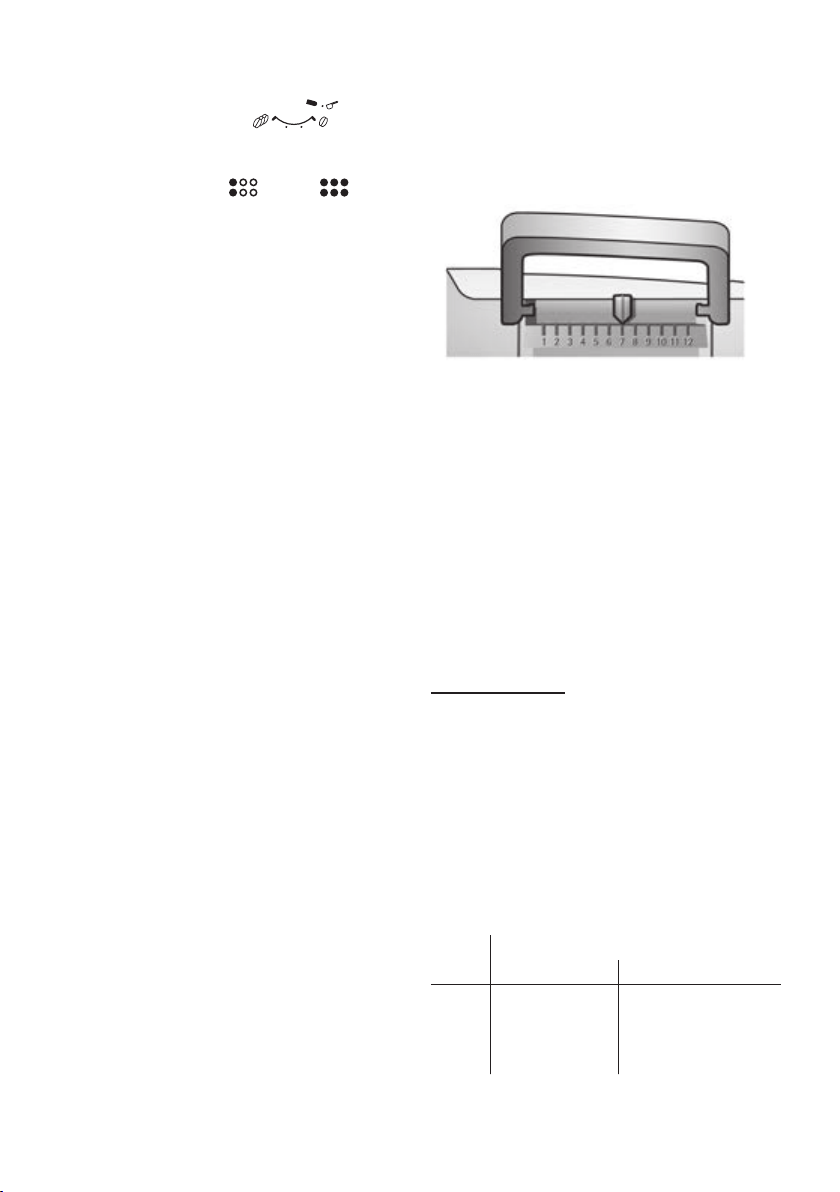
Information: You can use the lter indicator
to mark the month in which you inserted the
lter. You can also mark the month in which
you will need to replace the lter next
(at the latest after two months).
Information: If the appliance has not been
used for a prolonged period (for example,
when you are on vacation), the existing lter
should be rinsed before the appliance is
used again. To do so, dispense a cup of hot
water and pour it away.
Settings
You can customize the settings on the
appliance.
You can make the following adjustments:
Water hardness
The water hardness setting can be adjusted
on this appliance. It is important to set the
water hardness correctly so that the appli-
ance can accurately indicate when it is time
to run the descale process. The factory
setting for the water hardness is 4. You can
establish the water hardness either by using
the test strip provided or by asking your
local water provider.
Dip the test strip in the water briey, shake it
gently and check the result after one minute.
Level Water hardness
German (°dH) French (°fH)
1
2
3
4
1-7
8-14
15-21
22-30
1-13
14-25
26-38
39-54
Loading ...
Loading ...
Loading ...