Loading ...
Loading ...
Loading ...
16
Operation
Initial operation
① Open the water supply valve connected with the ice maker.
② Insert the plug of the ice maker into the electric outlet.
③ Open the door and turn the switch at the lower end of the
product to the “ICE” position.”
④ Discard the first batch of ice.
⑤ Good-quality ice is produced 1-2 hours later.
Using the ice maker
Use of the ice maker is very simple. Simply turn the switch at the
lower end of the product to the “ICE” position.
The product automatically starts ice production, which continues
until the ice container has been filled with ice. Remove the ice using
the ice scoop and insert the scoop into the holder on the inside of
the container (If you place the container in the ice, it may be
submerged in the ice).
The ice maker produces 24 ice cubes every 30 minutes. Also, the
produced ice drops down into the ice container; water is supplied to
the ice maker and the water is also drained.
Important Information: Do not put anything other than ice in the ice
container. Wine or beer bottles are unsanitary and a detached
label may block the drain pipe.
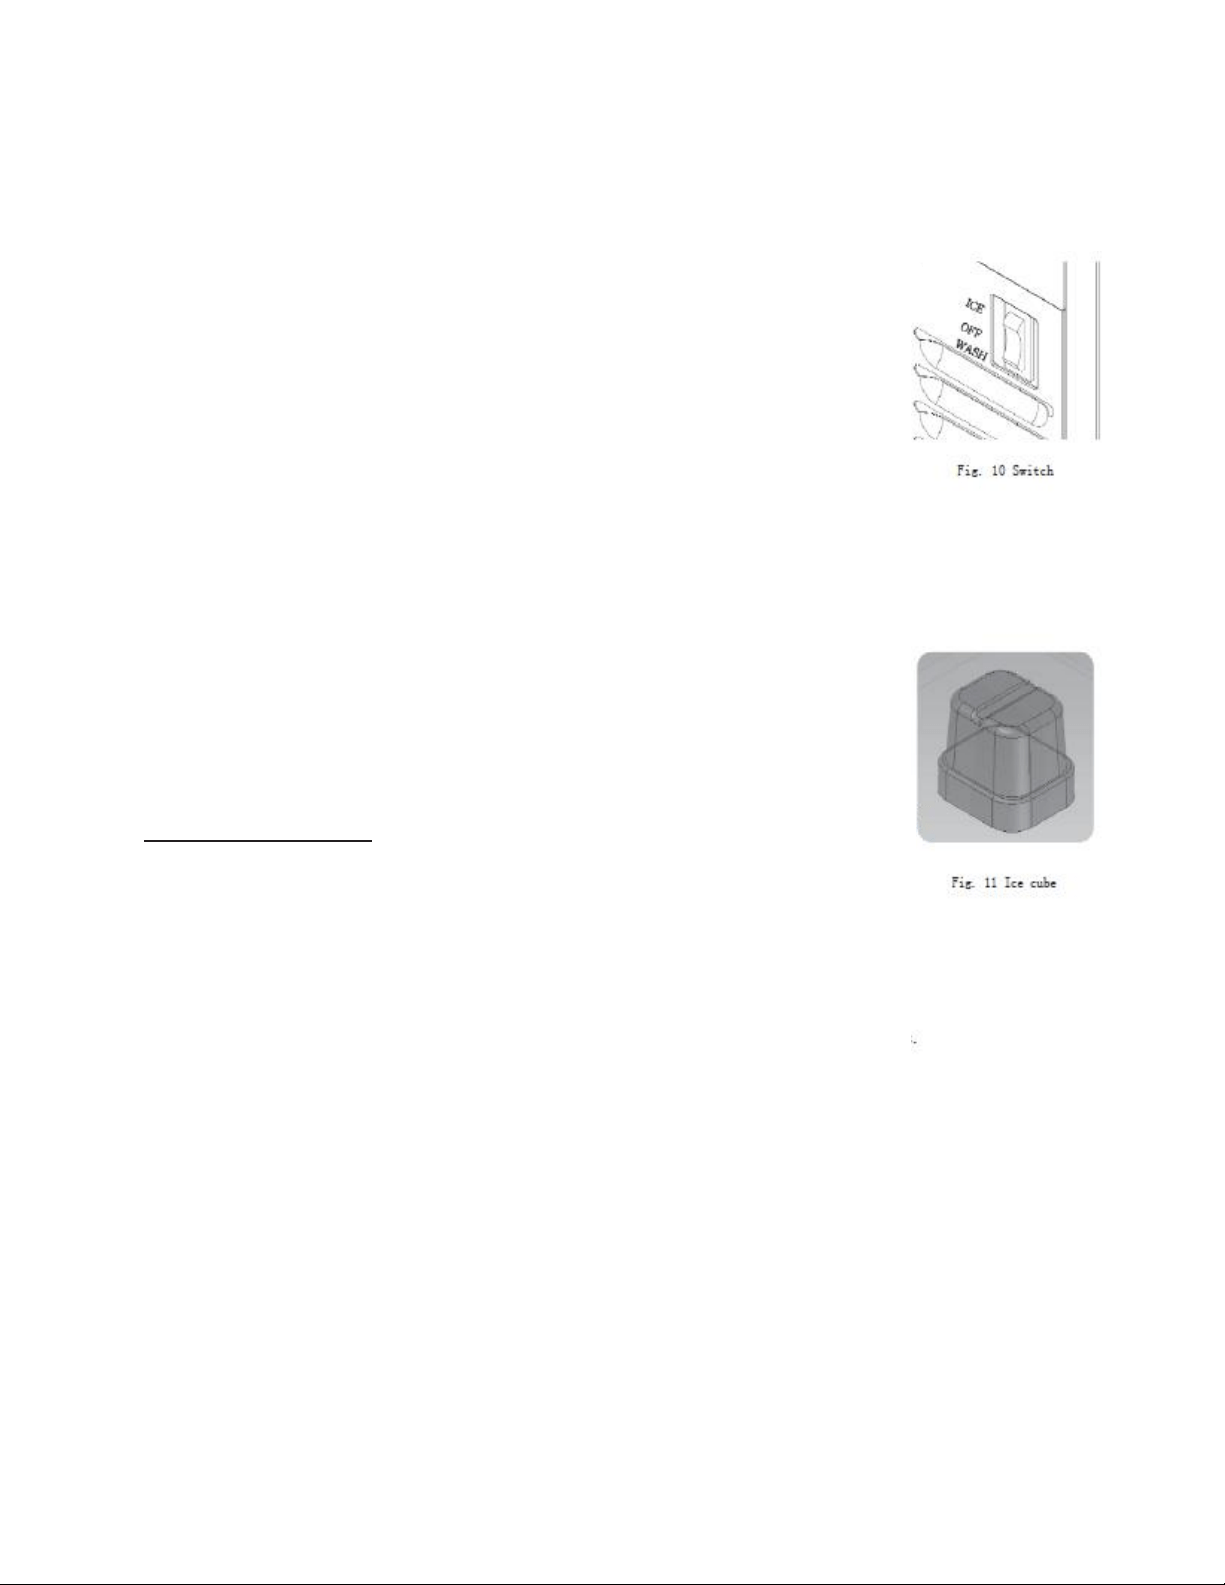
Ice shape
The ice has a rectangular bell shape (refer to Fig. 11).
Newly produced ice is clear and transparent. The inside of the ice is
sometimes cracked; however, such cracks commonly occur in the
production process and disappear with time.
Ice stored in the container for a long time may gather frost on the
outside and look muddy. This is normal and, once water is poured
on the ice, such frosting disappears.
Ice container
The product continues making ice until the level of ice reaches the
temperature sensing tube(right side). It then ceases operation. The
model with a drain pump drains away melted ice when the ice
maker is turned off. The pump works for only a few seconds.
Loading ...
Loading ...
Loading ...