Loading ...
Loading ...
Loading ...
12
49-80778
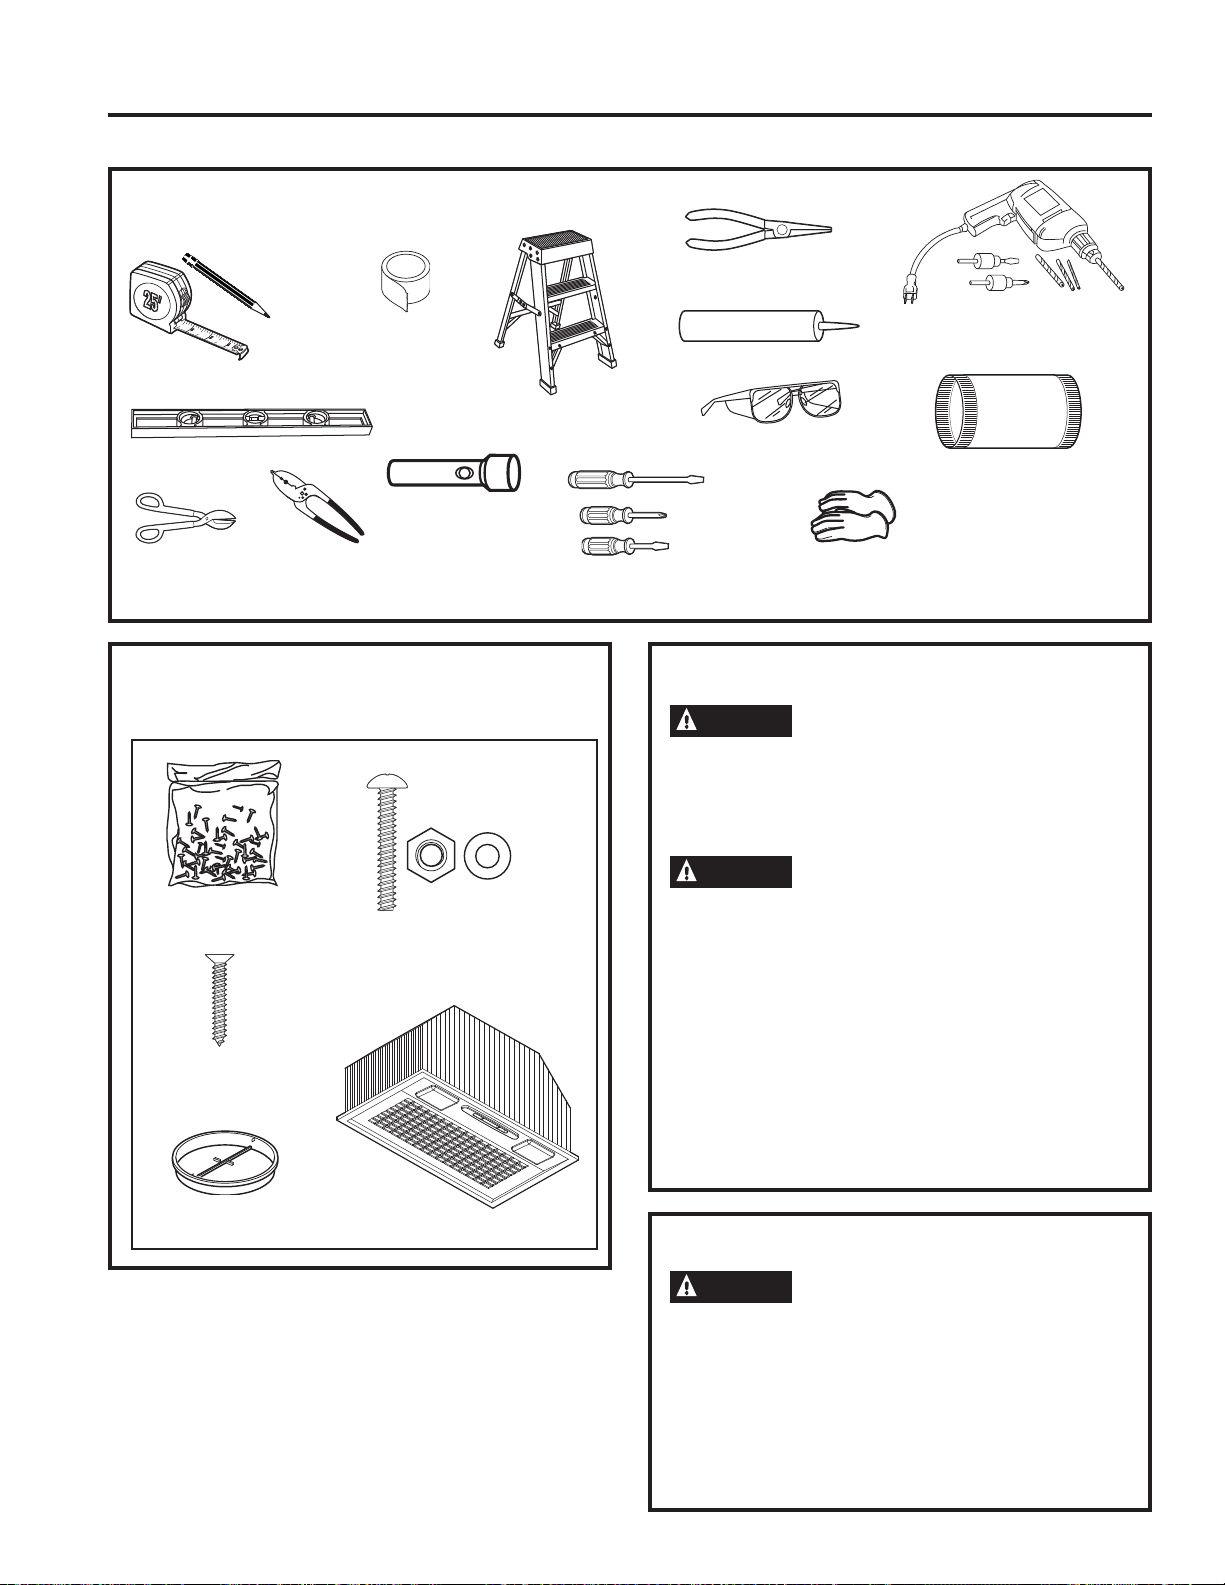
TOOLS AND MATERIALS REQUIRED
(NOT SUPPLIED)
Pencil and tape measure
Step ladder
Phillips and flat-
blade screwdrivers
Spirit level
Safety glasses
6" ducting and
caps as needed
Aluminized
duct tape
Electric drill and
appropriate bits
Gloves
Flashlight
Silicone
Needle-nose pliers
Tin snips
Wire cutter/
stripper
Installation Preparation
INSTALLATION PREPARATION
PARTS PROVIDED
Locate the parts packed with the hood.
Phillips head
wood screws
Damper
assembly
Phillips head machine
screws, nuts and washers
Hardware
bag
Hood
PLAN THE INSTALLATION
CAUTION
To reduce risk of fire and to
properly exhaust air, be sure to duct the
air outside – Do not vent exhaust air into
spaces within walls or ceilings or into attics,
crawl spaces, or garages.
WARNING
PERSONAL INJURY HAZARD
It is recommended that 2 people are used to
install the range hood. Failure to properly
lift rangehood could result in damage to the
product or personal injury.
NOTE: This rangehood can be installed as
either ducted or recirculation. In a ducted
application, this rangehood can be vented
through the wall or ceiling. When installed for
recirculation, the rangehood vents back into the
room.
REMOVE THE PACKAGING
CAUTION
Wear gloves to protect against
sharp edges.
• Remove the duct covers.
• Remove the hardware bag, literature package
and other boxed parts.
• Remove and properly discard the protective
plastic wrapping and other packaging
materials.
Loading ...
Loading ...
Loading ...