Loading ...
Loading ...
Loading ...
12
Please note:
For hotter coee, see the section “10.4 Tips for a hotter coee:”.
Important!
• If the coee is delivered a drop at a time, too weak and not
creamy enough or too cold, read the tips in the “19. TROU-
BLESHOOTING” section.
• Lights may be displayed on the control panel during use.
Their meaning is given in the sections “17. MEANING OF
LIGHTS DURING NORMAL OPERATION” and “18. MEANING
OF THE ALARM LIGHTS”.
10.6 Making coee using pre-ground coee
Important!
• Never add pre-ground coee when the machine is o or it
could spread through the inside of the machine and dirty
it. This could damage the appliance.
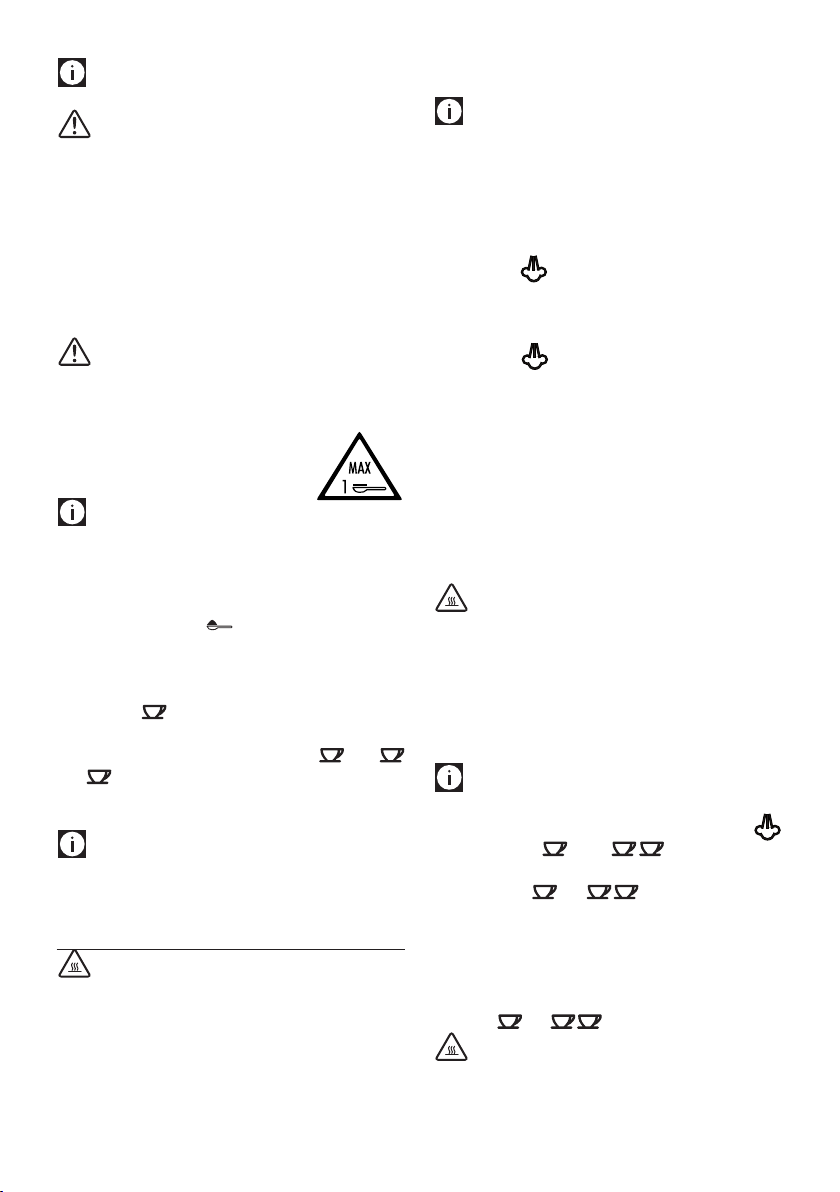
• Never use more than one level measure
or it could dirty the inside of the machine
or block the funnel.
Please note:
If you use pre-ground coee, you can only make one cup of
coee at a time.
1. Turn the coee taste selection knob (B9) anticlockwise as
far as it will go to the position.
2. Make sure the funnel (A8) is not blocked, then add one
level measure of pre-ground coee (A23) (g. 13).
3. Place a cup under the coee spouts (g 9).
4. Press the cup coee button (g. 11).
5. Preparation begins and can be interrupted at any moment
by pressing one of the two coee buttons ( -B3 or
-B5).
To deactivate the pre-ground coee function, turn the knob to
one of the other positions.
Please note:
A few seconds may elapse between energy saving mode and
delivery of the rst coee.
11. MAKING CAPPUCCINO
Important! Danger of burns!
During preparation, steam is given o. Take care to avoid scalds.
1. When preparing cappuccino, make the coee in a large
cup;
2. Fill a container with about 3,53 .oz/ 100 grams of milk for
each cappuccino to be made.
In choosing the size of the container, bear in mind that the
milk doubles or triples in volume;
Please note:
For a richer denser froth, use skimmed or partially skimmed
milk at refrigerator temperature (about 41°F/ 5°C).
To avoid milk with poor froth or large bubbles, always clean
the cappuccino maker (A9) as described in the section
“11.1 Cleaning the cappuccino maker after use”.
3. Press the button (B7). The corresponding light (B6)
ashes, indicating that the appliance is heating up;
5. Turn the cappuccino maker outwards and immerse in the
milk container (A9- g. 14);
6. When the light stops ashing and comes on steadily,
turn the steam/hot water knob to the l position (B10 - g.
5). Steam is delivered from the cappuccino maker, giving
the milk a creamy frothy appearance and making it more
voluminous;
7. For a creamier froth, rotate the container with slow move-
ments in an upward direction. (You should not discharge
steam for more than 3 minutes at a time);
8. When you have obtained the required froth, stop steam
delivery by turning the steam/hot water knob back to the
0 position.
Important! Danger of burns!
Always turn the steam/hot water knob to the 0 position
before removing the container with the frothed milk to
avoid burns caused by splashes of boiling milk.
9. Add the milk froth to the cup of coee prepared previously.
The cappuccino is ready. Sweeten to taste and, if desired,
sprinkle the froth with a little cocoa powder.
Please note:
• If immediately after making cappuccino and deactivating
the steam function by pressing the steam button
you press the (B3) or (B5) button because
you want to make another coee, the coee maker will be
too hot (the and lights (B2 and B4) ash to
indicate an unsuitable temperature). You must wait about
ten minutes for the appliance too cool down suciently.
To cool it down more quickly, after deactivating the steam
function, open the steam/hot water knob and let the water
ow out of the cappuccino maker into a container until the
lights and stop ashing.
Danger of burns!
Avoid contact with splashes of water.
Loading ...
Loading ...
Loading ...