Loading ...
Loading ...
Loading ...
Initial operation 11
3Initial operation
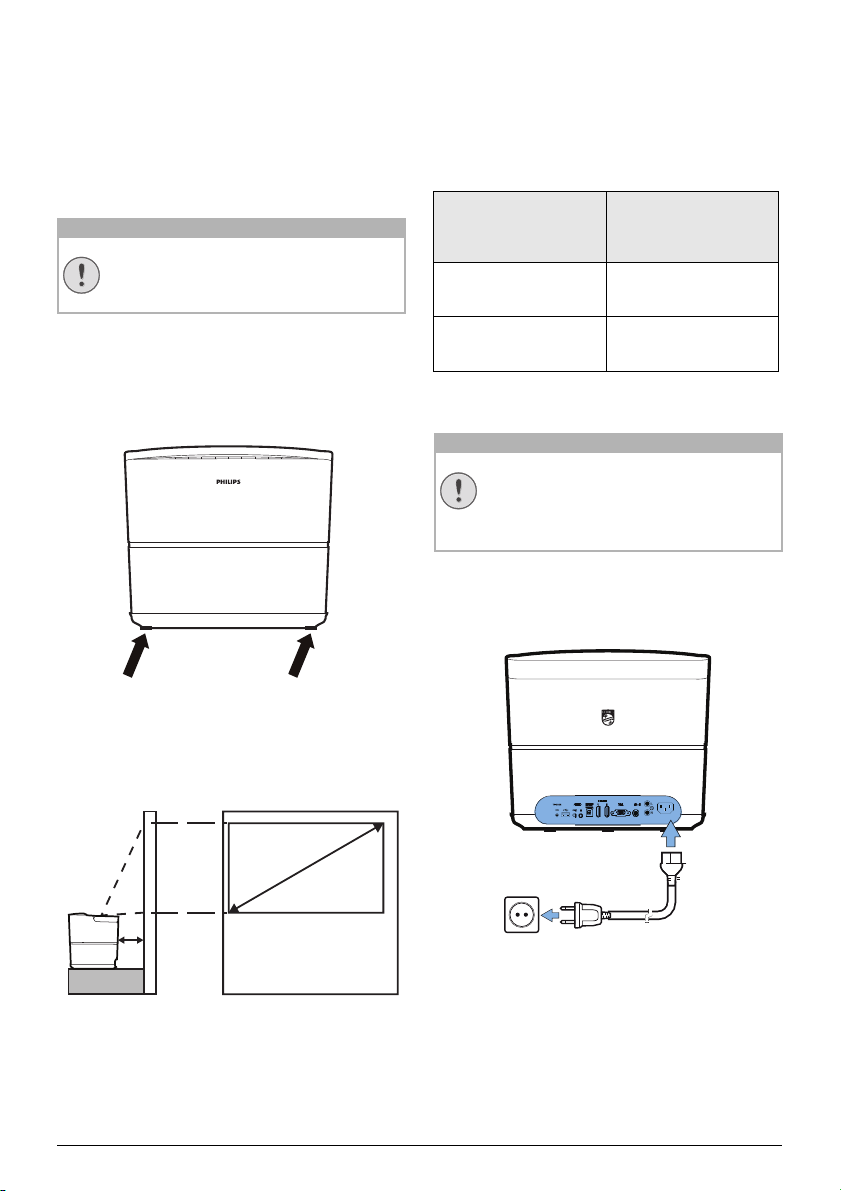
Setting up the device
Before installing your device, make sure that
the projector is turned off and the power cable
is unplugged from the power outlet.
1 Position the device flat on the table with the
rear side in front of the projection surface.
Additionally the image can be optimally
fitted to the projection surface with the
adjustment of the feet under the projector.
The device compensates for the distortion from
the slanted projection (pincushion distortion).
Check that the projection surface is appropri-
ated to the projector. The distance between the
projector and the screen determines the actual
size of the image.
To change the size of the screen, just move the
projector towards or away from the wall.
The size of the screen (b) is comprised between
0.1 and 0.42 metres depending on the projec
-
tion distance (a), as described in the following
table.
Connecting power supply
1 Connect the power cable into the socket on
the rear side of your device (1).
2 Plug the power cable to outlet in the wall (2).
CAUTION!
Remove protection foil before operating!
Do not place any objects in front of the
lens!
a
b
Diagonal size (b)
(mm)
[inch]
Projection distance
(a)
(mm)
1270
[50]
108
3048
[120]
420
CAUTION!
Always use the B button to turn off the
projector. This is essential to allow the
necessary cooling-down time for the
UHP lamp!
b
a
Loading ...
Loading ...
Loading ...