Loading ...
Loading ...
Loading ...
Wheel mounting
1. Unscrew the wheel lug bolts and remove
the wheel.
2. Put the new wheel or compact wheel on
and screw in at least two bolts.
If original MINI light alloy wheels are not
mounted, any accompanying lug bolts also
have to be used.
3. Screw in the remaining the lug bolts and
tighten all bolts well in a crosswise pattern.
4. Lower the vehicle and remove the vehicle
jack.
After the wheel change
1.
Tighten the lug bolts crosswise. The tight‐
ening torque is 101 lb ft/140 Nm.
Check for secure seating of the lug
bolts
For safety reasons, have the secure seating
of the lug bolts checked with a calibrated
torque wrench; otherwise, a safety hazard
results from incorrectly tightened lug
bolts.◀
2. Stow the defective wheel in the cargo area.
The defective wheel cannot be stored in the
compact wheel bracket because of its size.
3. Check tire inflation pressure at the next op‐
portunity and correct as needed.
4. Reinitialize the Flat Tire Monitor, refer to
page 98.
Reinitialize the Tire Pressure Monitor, refer
to page 95.
5. Replace the damaged tires as soon as pos‐
sible.
Driving with the compact wheel
Watch the speed when driving with the
compact wheel
Drive conservatively and do not exceed a speed
of 50 mph/80 km/h; otherwise, changed driving
characteristics such as reduced lane stability
while braking, extended braking distance and
changed self-steering properties in the limit
area.◀
Mounting only one compact wheel
Only a single compact wheel may be
mounted. Reinstall wheels and tires of the orig‐
inal size as quickly as possible; otherwise, there
is a safety risk.◀
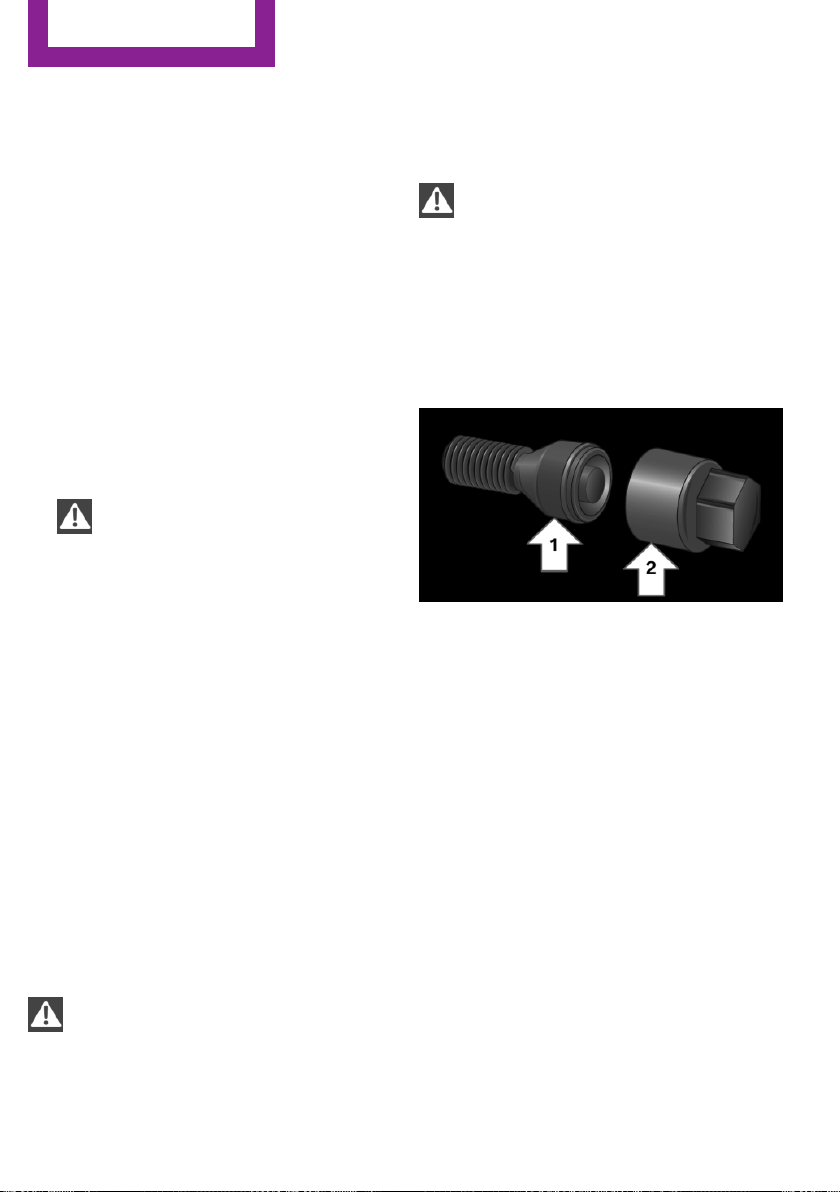
Lug bolt lock
The adapter of the lug bolt lock is located in the
onboard vehicle tool kit, refer to page 188.
▷ Lug bolt, arrow 1.
▷ Adapter, arrow 2.
Removing
1.
Attach the adapter to the wheel lug.
2. Unscrew the lug bolt.
Remove the adapter after screwing the lug bolt
back on.
Vehicle battery
Maintenance
The battery is maintenance-free, i.e., the elec‐
trolyte will last for the life of the battery.
Your service center will be glad to advise you
on questions regarding the battery.
Seite 198
MOBILITY
Replacing components
198
Online Edition for Part no. 01 40 2 927 905 - II/14
Loading ...
Loading ...
Loading ...