Loading ...
Loading ...
Loading ...
52
SETTING UP FUNCTIONS USING MENUS
The projector automatically detects the
input signal (ANALOG RGB) from the
connected computer to make the optimum
settings for the total number of dots,
tracking, and so on.
Perform the auto PC adjust-
ment function.
• Most computers can project an
image optimally using an auto PC
function.
• Signal types supported by the
computers that can use the auto
PC function are listed in the table
on page 84.
• If an image cannot be projected
correctly even with the auto PC
function, manually specify the
parameters ([Total dots] to [Verti-
cal pixels]) for the next item [Input
signal settings]. (P53 to P55)
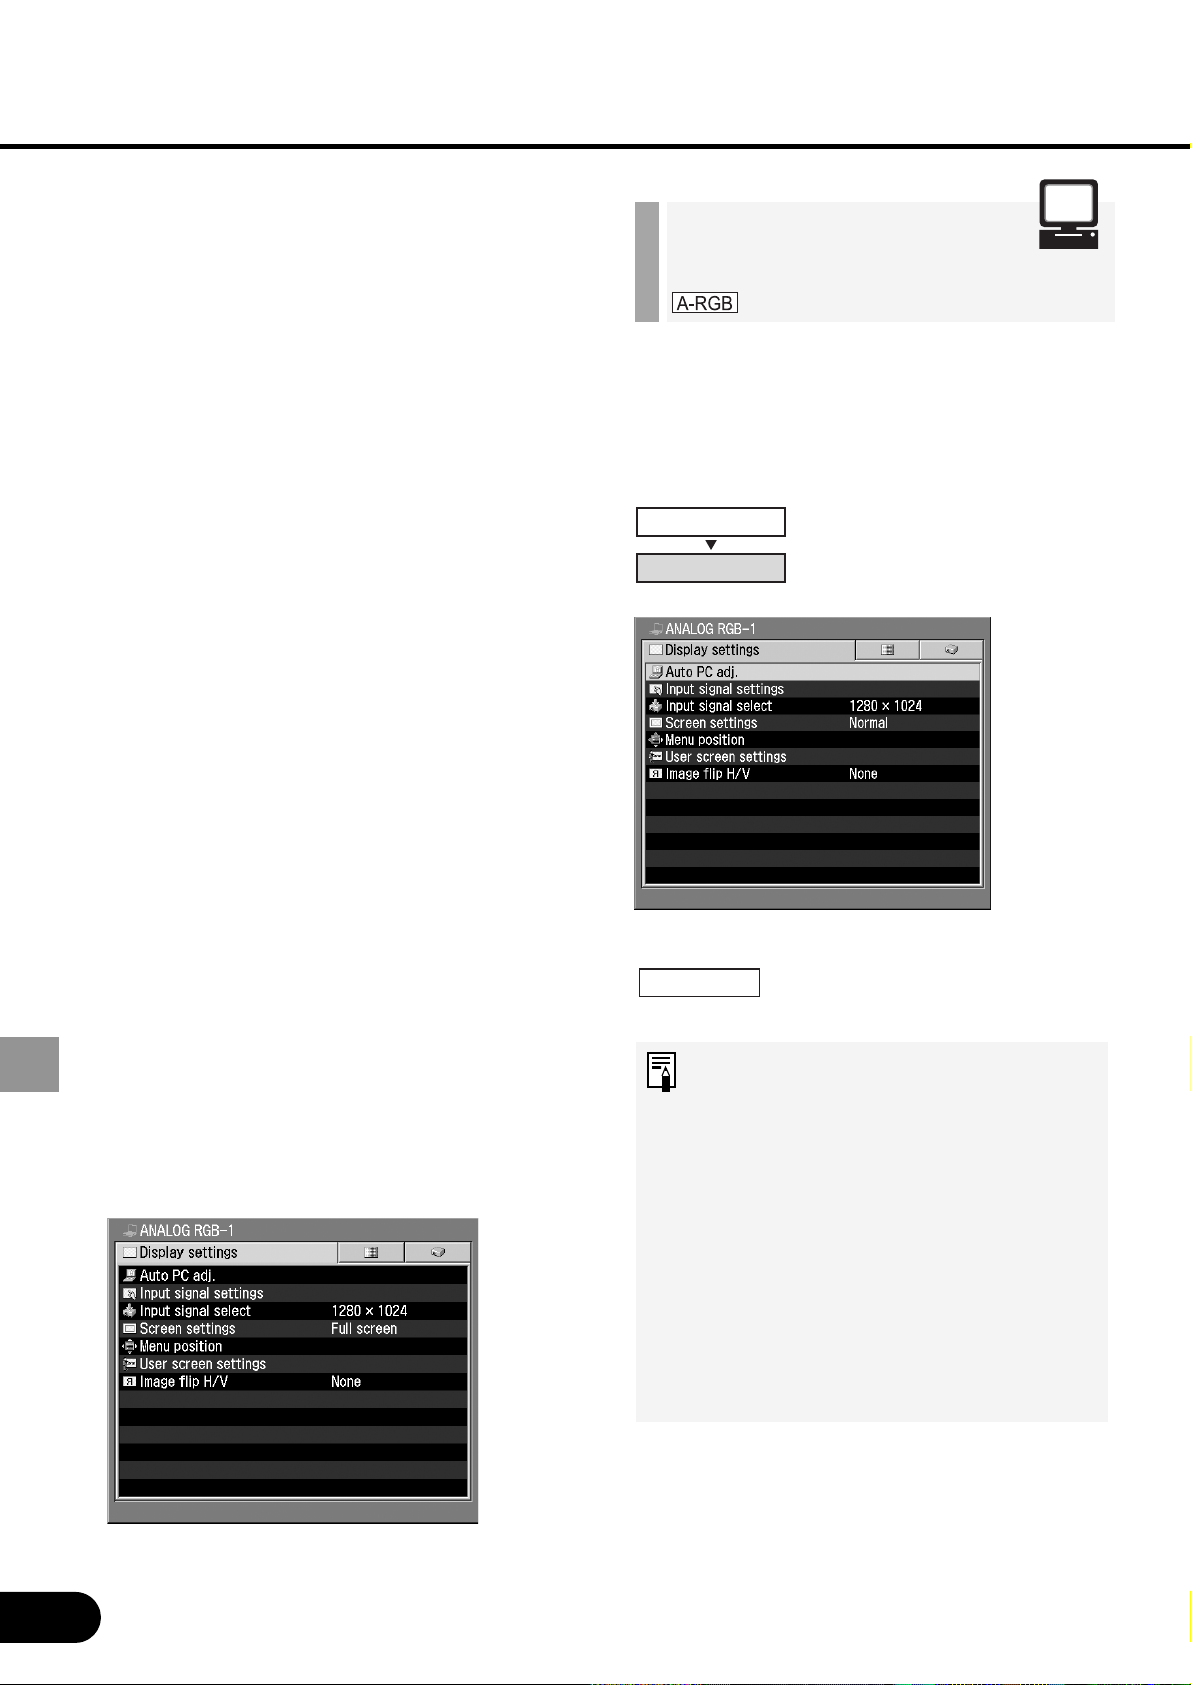
Display Settings
Menu
Make various settings related to input signals of
the computer and AV equipment as well as the
settings related to display.
Performing the auto pc [Auto pc adj.] ............... P52
adjustment
Adjusting the total [Total dots]................... P53
number of dots
Adjusting the tracking [Tracking] .................... P53
Adjusting the [
Horizontal position
] ....... P54
horizontal position
Adjusting the vertical [
Vertical position]
........... P54
position
Adjusting the number [
Horizontal pixels
] .......... P55
of horizontal pixels
Adjusting the number [Vertical pixels]............ P55
of vertical pixels
Selecting an input [Input signal select] ....P56, 57
signal type
Selecting a Screen
mode
[Screen settings] ........P57, 58
Selecting a menu [Menu position]............ P58
position
Capturing a logo to be [Logo capture] ............. P59
displayed
Selecting a logo [Logo position]............. P59
display position
Displaying a logo [No signal screen] ....... P60
(No signal input)
Displaying a logo [No show screen] ........ P60
(No Show)
Displaying a logo [Projector on]............... P61
(Projector on)
When Ceiling-mounted [Image flip H/V] ........... P61
or for Rear Projection
Performing the Auto
PC Adjustment
Display settings
Auto PC Adj.
OK
Loading ...
Loading ...
Loading ...