Loading ...
Loading ...
Loading ...
English-5 | oster.com English-6 | oster.com
generaL informaTion
Timer / Toast Shade Setting Tip
To set the timer for less than 20 minutes, ALWAYS turn the timer past the 20-minute mark
to engage timer switch and then turn it back to desired time.
Heating Elements
The top and bottom heating elements will cycle ON and OFF to maintain the desired temperature.
You may not see the heating elements glowing.
Positioning Rack
To accommodate a wide variety of foods the oven has
three rack positions. (See Figure 3)
Positioning of the rack will depend on the size of the
food and desired browning.
Before removing the rack allow the unit to cool.
For best toast and pizza results, position the rack in the
middle rack position.
PLEASE NOTE – The oven rack may tilt downward causing
food to shift when the rack is pulled out, proceed with caution.
Positioning Pan
To accommodate a wide variety of foods the oven has two pan positions. The pan can be
placed on top of the rack for baking or inserted into the guide rails below the rack for
grilling or broiling. (See Figures below)
For Baking For Grilling
or Broiling
Removing Food
Always open door fully and remove food carefully with oven mitt.
Figure 3
To Use The ToasT fUnCTion
NOTE: Different types of bread require
different settings. Lighter breads and
waffles require a lighter setting. Darker
breads, muffins, and English muffins
require a darker setting.
Arrange food on the wire rack.
• Set function to TOAST
3
. Both
the top and bottom heater elements
will operate.
• Turn the Temperature Control Knob
to the 450°F/TOAST
1
setting.
•
To set the timer
4
, turn the timer
past the 20 minute mark to engage
timer switch and set back to desired toast “ ” between 0 and 10 minutes.
NOTE: The top and bottom heating elements will cycle ON and OFF to maintain the
desired temperature.
WARNING:
Cooked food, metal rack, and door can be very hot, handle with care.
Do not leave the unit unattended.
PreheaTing The oven
• Set to the desired Function
3
.
• Turn the Temperature Control Knob
1
to the desired temperature.
• Set the Timer Knob
4
to desired time and allow 7–9 minutes for the oven to preheat.
To Use The bake fUnCTion
• Arrange food on the wire rack or in the baking pan.
• Set function to BAKE.
3
Both the top and bottom heater elements will operate.
• Turn the Temperature Control Knob
1
to the desired temperature.
• Turn the Timer Knob
4
to the desired time.
NOTE: The top and bottom heating elements will cycle ON and OFF to maintain the
desired temperature.
NOTE: If cook time is less than 20 minutes, you must turn Timer past the 20 minutes mark
to engage the timer back to desired time.
WARNING:
Cooked food, metal rack, and door can be very hot, handle with care.
Do not leave the unit unattended.
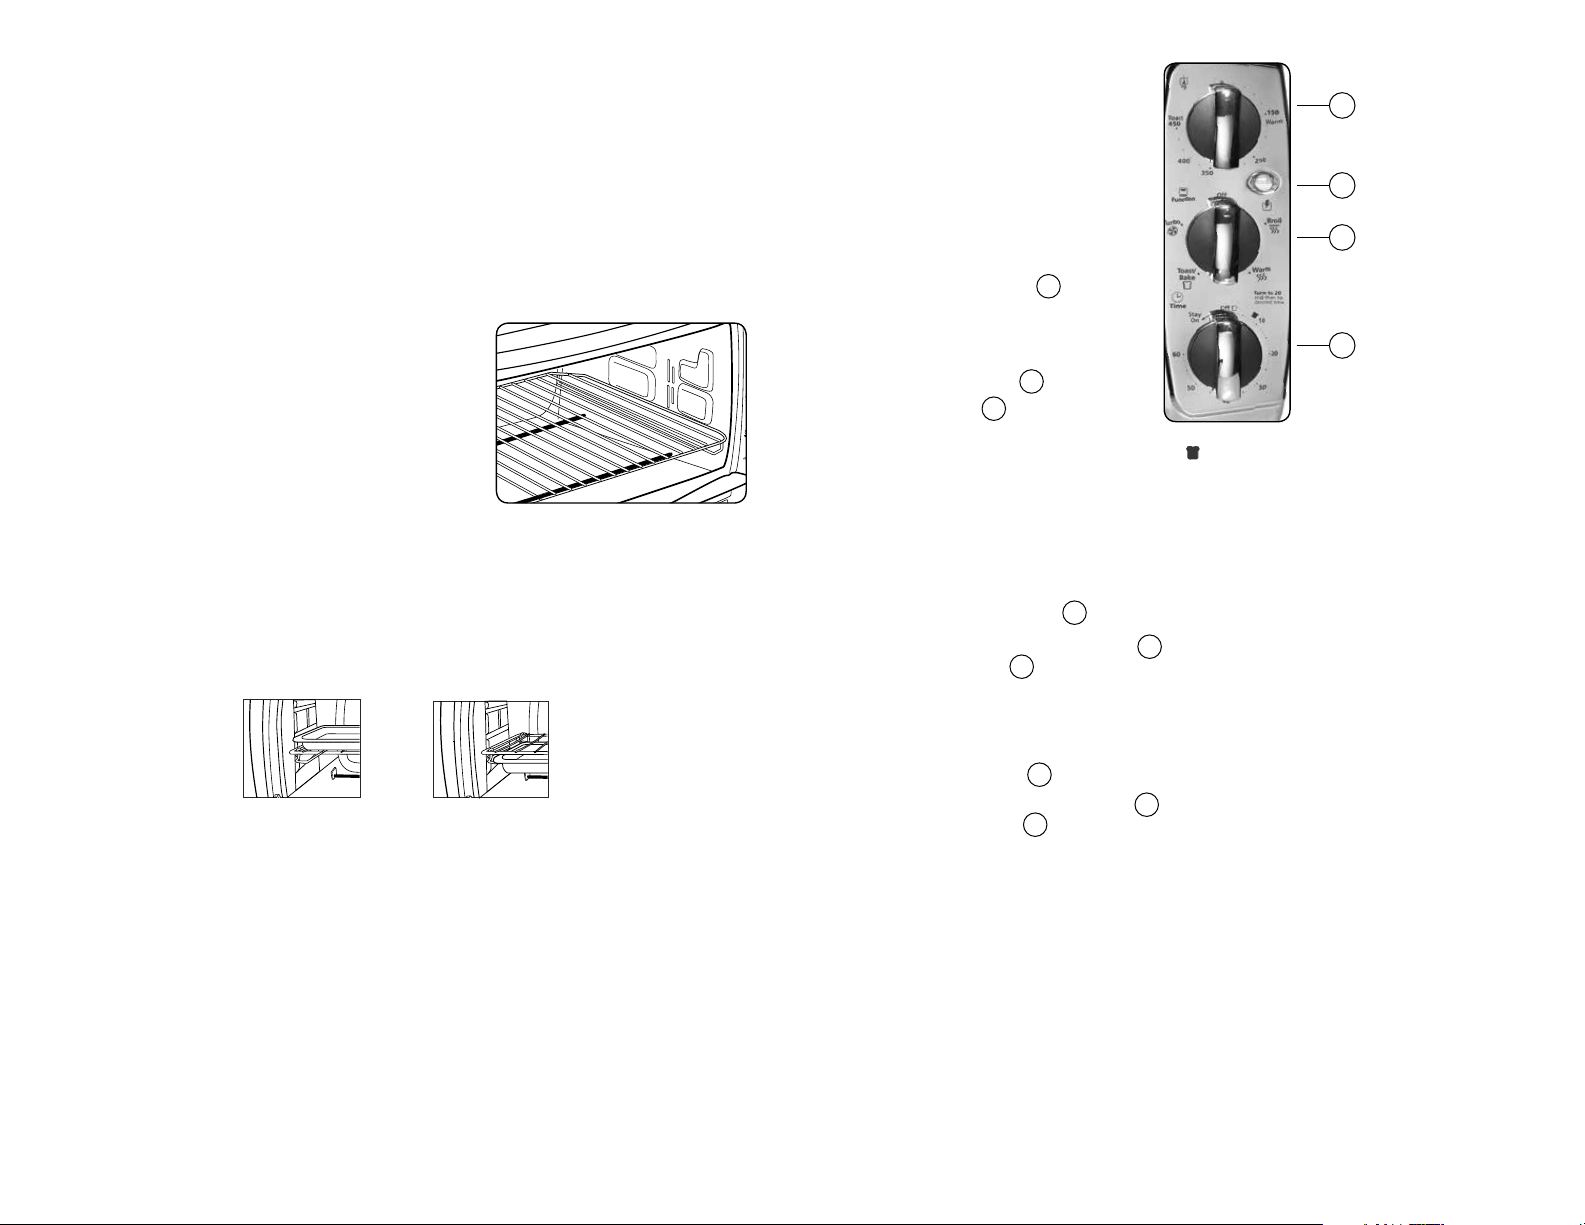
Using YoUr CoUnTerToP oven
Temperature
Setting
Power Light
Function Setting
Timer/Toast
Setting
1
2
3
4
Loading ...
Loading ...
Loading ...