Loading ...
Loading ...
Loading ...
Recording Your Performance
NU1X Owner’s Manual •29
4 Select a Voice (page 17) and other parameters such as Beat
(page 19) for recording.
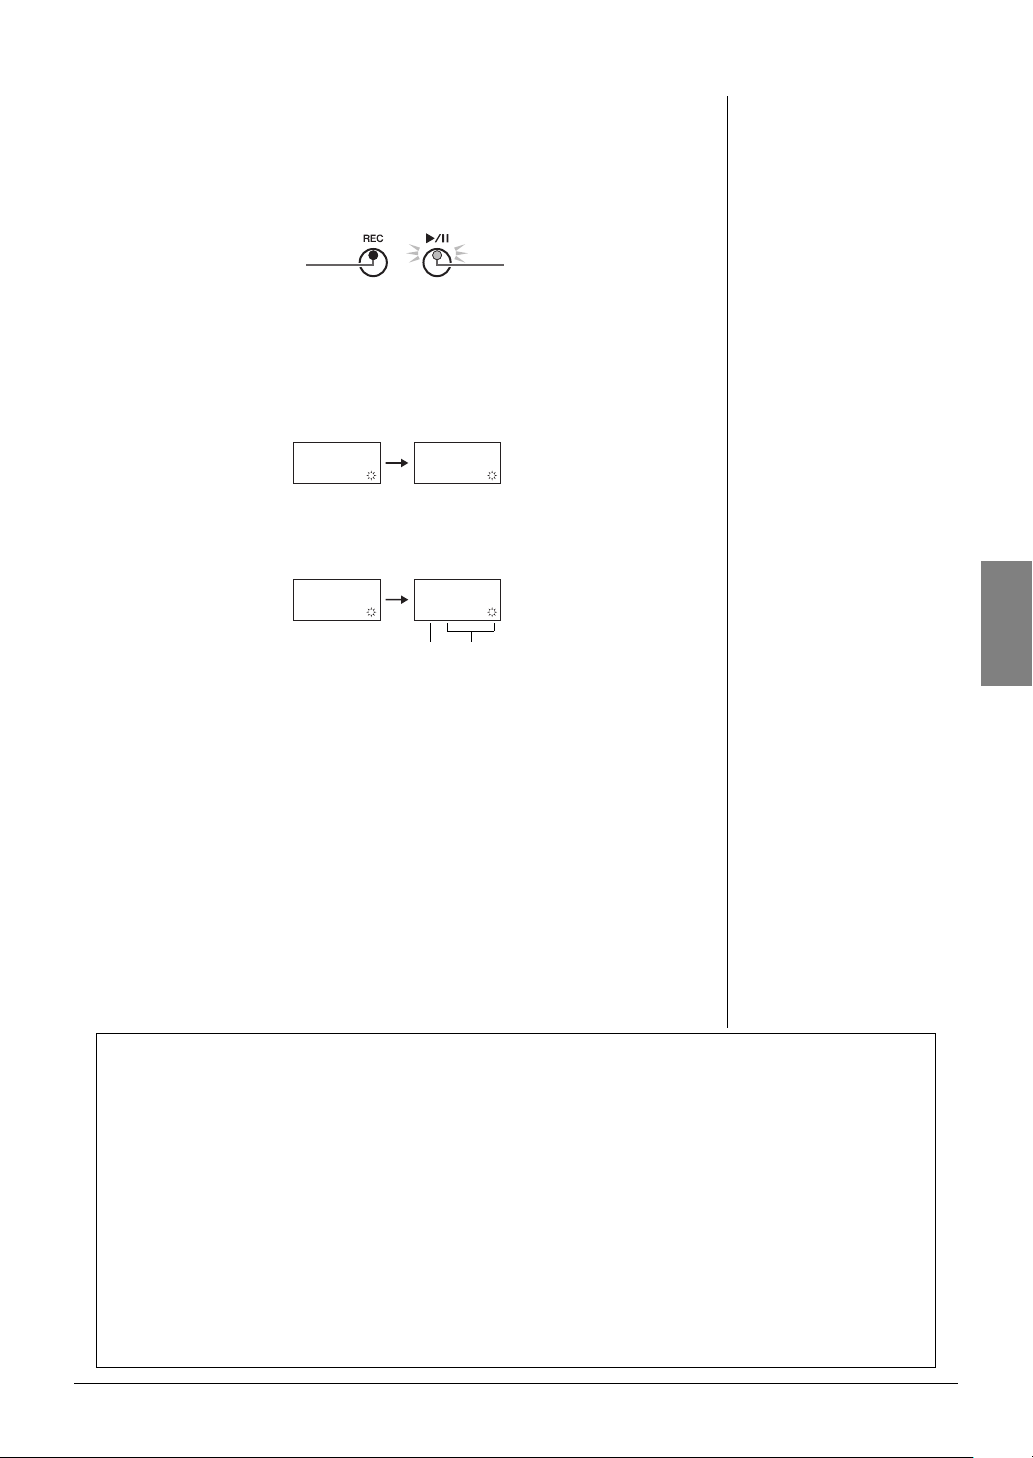
5 Press [REC] to engage the Record mode.
The [REC] lamp lights up, and the [>/o] (Play/Pause) lamp flashes according to
the current tempo.
To exit from the Record mode, press [REC] again.
6 Start recording.
Play a note on the keyboard or press [>/o] to start recording.
With MIDI Recording:
While recording, the current measure number is shown on the display.
With Audio Recording:
While recording, the elapsed time is shown on the display.
7 Press [REC] or [>/o] to stop recording.
Dashes appear on the display in succession, indicating that the recorded data is
being saved. After the data is saved, an “
End
” message appears for three sec-
onds, indicating that the Record mode is disengaged.
NOTICE
While dashes appear on the display in succession, never turn off the power or discon-
nect the USB flash drive. Doing so may delete all Song data in the instrument, including
external Songs (page 25).
8 Press [>/o] to play the recorded Song.
To stop playback, press [DEMO/SONG].
Regarding the operations such as Pause or Rewind/Fast forward etc., refer to
“Playback-related Operations” on page 27.
Using the Metronome
You can use the metronome while record-
ing, although the metronome sound will not
be recorded.
If memory space is running low:
An “
EnP
” or “
FUL
” message will
appear on the display after pressing [REC].
If “
EnP
” appears, you can start recording.
However, keep in mind that your perfor-
mance data may not have been correctly
saved or recording may stop automatically.
If “
FUL
” appears, you cannot start
recording. We recommend that you first
remove any unnecessary files (page 30) to
ensure sufficient memory capacity.
FlashesLights up
1. 2.
Measure number
NOTE
With audio recording, audio signals such
as those from the [AUX IN] jack are also
recorded.
0.01. 0.02.
Indicates minutes. In
case of 10 minutes
or more, only the
lowest digit is
shown.
Indicates seconds.
Elapsed time
NOTE
The recorded User Song data on this
instrument can be copied to a USB flash
drive. Refer to page 33.
When engaging the Record Mode (pressing [REC]) without selecting a Song number
Your performance will be recorded to the selected Song when you press [REC].
NOTICE
When the selected Song contains data, keep in mind that recording new data will erase the existing data.
If one of the following Songs (page 25) is selected, your performance will be recorded to a User Song (page 25) as indi-
cated.
• External audio Song “
C
.XX” .............................................................................Recorded to “
A
.XX”.
• External MIDI Song on USB flash drive “
F
.XX”.............................................. Recorded to “
S
.XX”.
• External MIDI Song in internal memory of the instrument “
L
.XX” ................. Recorded to “
U
.XX”.
• Voice Demo Song “
d
.XX”, Preset Song “
P
.XX” .............................................. Recorded to “
U
.XX”.
Then, the Song number as the Recording target will be the lowest Song number (of those containing no data) in each
Song category, “
A
”, “
S
” and “
U
”.
If there are no empty User Songs, “
A.0.0.
”, “
S.0.0.
”, or “
U.0.1.
” will be used as the Recording target.
Loading ...
Loading ...
Loading ...