Loading ...
Loading ...
Loading ...
16
REVERSING THE DOOR SWING
Arrange the coil of tubing so that it does not vibrate
against the back of the refrigerator or against the
wall. Push the refrigerator back to the wall.
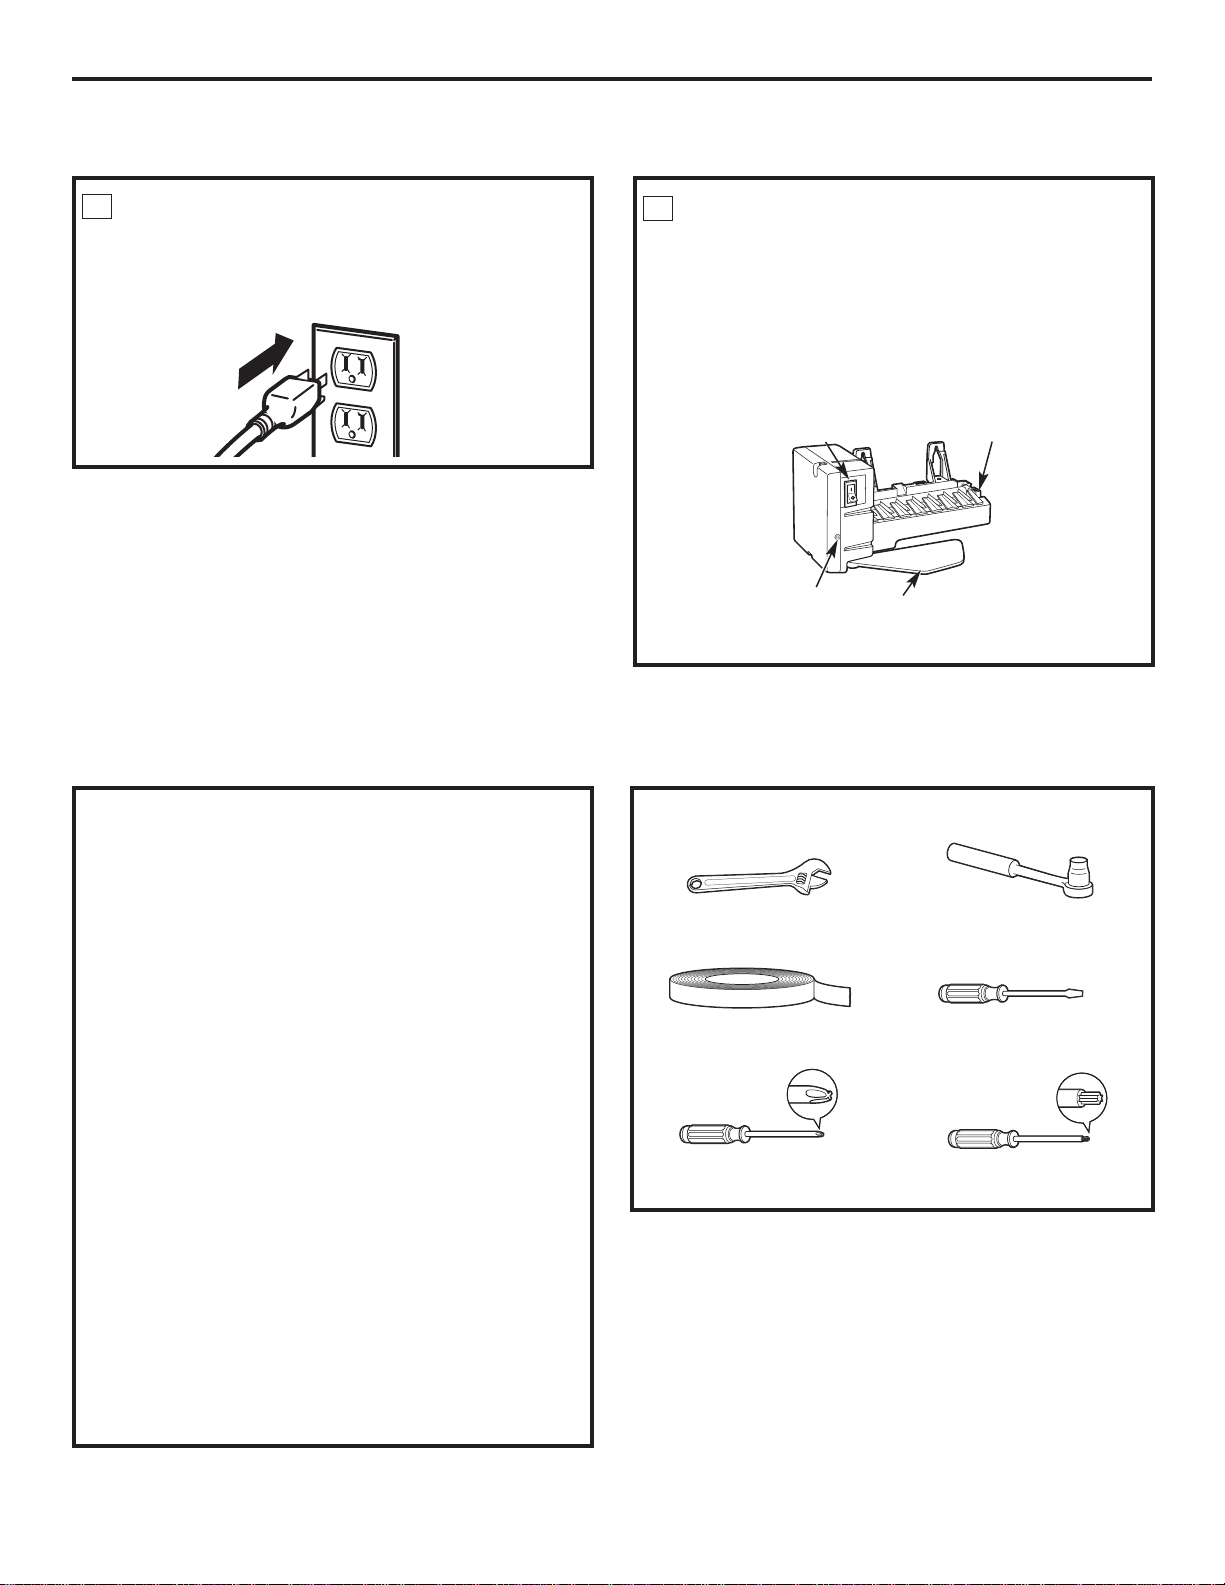
PLUG IN THE REFRIGERATOR
11
INSTALLING THE WATER LINE (CONT.)
Installation Instructions
TOOLS YOU WILL NEED
IMPORTANT NOTES
When reversing the door swing:
t Read the instructions all the way through before
starting.
t)BOEMFQBSUTDBSFGVMMZUPBWPJETDSBUDIJOHQBJOU
t4FUTDSFXTEPXOCZUIFJSSFMBUFEQBSUTUPBWPJEVTJOH
UIFNJOUIFXSPOHQMBDFT
t1SPWJEFBOPOTDSBUDIJOHXPSLTVSGBDFGPSUIFEPPST
IMPORTANT: Once you begin,do not move the
DBCJOFUVOUJMEPPSTXJOHSFWFSTBMJTDPNQMFUFE
ese instructions are for changing the hinges from
the right side to the left side —if you ever want to
change the hinges back to the right side, follow these
same instructions and reverse all references to left and
right.
tOnce door swing is finalized, ensure the logo badge
JTQSPQFSMZBMJHOFEBOEQFSNBOFOUMZTFDVSFEUPUIF
door by removing the adhesive cover on the back
side.
NOTE:"SFQMBDFNFOUMPHPCBEHFJTJODMVEFE
Unplug the refrigerator from its electrical outlet.
Empty all door shelves, including the dairy
compartment.
START THE ICEMAKER
Power switch models – 4FU the icemaker QPXFS
switch to the I (on) QPTJUJPO e icemaker will
not begin to PQFSBUF until it reaches its PQFSBUJOH
UFNQFSBUVSF of 15°F (–9°C) or below. It will then
begin PQFSBUJPO automatically if the icemaker
QPXFS switch is in the I (on) QPTJUJPO and the
green light will come POQPXFSTXJUDINPEFM
Icemaker
Feeler Arm
Power
Switch
Green Power
Light
Power switch model
12
Thin-blade Screwdriver
Masking Tape
Adjustable Wrench
5/16” Socket
Ratchet Driver
Phillips Screwdriver Torx T-20 Driver
Loading ...
Loading ...
Loading ...