Loading ...
Loading ...
Loading ...
79
NETWORK menu
Item Description
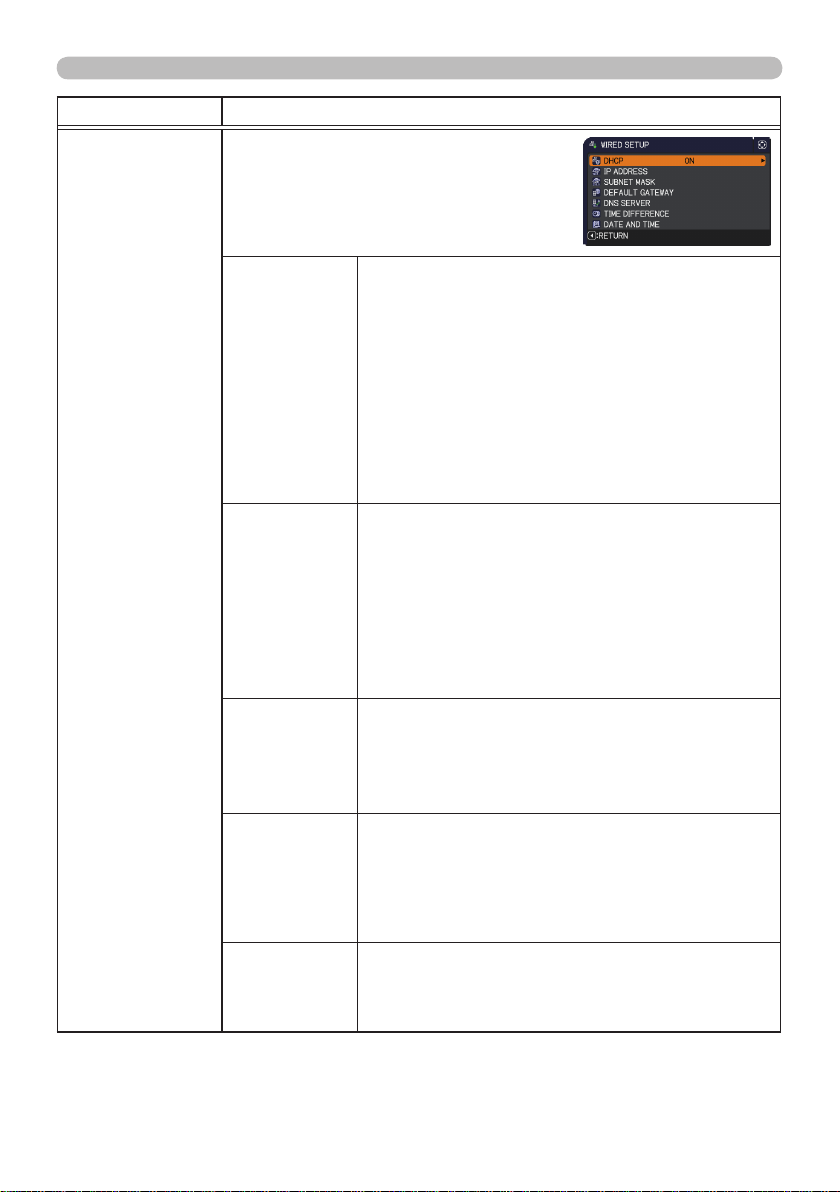
WIRED SETUP
Selecting this item displays the WIRED
SETUP menu for the wired LAN.
Use the ▲/▼ buttons to select an item,
and the ► or ENTER button on the remote
control to perform the item.
DHCP
(Dynamic Host
Conguration
Protocol)
Use the ▲/▼ buttons to turn DHCP on/off.
ON
ó
OFF
Select OFF when the network does not have
DHCP enabled. To save the setting, press the ►
button.
• When the “DHCP” setting changes to “ON”, it
takes a little time to obtain IP address from DHCP
server.
• Auto IP function will be assigned an IP address if
the projector could not obtain an IP address from
server even if DHCP is “ON”.
IP ADDRESS
Use the ▲/▼/◄/► buttons to enter the IP
ADDRESS.
This function can only be used when DHCP is set
to OFF.
• The IP ADDRESS is the number that identies
this projector on the network. You cannot have two
devices with the same IP ADDRESS on the same
network.
• The IP ADDRESS “0.0.0.0” is prohibited.
SUBNET
MASK
Use the ▲/▼/◄/► buttons to enter the same
SUBNET MASK used by your computer.
This function can only be used when DHCP is set
to OFF.
• The SUBNET MASK “0.0.0.0” is prohibited.
DEFAULT
GATEWAY
Use the ▲/▼/◄/► buttons to enter the DEFAULT
GATEWAY (a node on a computer network that
serves as an access point to another network)
address.
This function can only be used when DHCP is set
to OFF.
DNS SERVER
Use the ▲/▼/◄/► buttons to input the DNS
server address.
The DNS server is a system to control domain
names and IP addresses on the Network.
(continued on next page)
Loading ...
Loading ...
Loading ...