Loading ...
Loading ...
Loading ...
English
9
PARTS AND FEATURES ASSEMBLING THE HAND BLENDER
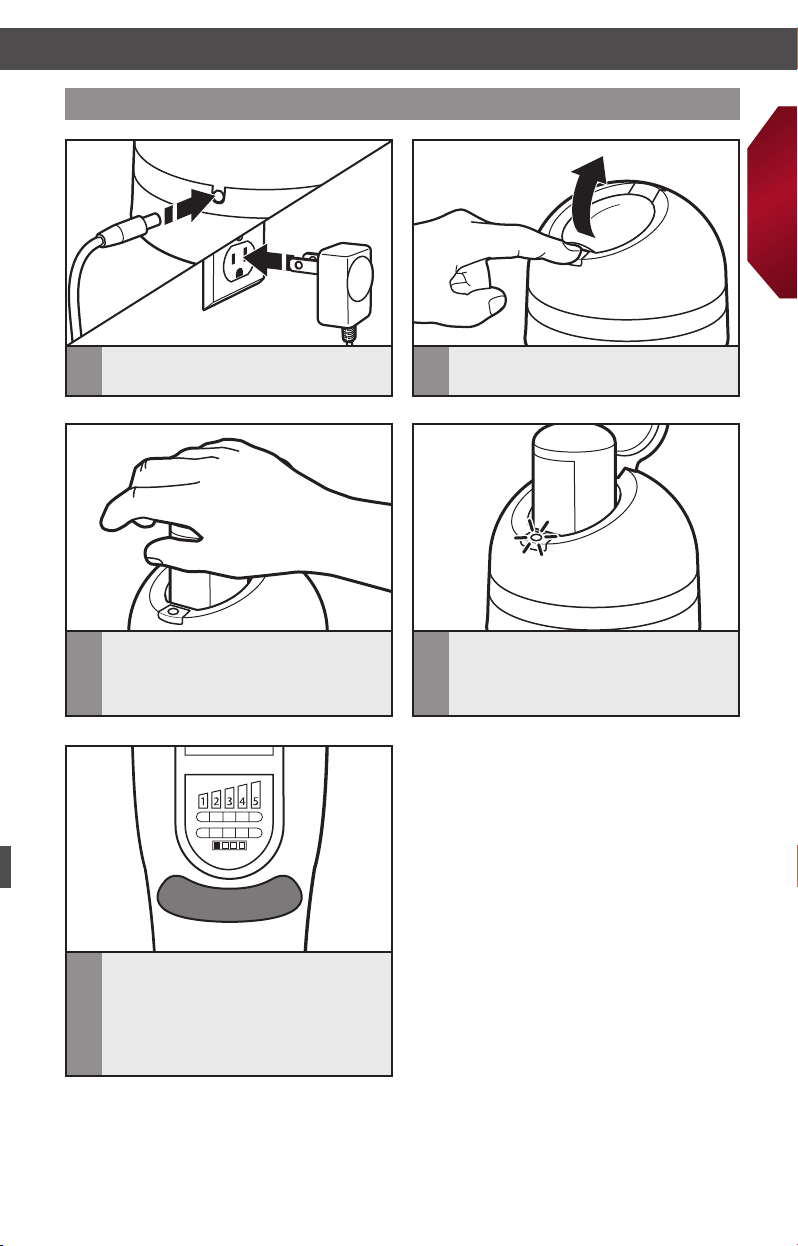
Before rst use: charging the battery
1
Plug in the charger.
3
Slide the battery into the charger,
aligning the flat side of the battery to the
flat side of the port, and push down to
click into place.
4
The LED indicator will begin to flash
slowly as it charges. When the battery
is fully charged, the LED will display
a continuous light.
NOTE: If the charger quickly flashes three times
after inserting the battery, there is a battery error.
Check that the battery is placed properly in the
charger. If the light continues to flash rapidly,
the battery may be extremely cold, hot, wet
or damaged. Allow the battery to cool down,
warm up or dry out, then reinsert. If the problem
persists, see the “Service and Warranty” section.
5
Charge the battery after each use, when
the battery indicator lights show less
than 25% battery life remaining (only
one light displays on the LED battery
life indicator), or when the battery is
completely drained.
2
Push the lid release button to open
the lid.
NOTE: Batteries do not develop a “memory”
when charged after only a partial discharge. It is
not necessary to run down the battery before
placing it on the charger.
ASSEMBLING THE HAND BLENDER
W10545034D_EN_v05.indd 9 2/25/15 2:44 PM
Loading ...
Loading ...
Loading ...