Loading ...
Loading ...
Loading ...
14
Getting Started
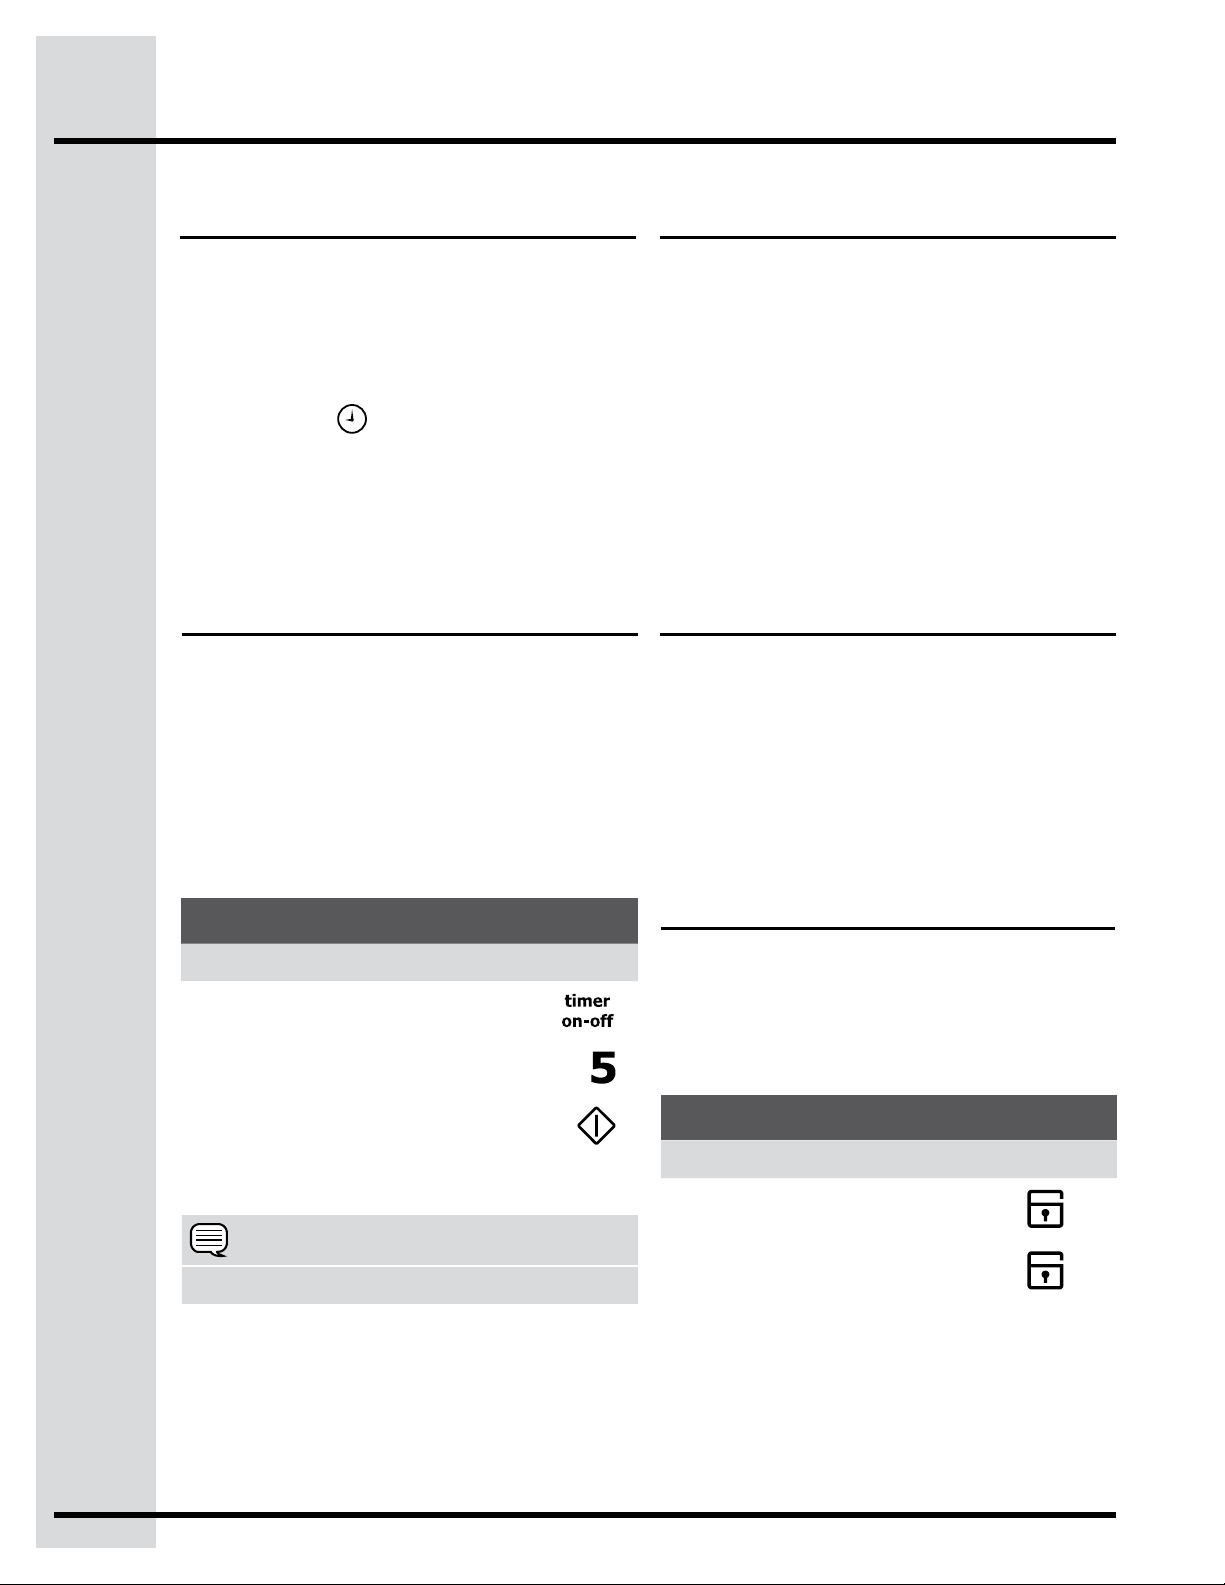
Setting Oven Lockout
The Oven Lockout feature automatically locks the
oven door and prevents the oven from being turned
on. It does not disable the clock, Timer or the
interior oven lights.
See example below to lock the ovens.
DOOR LOCKED will ash in the display until the
door has nished locking. Once the door has been
locked the door lock indicator will turn on. DOOR
LOCKED will then stay displayed.
Do not attempt to open the oven door while the
door lock indicator is ashing.
Example
Step Press
To lock, press and hold OVEN LOCK
for 3 seconds.
3sec
To unlock, press and hold OVEN
LOCK for 3 seconds.
3sec
Setting Timer To Set Add 1 Minute Feature
Setting Clock at Power Up Preheat Temperature Display
You will be prompted to enter the time of day in the
event of a power failure or when you rst provide
electric power to your appliance.
• When your appliance is rst powered up, 12:00
will ash in the display.
• Press CLOCK
. Enter the time of day using
the numeric key pads and press START to set.
If an invalid time of day is entered, the control will
triple beep. Re-enter a valid time of day and press
START. If CANCEL is pressed your clock will start
with the time set for 12:00.
Once a cooking feature has been started, the
control will display the actual oven temperature
while preheating. Once the oven reaches the oven
set temperature, only the oven set temperature will
be displayed.
The preheat temperature display is available with
the following cooking modes:
• Bake
• Convection Bake
• Cakes & Breads
The minimum temperature displayed is 100°F/38°C.
See example below to set the timer for 5 minutes:
The timer provided with the oven control serve as
extra reminders in the kitchen. When the time runs
out the active timer will beep, and “End” will be
displayed.
The following time settings apply to the timers:
• Min. time: 1 minute
• Max. time: 11 hours 59 minutes
The ADD 1 MINUTE pad is used to set the Add 1
Minute feature. When the pad is pressed, 1 minute
is added to the Timer feature if this feature is
already active. If the Timer feature is not active and
the pad is pressed, the Timer feature will become
active and will begin counting down from 1 minute.
For further information on how to set the Timer
feature see Timer instructions above.
To cancel after setting the timer, press the TIMER
on-off key again.
Example
Step Press
1. Press TIMER on-off
2. Enter 5 minutes
3. Press START
NOTE
The timer(s) will not affect the cooking process.
Loading ...
Loading ...
Loading ...