Loading ...
Loading ...
Loading ...
SEWING BASICS — — — — — — — — — — — — — — — — — — — — — — — — — — — — — — — — — — — — — — — — — — — —
—
54
g
When you are finished sewing, raise the
needle, and then cut the threads.
• For details, refer to “Cutting the thread” (page
56).
Memo
z When the foot controller is plugged in,
(start/stop button) cannot be used to start
sewing.
z When sewing is stopped, the needle remains
lowered (in the fabric). The machine can be
set so that the needle will stay up when
sewing is stopped. For details on setting the
machine so that the needle stays up when
sewing is stopped, refer to “Changing the
needle stop position” (page 60).
CAUTION
Securing the stitching
When sewing with the straight stitch, for example, at
the end of an opening or where seams do not
overlap, use reverse stitching or reinforcement
stitching to secure the end of the thread.
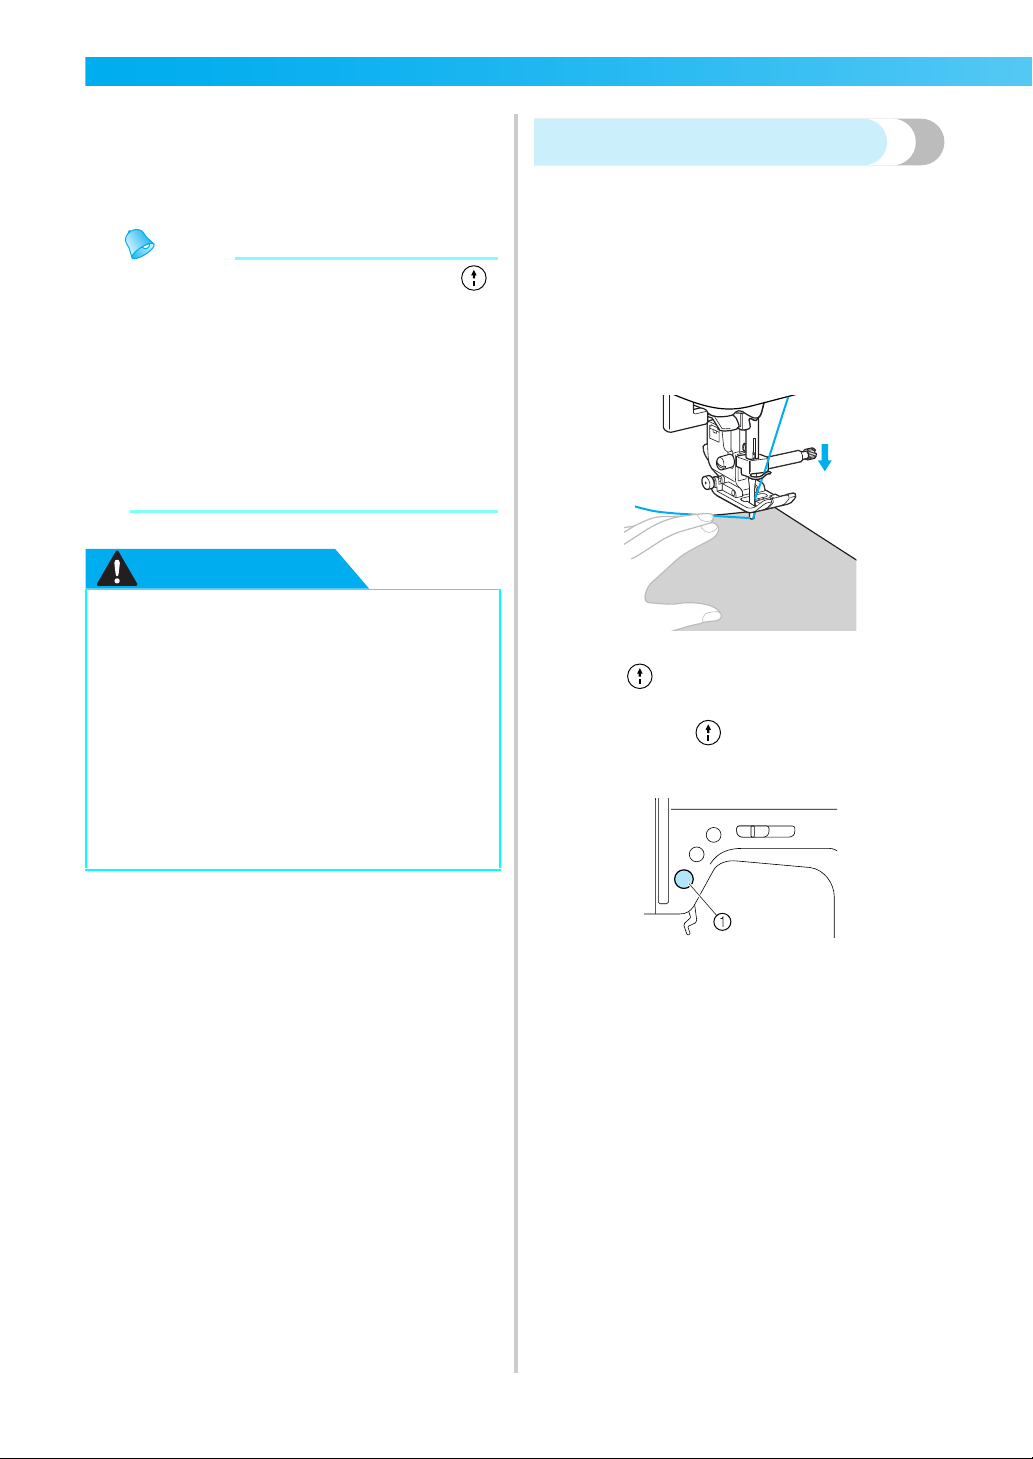
a
Lower the needle into the fabric at the
beginning of the stitching, and then lower the
presser foot lever.
b
Press (start/stop button) or press down on
the foot controller.
At this time, if
(start/stop button) is held
down, the machine sews at a low speed.
a Start/stop button
• For details, refer to “Starting to sew” (page
52).
X The machine starts sewing.
● Do not allow thread or dust to
accumulate in the foot controller,
otherwise a fire or an electric shock may
occur.
● Do not place objects on the foot
controller, otherwise damage to the
machine or injuries may occur.
● If the machine is not to be used for a long
period of time, unplug the foot controller,
otherwise a fire or an electric shock may
occur.
Loading ...
Loading ...
Loading ...