Loading ...
Loading ...
Loading ...
47
software’s instruction manual (PDF
file).
- Mac OS users: Use the Finder to
transfer the music files on the supplied
Instruction Manual/Music Data Disc
CD-ROM. Refer to Music Files
( 103) for the folder structure of the
memory and CD-ROM.
•/ The Instruction
Manual/Music Data Disc CD-ROM
contains the tracks pre-installed in the
built-in memory as well as tracks that
were not. You can change the tracks in
the memory and try out new
combinations.
• Before transferring music files, we
recommend making sure that there is
enough available space in the memory
(about 5 times more than the size of the
music files). If there is not enough
available space, the video and audio
may not play back correctly.
• If the connection is interrupted while
transferring music files, playback of
those files may not be possible. In such
case, erase those music files ( 46)
and transfer the files again.
Pre-recording Function
The camcorder will start recording 3
seconds before you press ,
ensuring you do not miss important
shooting opportunities. This is
especially useful when it is difficult to
predict when to start recording.
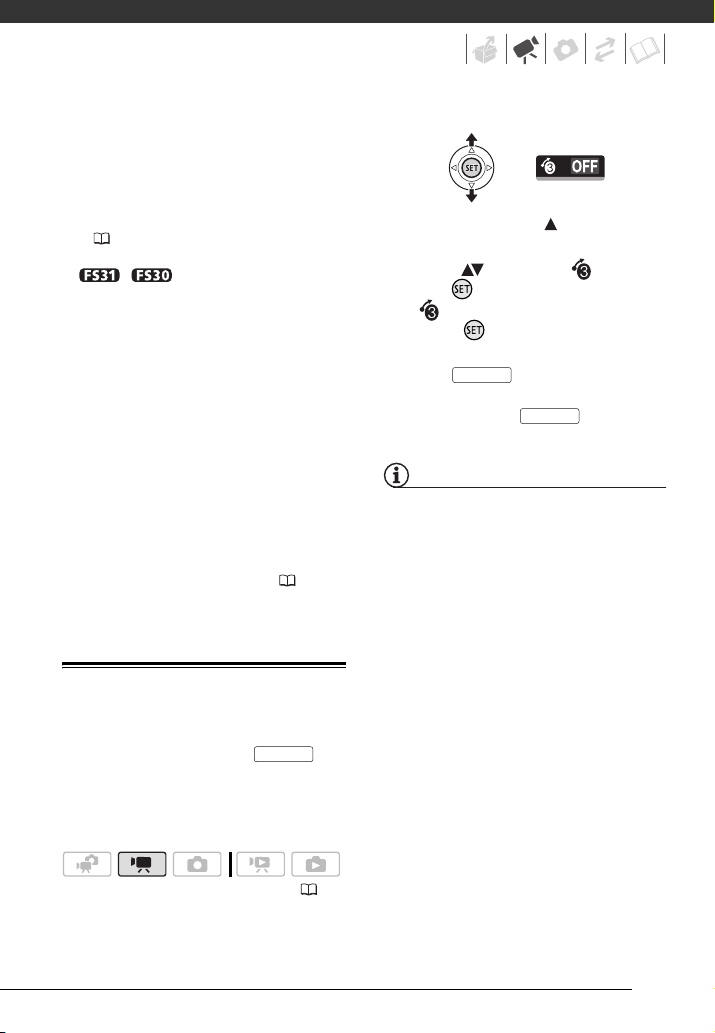
1 Push the joystick ( ) to display
the joystick guide.
2 Select ( ) [Pre REC ] and
press .
• appears.
• Press again to turn pre-
recording off.
3 Press to begin recording.
The recording will include the 3
seconds before was
pressed.
NOTES
• While pre-recording is on, all operational
sounds will be turned off.
• The camcorder will not record the full
3 seconds if any of the following
operations are not performed before
3 seconds have elapsed.
- Turning on pre-recording
- Exiting standby mode
- Stopping a recording
• Pre-recording will be turned off when
any of the following operations are
performed.
- Opening the FUNC. menu or setup
menus
- Leaving the camcorder without any
operation for 5 minutes
- Changing the operating mode
- Turning on Video Snapshot
- Setting the camcorder to standby
mode
( 24)
Start/Stop
Start/Stop
Start/Stop
Loading ...
Loading ...
Loading ...