Loading ...
Loading ...
Loading ...
7
Your new dehumidier is designed to give you many years of
dependable service. This section tells you how to clean and care
for your dehumidier properly.
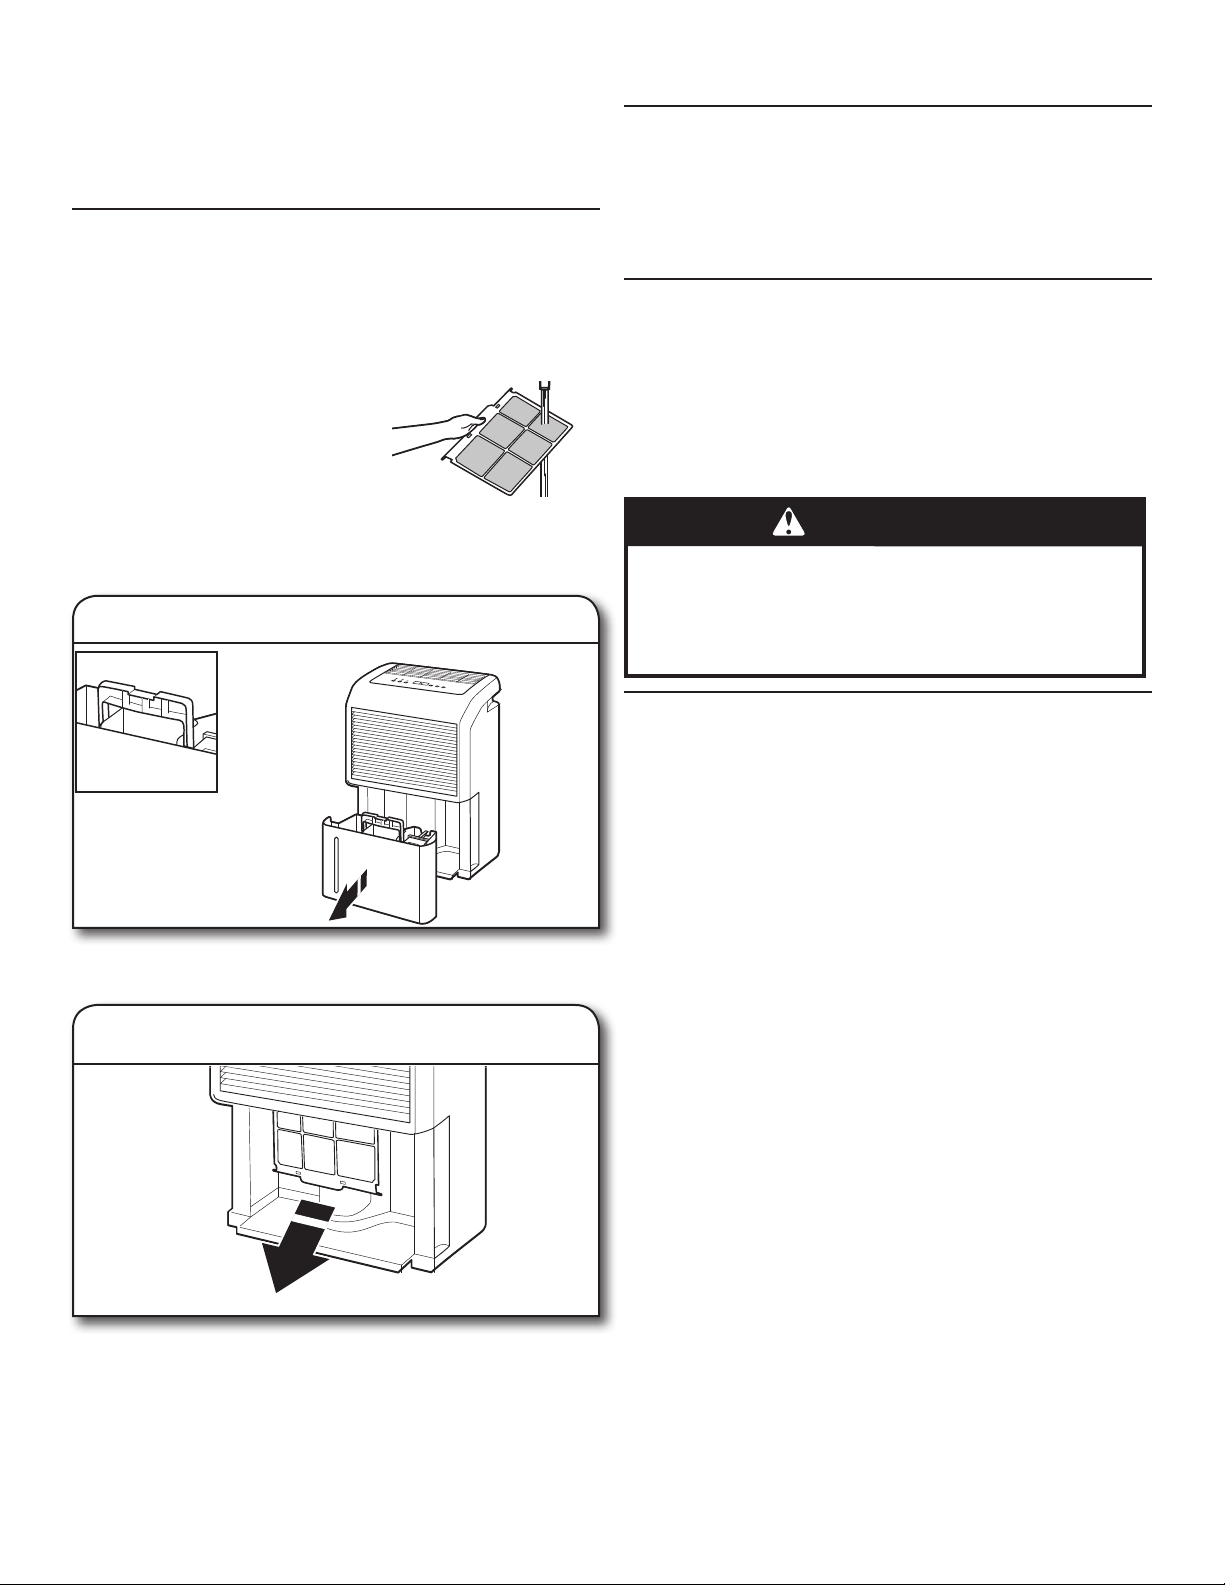
Pull the lter straight down out of the dehumidier.
Reinstalling the filter:
1. Reinstall the lter in the dehumidier.
2. Slide the water bucket back into place.
CARE AND CLEANING
1. Remove the water bucket
1. Turn off the dehumidier.
2. Remove the water bucket.
2. Remove the filter
Cleaning the Dehumidifier Cabinet
1. Turn off the dehumidier.
2. Wipe the dehumidier cabinet with a soft, damp cloth.
3. Wipe dry with soft cloth.
Cleaning the Filter
The lter is removable for easy cleaning. A clean lter helps
remove dust, lint, and other particles from the air and is important
for best operating efciency. Check the lter every 2 weeks to
see whether it needs cleaning.
NOTE: For best performance, do not operate the dehumidier
without the lter in place.
Rinse the lter under the faucet. If the
lter is very dirty, wash it in warm water
with a mild detergent.
NOTE: Do not wash the lter in the
dishwasher or use any chemical
cleaners; it may damage the lter. Air
dry the lter completely before replacing to ensure maximum
efciency.
Cleaning the Water Bucket
The water bucket should be cleaned every few weeks to prevent
mold and mildew growth,
1. Remove the water bucket.
2. Wash the bucket with a mixture of warm water and a mild
detergent.
3. Rinse well, then reinstall water bucket. .
Storing the Dehumidifier
If the dehumidier will not be used for an extended period of
time, prepare it for storage with the following steps.
1. Turn off the dehumidier and unplug it.
2. Empty the water bucket.
3. Remove, clean, and reinstall the lter.
WARNING
Excessive Weight Hazard
Use two or more people to move and install
dehumidifier.
Failure to do so can result in back or other injury.
Loading ...
Loading ...
Loading ...