Loading ...
Loading ...
Loading ...
Surface Cooking
Canning Tips & information
Canning can generate ]arge amounts of steam, Use extreme
caution to prevent burns, AUways raise the Hdto vent steam away from you,
1, Use tested recipes and follow instructions carefully, Check with a
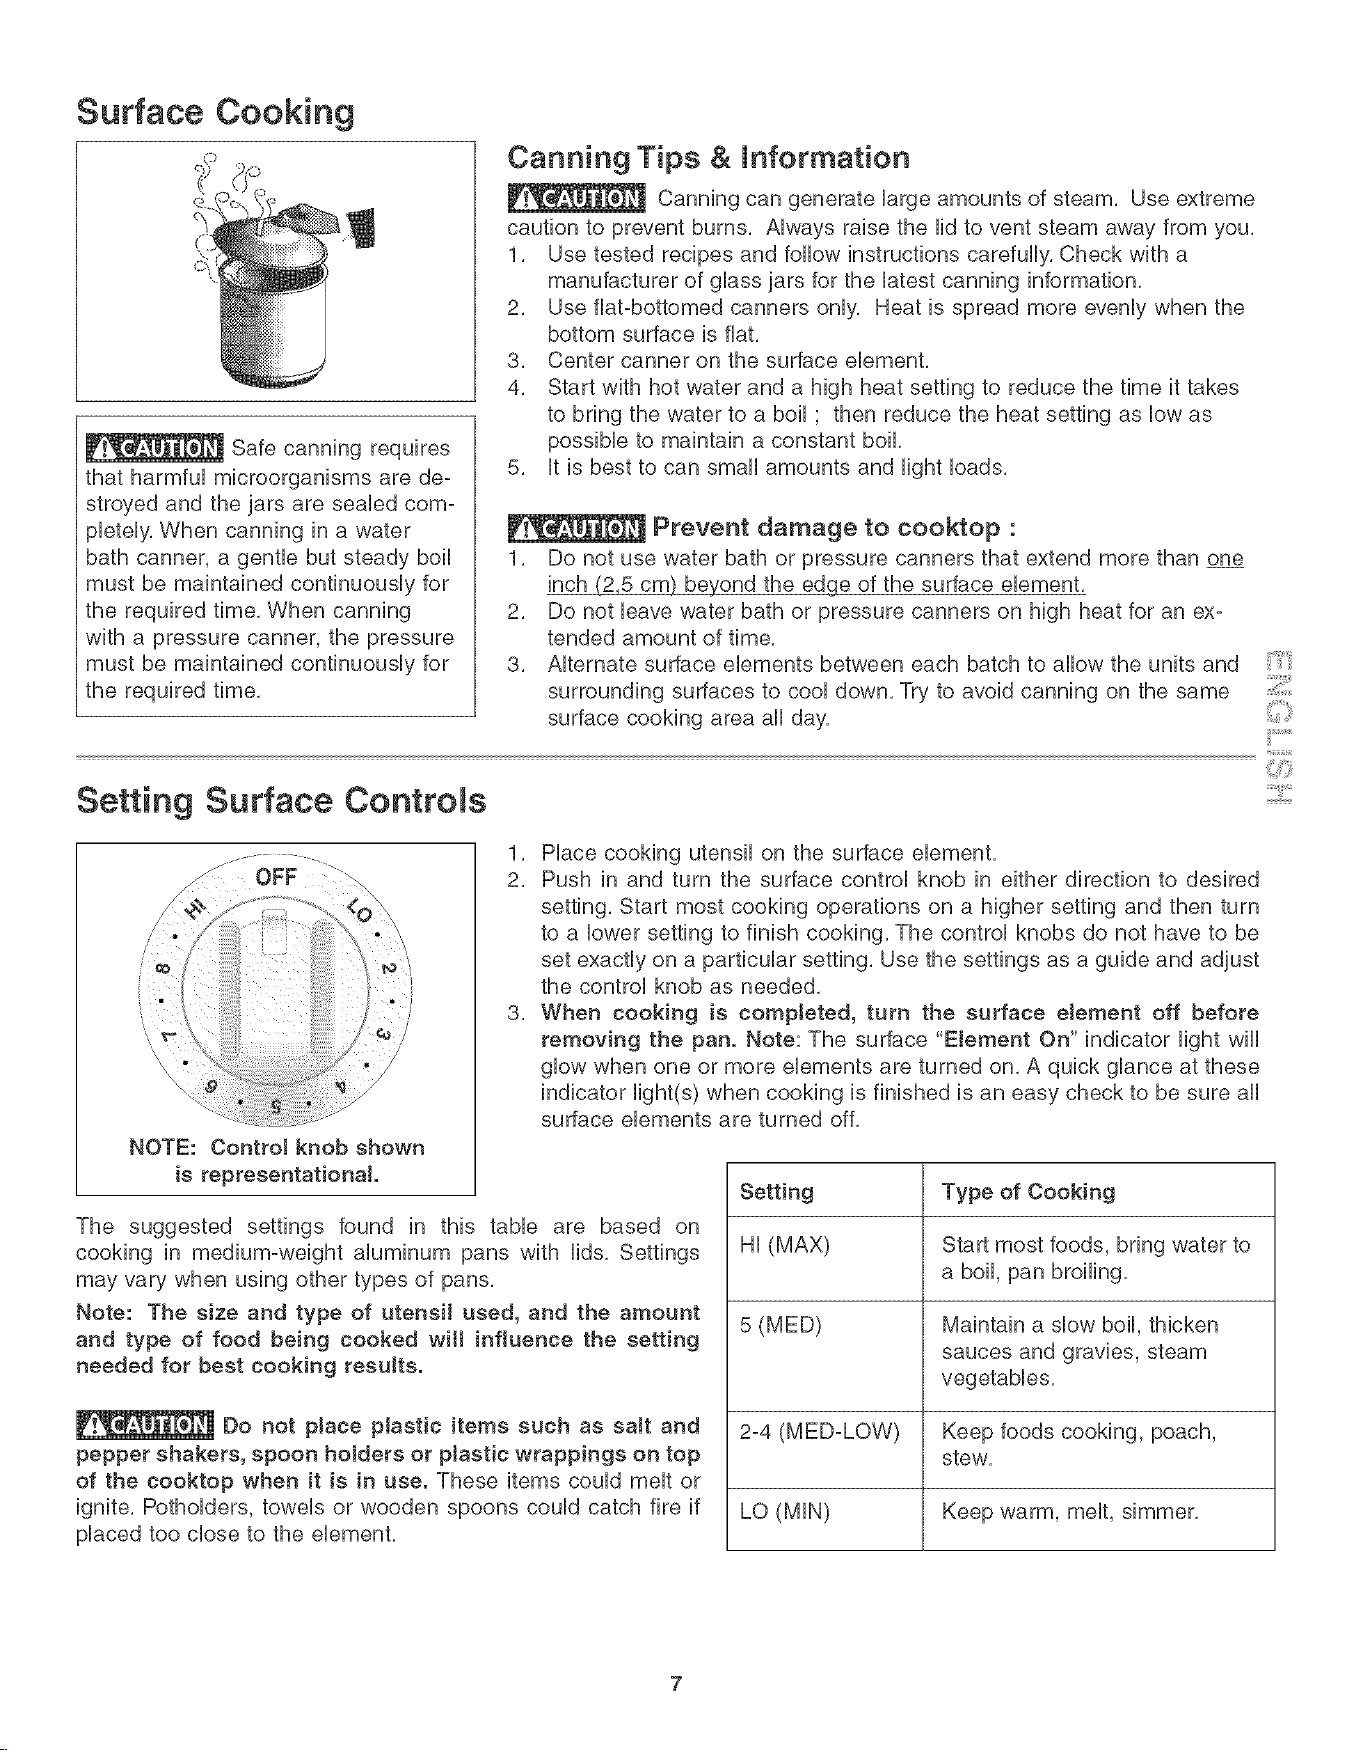
Safe canning requires
that harmfuU microorganisms are de-
stroyed and the jars are seabd com-
manufacturer of gUassjars for the Uatestcanning information,
2, Use fiat-bottomed canners onUy, Heat is spread more evenUywhen the
bottom surface is flat,
3, Center canner on the surface ebment,
4, Start with hot water and a high heat setting to reduce the time it takes
to bring the water to a boll ; then reduce the heat setting as low as
possible to maintain a constant boil,
5, It is best to can small amounts and light loads,
pletely, When canning in a water
bath canner, a gentle but steady boil
must be maintained continuously for
the required time, When canning
with a pressure canner, the pressure
must be maintained continuously for
the required time,
W_ Prevent damage to cooktop :
1, Do not use water bath or pressure canners that extend more than one
inch (2,5 cm} beyond the edqe of the surface element,
2, Do not leave water bath or pressure canners on high heat for an ex-
tended amount of time,
3, Alternate surface elements between each batch to allow the units and
surrounding surfaces to cool down, Try to avoid canning on the same
surface cooking area all day,
ii
iilYii:_
Setting Surface Controls .............
/ •
/ \
/
NOTE: Control knob shown
is representational
1, Place cooking utensil on the surface element,
2, Push in and turn the surface control knob in either direction to desired
setting, Start most cooking operations on a higher setting and then turn
to a lower setting to finish cooking, The control knobs do not have to be
set exactly on a particular setting, Use the settings as a guide and adjust
the control knob as needed,
3. When cooking is compJeted, turn the surface eJement off before
removing the pan. Note: The surface "Element On" indicator light will
glow when one or more elements are turned on, A quick glance at these
indicator light(s) when cooking is finished is an easy check to be sure all
surface elements are turned off,
The suggested settings found in this table are based on
cooking in medium-weight aluminum pans with lids, Settings
may vary when using other types of pans,
Note: The size and type of utensil used, and the amount
and type of food being cooked wilt influence the setting
needed for best cooking results.
Do not place ptastic items such as saJt and
pepper shakers, spoon hoJdere or ptastic wrappings on top
of the cooktop when it is in use. These items could melt or
ignite, Potholders, towels or wooden spoons could catch fire if
placed too close to the element,
Setting Type of Cooking
Hi (MAX) Start most foods, bring water to
a boil, pan broiling,
5 (MED) Maintain a slow boil, thicken
sauces and gravies, steam
vegetables,
2-4 (MED-LOW) Keep foods cooking, poach,
stew,
LO (MIN) Keep warm, melt, simmer,
Loading ...
Loading ...
Loading ...