Loading ...
Loading ...
Loading ...
5
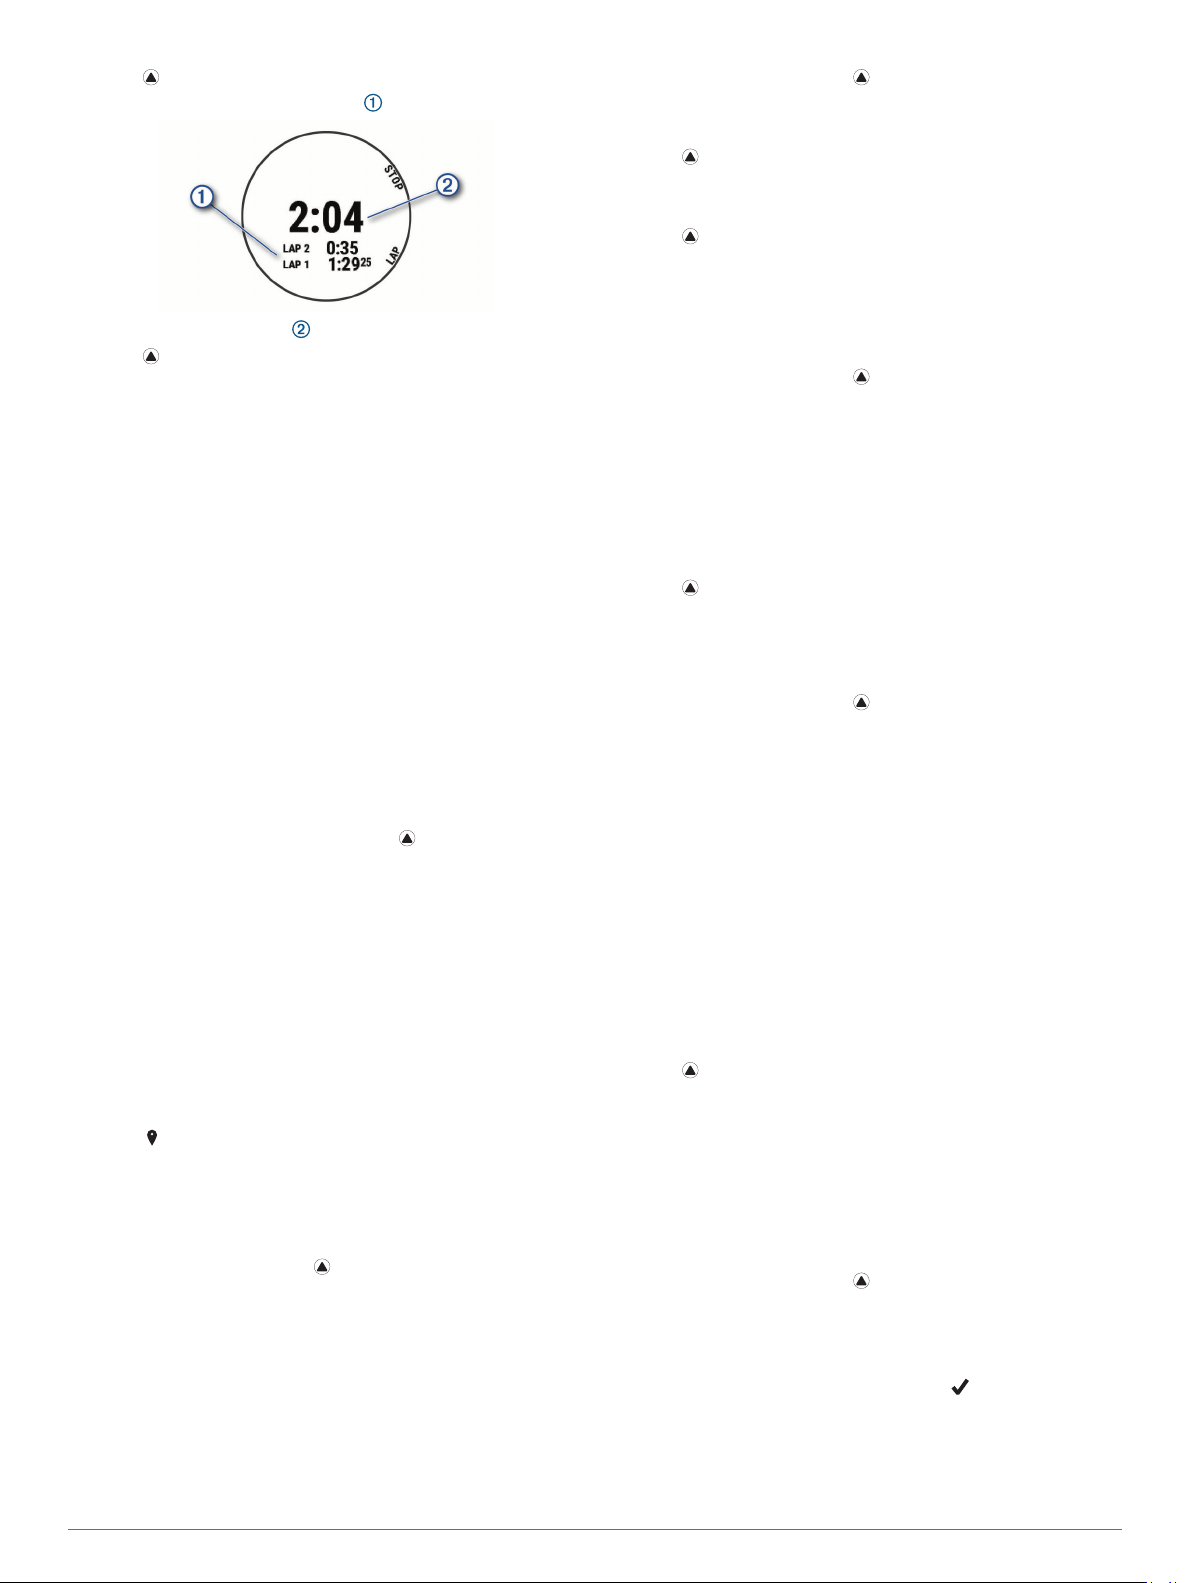
Press to start the timer.
6
Press LAP to restart the lap timer .
The total stopwatch time continues running.
7
Press to stop both timers.
8
Select an option:
• To reset both timers, press DOWN.
• To review the lap timers, press MENU, and select Review.
• To save the stopwatch time as an activity, press MENU,
and select Save Activity.
• To exit the stopwatch, press MENU, and select Done.
Adding Alternate Time Zones
You can display the current time of day in additional time zones
on the Alt. Time Zones widget. You can add up to four alternate
time zones.
NOTE: You may need to add the Alt. Time Zones widget to the
widget loop.
1
From the watch face, hold MENU.
2
Select Clocks.
3
Press UP or DOWN to scroll to the time zones screen.
4
Select an option:
• To set a time zone for the first time, select Set Time
Zones > Add Zone.
• To set additional time zones, press , and select Add
Zone.
5
Select a time zone.
6
If necessary, rename the zone.
Navigation
Saving Your Location
You can save your current location to navigate back to it later.
NOTE: You can add options to the controls menu (Customizing
the Controls Menu, page 34).
1
Hold LIGHT.
2
Select .
3
Follow the on-screen instructions.
Editing Your Saved Locations
You can delete a saved location or edit its name, elevation, and
position information.
1
From the watch face, press .
2
Select Navigate > Saved Locations.
3
Select a saved location.
4
Select an option to edit the location.
Projecting a Waypoint
You can create a new location by projecting the distance and
bearing from your current location to a new location.
NOTE: You may need to add the Project Wpt. app to the
activities and apps list.
1
From the watch face, press .
2
Select Project Wpt..
3
Press UP or DOWN to set the heading.
4
Press .
5
Press DOWN to select a unit of measure.
6
Press UP to enter the distance.
7
Press to save.
The projected waypoint is saved with a default name.
Navigating to a Destination
You can use your device to navigate to a destination or follow a
course.
1
From the watch face, press .
2
Select an activity.
3
Hold MENU.
4
Select Navigation.
5
Select a category.
6
Respond to the on-screen prompts to choose a destination.
7
Select Go To.
Navigation information appears.
8
Press to begin navigation.
Navigating to a Point of Interest
If the map data installed on your device includes points of
interest, you can navigate to them.
1
From the watch face, press .
2
Select an activity.
3
Hold MENU.
4
Select Navigation > Points of Interest, and select a
category.
A list of points of interest near your current location appears.
5
If necessary, select an option:
• To search near a different location, select Search Near,
and select a location.
• To search for a point of interest by name, select Spell
Search, enter a name, select Search Near, and select a
location.
6
Select a point of interest from the search results.
7
Select Go.
Navigation information appears.
8
Press to begin navigation.
Points of Interest
A point of interest is a place that you may find useful or
interesting. Points of interest are organized by category and can
include popular travel destinations such as gas stations,
restaurants, hotels, and entertainment venues.
Creating and Following a Course on Your
Device
1
From the watch face, press .
2
Select an activity.
3
Hold MENU.
4
Select Navigation > Courses > Create New.
5
Enter a name for the course, and select .
6
Select Add Location.
7
Select an option.
8
If necessary, repeat steps 6 and 7.
9
Select Done > Do Course.
26 Navigation
Loading ...
Loading ...
Loading ...