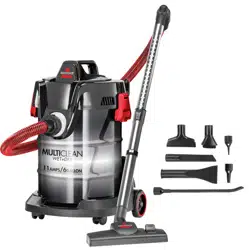
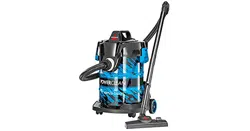
Owner Manual MULTICLEAN® WET + DRY Drum Vacuum
What’s In The Box?

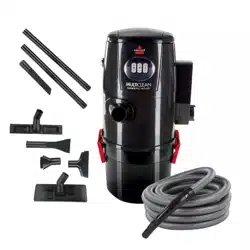
- Base Unit
- Hose and Handle
- Two-piece Extension Wand
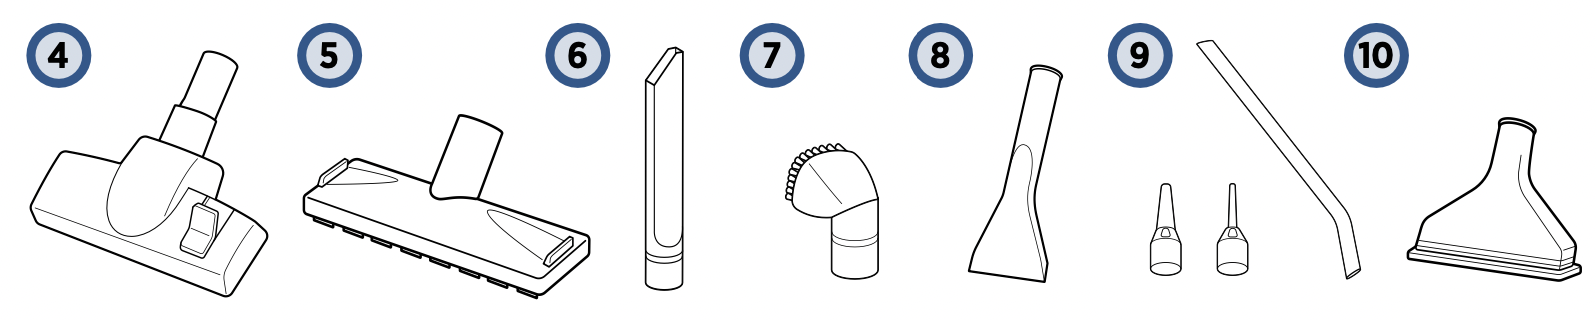
- Multi-Surface Floor Tool
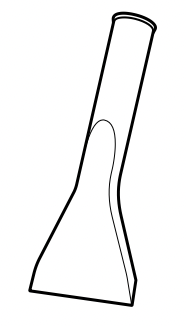
- Wet Floor Tool
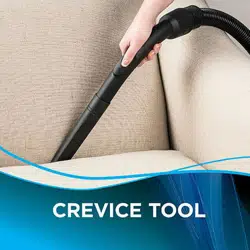
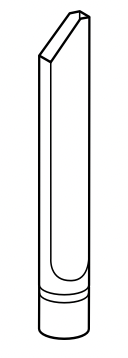
- Crevice Tool
- Dusting Brush
- Precision Suction Tool
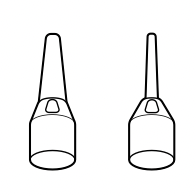
- Precision Blower and Detail Tools
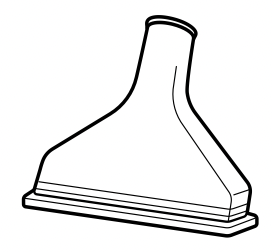
- Upholstery Tool
NOTE: Standard accessories may vary by model. To identify what should be included with your purchase, please refer to the “Carton Contents” list located on the carton top flap.
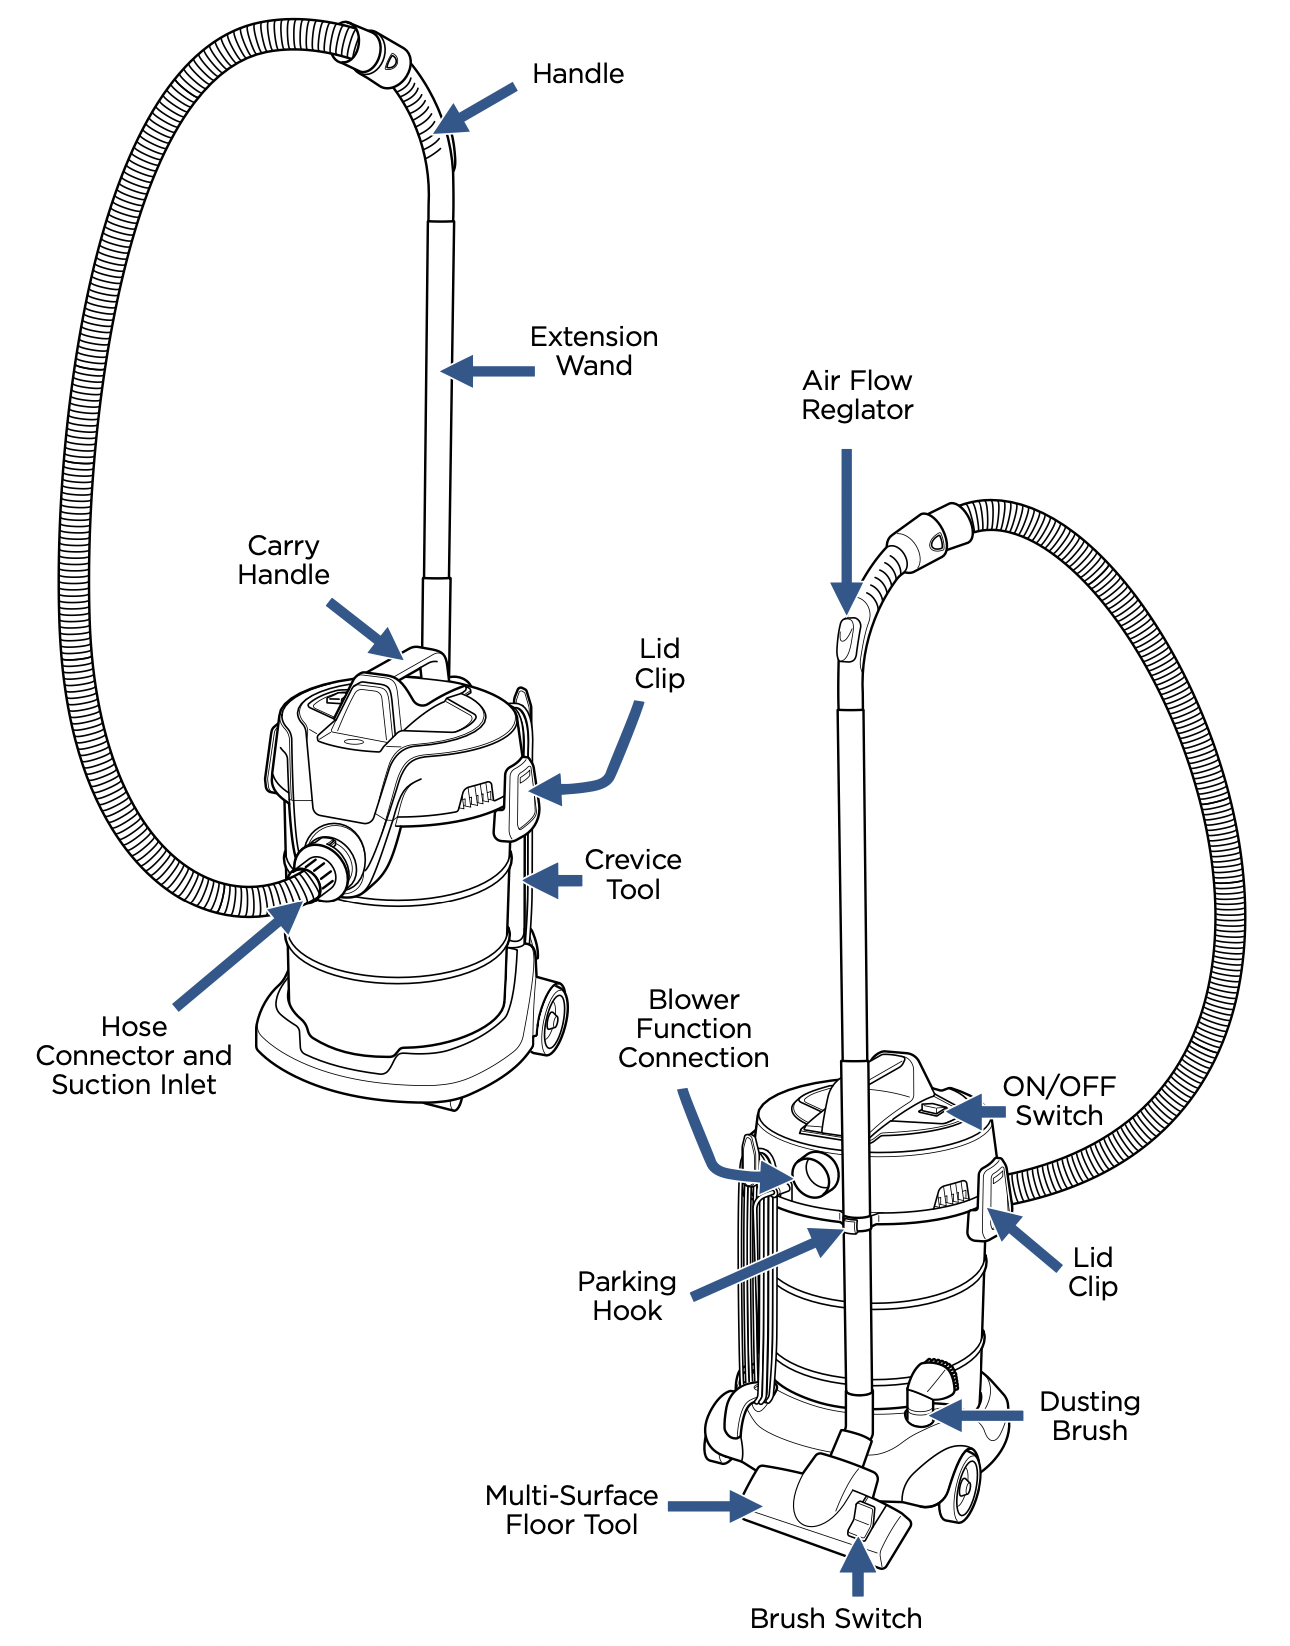
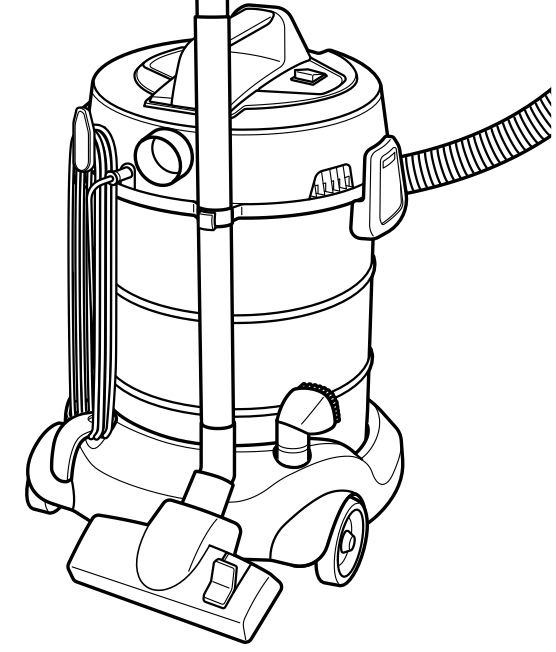
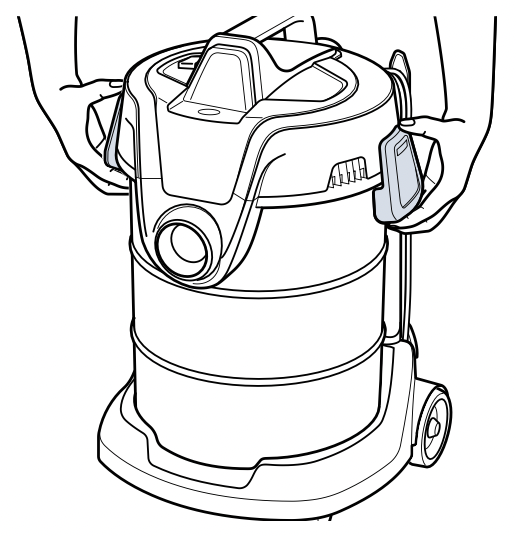
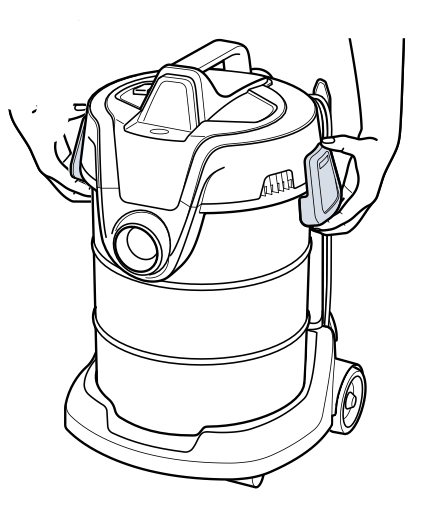
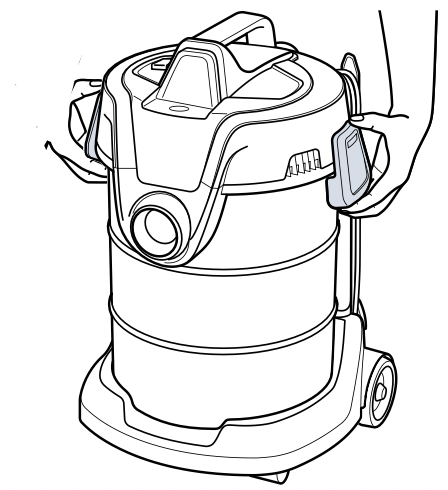
Product View
Assembly (Dry Cleaning)
WARNING: Do not plug in your vacuum until you are familiar with all instructions and operating procedures.
WARNING: Plastic film can be dangerous. To avoid danger of suffocation, keep away from children.
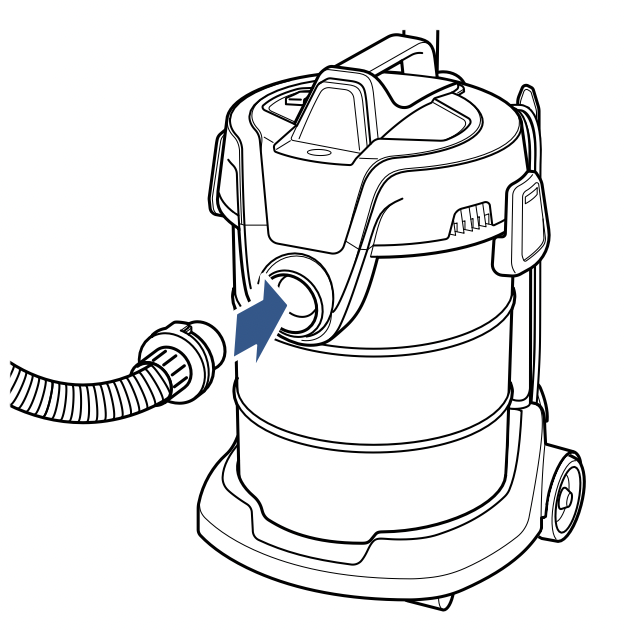
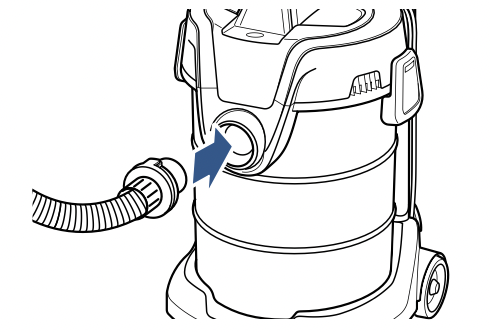
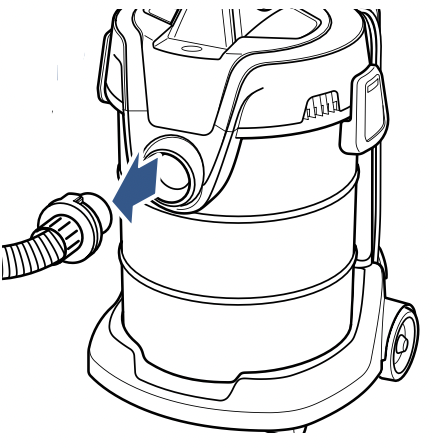
- Locate the hose connector on end of hose and line up the tab with the arrow on the suction inlet, then insert the hose and turn the hose clockwise to secure.
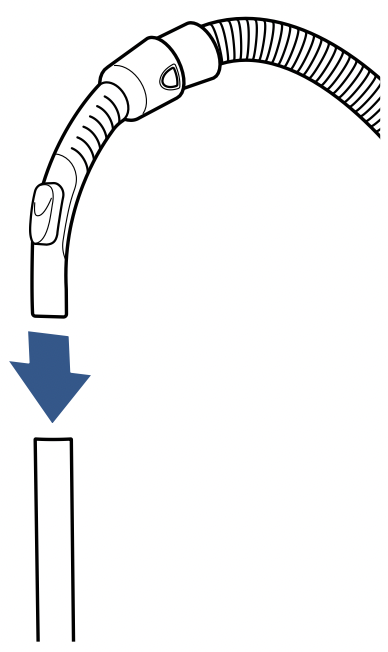
- Connect hose handle to the end of the extention wand and twist slightly to tighten.
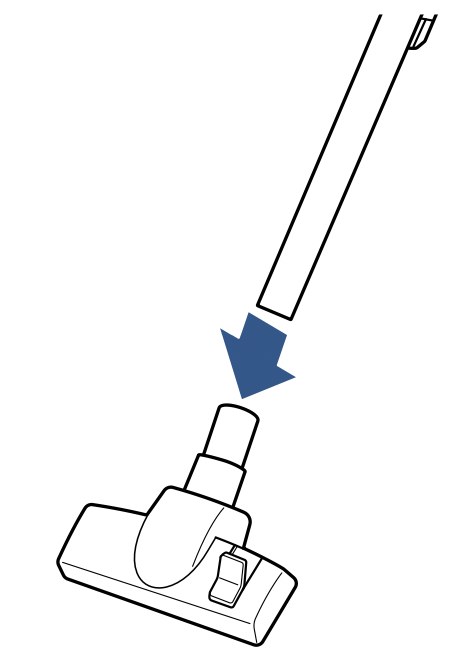
- Connect the Multi-Surface Floor Tool to end of the extension wand and twist slightly to tighten.
- Once assembled, you can store your vacuum by inserting the parking hook (located on the extension wand) into the storage slot on the rear of the vacuum.
Assembly (Wet Cleaning)
WARNING: Do not plug in your vacuum until you are familiar with all instructions and operating procedures.
- Unlock the clips on the Top Cover to remove the Hose. Locate the Hose Connector on end of hose and line up the tab with the arrow on the Suction Inlet. Insert the hose and turn clockwise to secure.
- Connect the Hose Handle to the end of the Extention Wand and twist slightly to tighten.
- Attach the Wet Cleaning Foot to the end of the Extension Wand and twist slightly to tighten.

- Use the Crevice Tool to reach in tight, narrow spaces. The Crevice Tool can also be used to pick up wet messes.
- Use the Dusting Brush to clean curtains, draperies, and side tables and window ledges.
- Use the Precision Suction Tool for pickup of wet messes on hard or soft surfaces.
- Use the Upholstery Tool for cleaning car seats. furniture or other soft surfaces.
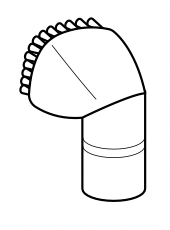
- Use the Precision Blower Tool for blowing leaves or other debris or as a precision crevice tool for cleaning between car seats or other tight places.

- Use the Detail Tools as blower or suction tools. These tools can also be used to inflate air mattresses, pool toys, or other inflatable devices.
Operating The Product
WARNING: Before using your vacuum, make sure the dirt container is in locked position and the filter is in place. DO NOT operate your vacuum without a filter.
- Turn the power ON or OFF by switching the power switch to the ON (I) or OFF (O) position.

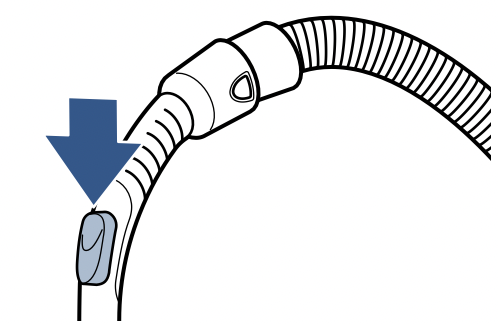
- For full suction power, close the Air Flow Regulator by sliding the regulator down to the closed position. Open the Air Flow regulator to reduce suction power for vacuuming delicate fabrics.
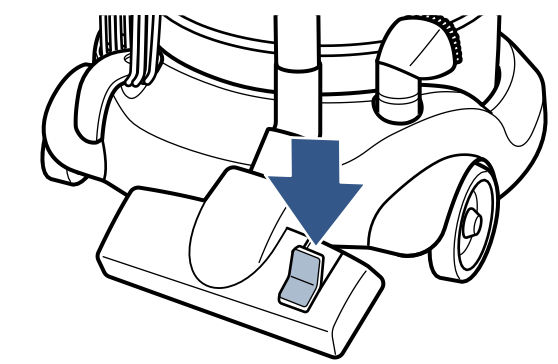
- To vacuum carpets and rugs, push the Brush Switch to the carpet position to pull up the brushes into the Floor Nozzle.
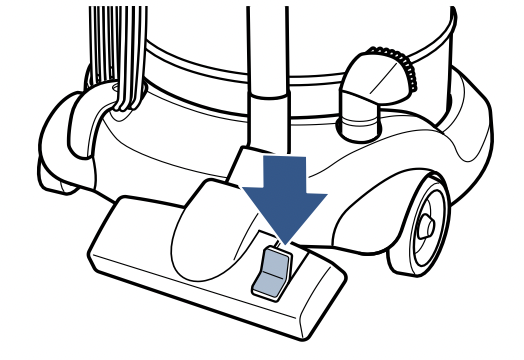
- To vacuum bare floors, push the Brush Wwitch to the bare floor position to extend the brushes down from the Floor Nozzle.
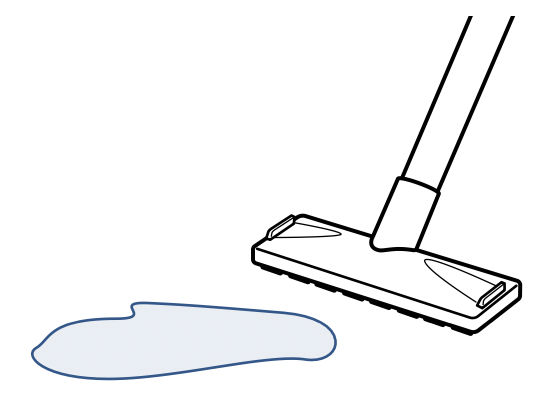
- For Wet Cleaning use the Wet Cleaning Foot to vacuum up spills.
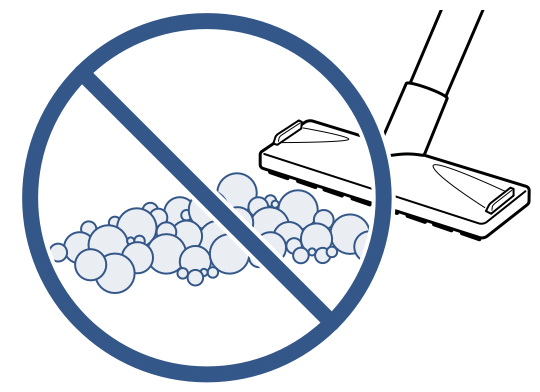
- This product should not be used with detergents or to pick up foaming wet messes.
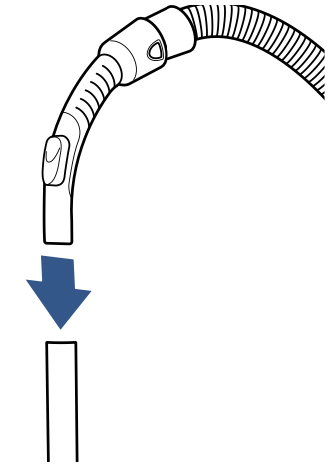
- For Above Floor Cleaning, disconnect the Floor Tool from the end of the Extension Wand and attach desired accessory.

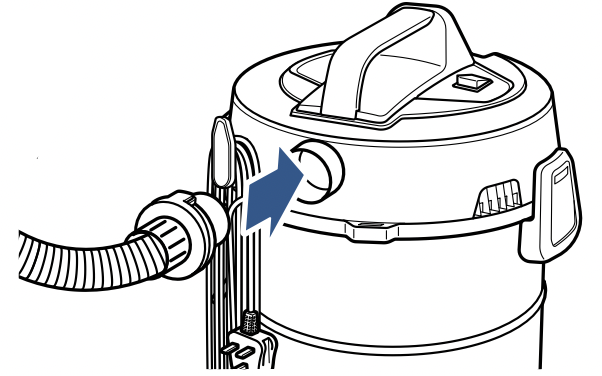
- To use the Blower Function, insert the Hose with the notch facing upward and twist clockwise to lock in place.
Emptying the Dirt Container
WARNING: To reduce the risk of electrical shock, turn power switch OFF and disconnect polarized plug from electrical outlet before performing maintenance or troubleshooting checks.
- Unplug the vacuum from the electrical outlet and disconnect the Hose.

- Undo the clips on both sides of the Top Cover and lift up to remove.
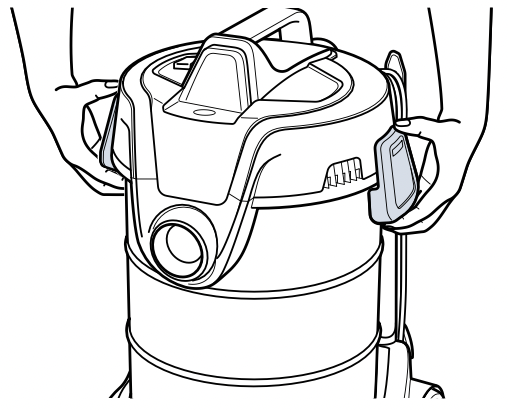
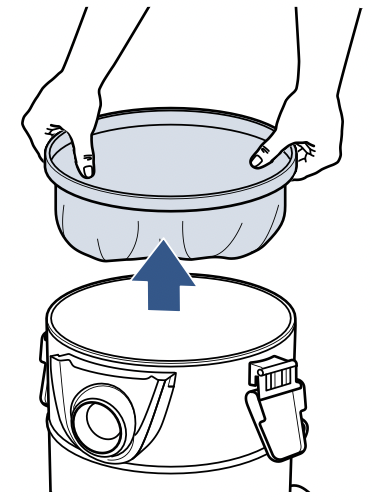
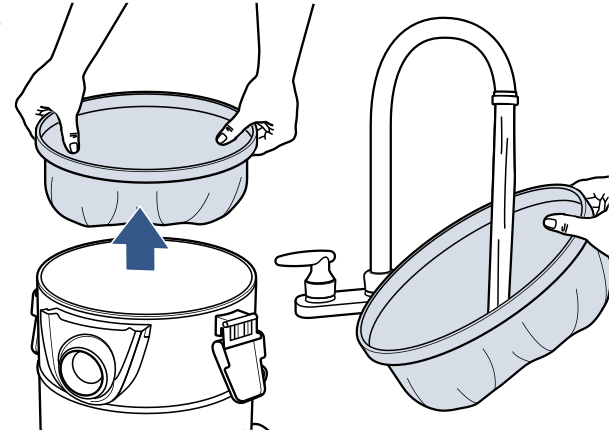
- Remove the Large Fabric Filter by pulling up, holding both sides, and then setting it to the side.
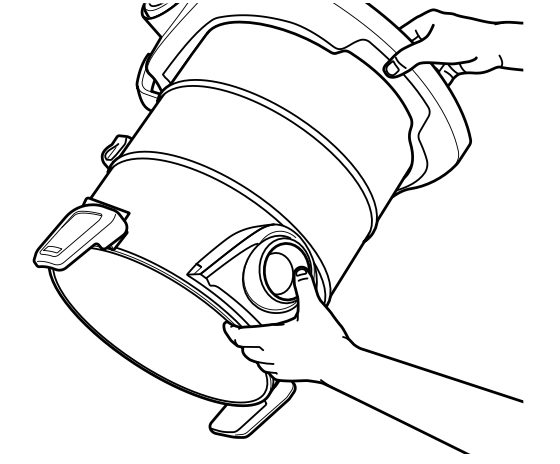
- Hold the unit by the base and handle, above Hose Inlet and tip dirt out into a trash can for dry messes and outside or in a sink for wet messes.
NOTE: If you suffer from allergies, place a plastic bag over top of Dirt Container and tip upside down to empty. Wait for dust to settle, remove bag and discard.
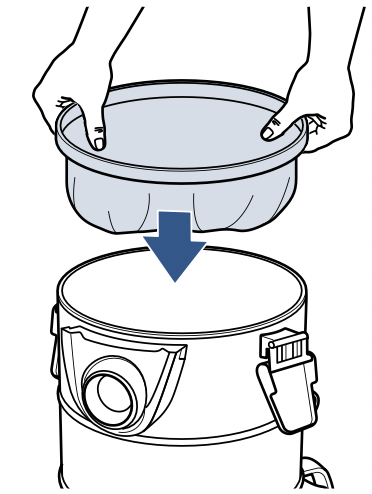
- Return filter, ensuring its seal covers the top of the wall of the Dirt Container all the way around.
- Replace Top Cover and close clips.
Cleaning the Filters
WARNING: To reduce the risk of electrical shock, turn power switch OFF and disconnect polarized plug from electrical outlet before performing maintenance or troubleshooting checks.
WARNING: Do not operate vacuum with a damp or wet filter, or without filter or the Dirt Container in place. Allow components to dry before reassembling the Dirt Container.
- Unplug the vacuum from the electrical outlet and disconnect the Hose.
- Undo clips on both sides of Top Cover.
- Remove the Large Fabric Filter and hand wash in cold water with mild detergent. Rinse well and air dry for 24 hours.
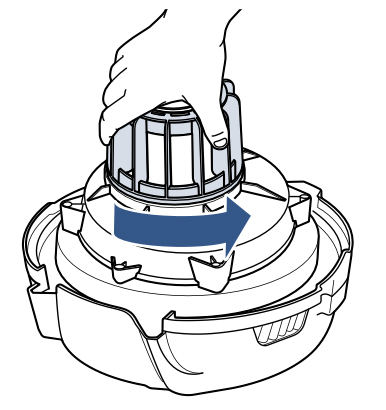
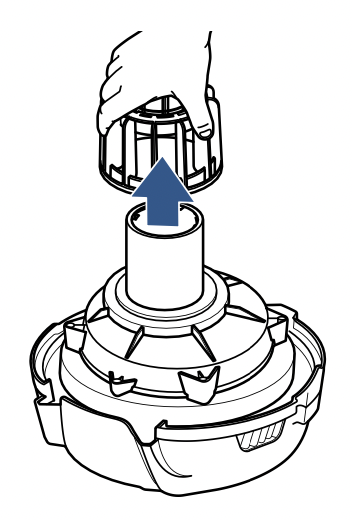
- Remove the Top Cover of drum vacuum and grasp the plastic filter cage, turning counterclockwise to unlock.
- Then pull up to remove.
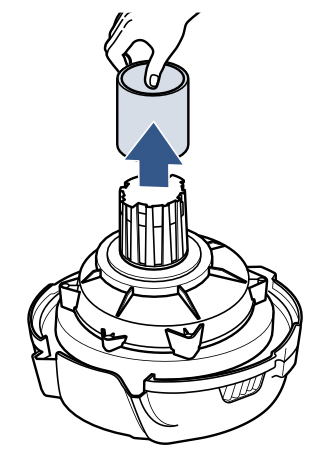
- Remove the Foam Filter and rinse to clean. Allow the filter to fully dry before reinstalling.
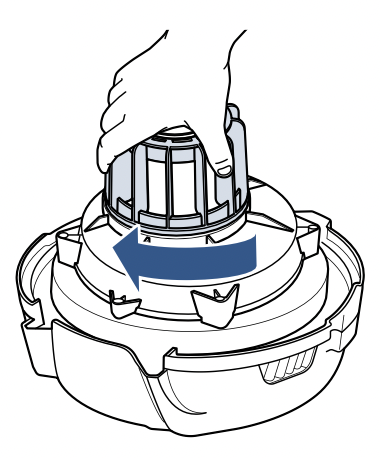
- Once completely dry, return filters to the Dirt Container. Ensure the Filter Basket is installed and surrounding entire tank wall. Turn clockwise to seal.
- Return the dry Large Fabric Filter and replace Top Cover, closing the clips to seal closed.
Troubleshooting
WARNING: To reduce the risk of electric shock, turn power switch OFF and disconnect plug from electrical outlet before performing maintenance or troubleshooting checks.
| Problem |
Possible causes |
Remedies
|
| Vacuum won’t pick up dirt |
Filter is dirty. |
Remove and rinse Filter. Allow enough time to dry properly before reinserting.
|
|
Main hose is not connected.
|
Reconnect the main Hose by pushing the Hose Connection to secure latch.
|
|
Crack or hole in the main Hose.
|
If there is a crack or hole, order a new Hose.
|
| Clog in the Floor Tool. |
Remove debris and any other entanglements that may be restricting its rotation.
|
| Clog in the Filter. |
Remove the Dirt Cup Filter assembly and tap it over a rubbish bin to remove any dirt or debris from the Cyclone Screen that surrounds the filter.
|
| Clog in the vacuum. |
Check to see if there are any clogs in the Suction Inlet.
|
|
Filter is not seated correctly.
|
Ensure the black portion of the Filter completely covers the top wall of the Dirt Container.
|
| Dirt is escaping from the vacuum |
Dirt Container is full. |
Empty the Dirt Container.
|
| Filter is missing. |
Check to see if Filter is in place.
|
|
Filter is not seated properly.
|
Ensure the Filter Basket is sitting completely on the wall of the Dirt Container all the way around.
|