Loading ...
Loading ...
Loading ...
16
17
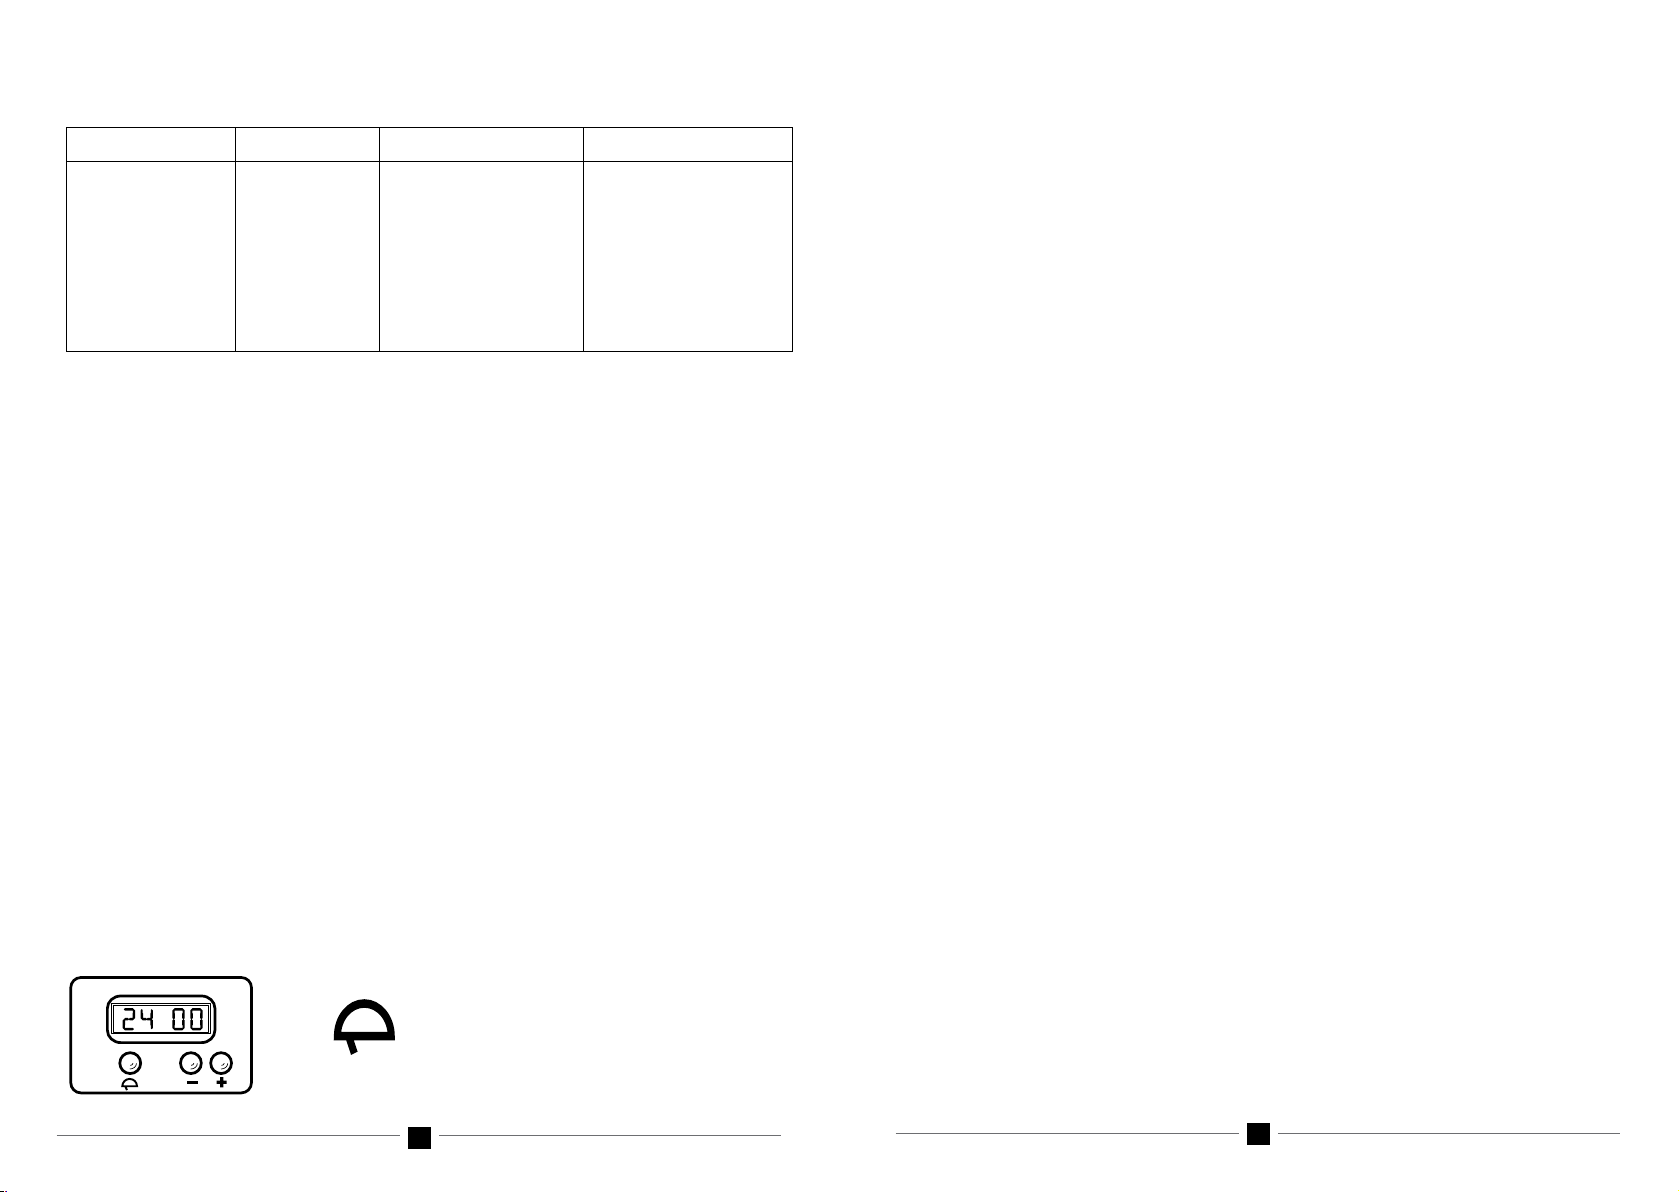
USING THE 3 BUTTON TIMER
Setting the clock
When the oven is first connected, or after a power failure, ‘0.00’ will flash on the display.
To set the clock, push the TIMER ON/OFF button, then the (+) or (–) buttons
immediately. The time of day will be saved after 10 seconds.
Using the timer
The timer can be set for a maximum period of 99 minutes and a minimum of
1 minute.
To set the timer, push the (+) or (-) button until you have set the required time.
(wait 10 seconds if you have just set the time of day)
When the timer is operating the TIMER ON INDICATOR WILL BE LIT
Once the pre-set time has elapsed, the timer will beep Push the TIMER ON/OFF button
to switch off.
Changing the volume of the beep
The (–) button can also be used to change the volume of the beep. Set the timer for one
minute. When the beep sounds use the (–) button to adjust the volume.
• Forrecipeswherethisisrequired,apreheatingperiodof4-5minuteswillbe sufficient.
• Thetimesindicated
in
the
table
refer
togrilling onesideoffoodonly.
• Alwayskeeptheovendoorclosedwhengrilling.
• Allfoodforgrillingmustbeplacedonthe rack inside the grill tray.
• The maximum operating period for the grill should be 30 minutes.
Dish Shelf Position Temperature Degrees C Cooking Time in minutes
1 250 3 -4
1 250 5 -7
1 250 6 - 8
1 250 6 - 8
1 250 7 - 10
1 250 7 - 10
1 250 8 - 10
1 250 8 - 12
Toasted Sandwiches
Hamburgers
Fish Kebabs
Shellfish
Sausage
Pork Chops
Meat Kebabs
Steaks
Chicken 1 250 8 - 12
GRILL COOKING TABLE
= TIMER ON/OFF
1. Cleaning of Stainless Steel: In order that your cooker retains its new appearance, care
should be taken to protect the stainless steel finish. Never use gritty or abrasive
sponges. We highly recommend stainless steel cleaners and protectors. Stubborn
stains can be removed by soaking in hot water and stains can be prevented by using
a
clean cloth soaked in warm water before a spillage becomes cold or dries up. Acid
materials like milks, vinegar, citrus juice can damage the most resistant surfaces. If a
spill occurs wipe it up immediately.
2. Oven Cleaning: Oven spills should be cleaned straight away. Leaving them will cause
burning and smoking inside the oven the next time it is used. Leaving spills can also
cause permanent damage to the enamel and make it extremely hard to remove later. A
non-caustic cleaner is recommended such as non caustic “Mr. Muscle” to clean the
chamber of the oven but DO NOT use to clean other areas such as the oven door. Do
not use abrasive scourers, sponges or cleaning products. Wipe the oven out regularly
while the oven is still warm using hot soapy water and a soft cloth. The removal of side
shelves supports makes cleaning easier.
3. Gas Burners - All models: The burners can be removed from the cooker and cleaned
in hot soapy water. The burner covers are made of cast iron so as soon as they are
cleaned dry burner covers immediately to prevent rusting. Enamelled trivets are also
recommended to be cleaned in hot soapy water or the dishwasher. Make sure all
pieces are completely dry before placing them back onto the cooker.
4. Knobs and Control Panel - All models: All knobs are removable. Clean behind
the knobs and around the control panel to prevent grease and grime build up that can
cause jamming of the knobs/gas taps etc. The stainless steel panel should be cleaned
with stainless steel cleaners, do not use anything abrasive.
CLEANING AND MAINTENANCE
WARNING: the oven and hob must be kept clean, as a build up of fat constitutes of
a fire risk
NOTE: Do not use strong detergents to clean your cooker. Many detergents or
cleaning products will mark stainless steel. Oven cleaners are intended for cleaning
the internal liner of the oven only and will possibly damage the inside of the door.
Loading ...
Loading ...
Loading ...