Loading ...
Loading ...
Loading ...
The NexStar 4 comes completely pre-assembled and can be operational in a matter of minutes. The NexStar is conveniently packaged in one
reusable shipping carton that contains all of the following accessories:
• 25mm Eyepiece – 1
¼"
• Star Pointer Finderscope
• Steel Tripod with built-in Wedge
• The Sky™ Level 1 Astronomy Software
• NexRemote telescope control software
• RS232 Cable
• Camera Shutter Cable
• Computerized Hand Control with nearly 40,000 Object Database
A
A
s
s
s
s
e
e
m
m
b
b
l
l
i
i
n
n
g
g
t
t
h
h
e
e
N
N
e
e
x
x
S
S
t
t
a
a
r
r
Start by removing the telescope from its shipping carton and setting the round base on a flat table or surface. It is best to carry the telescope
by holding it from the lower portion of the fork arm and from the bottom of the base. Remove all of the accessories from their individual
boxes. Remember to save all of the containers so that they can be used to transport the telescope. Before the batteries can be installed, the
telescope tube should be positioned horizontal to the ground. To do this, gently rotate the front of the tube upwards until it is level with the
ground.
Powering the NexStar
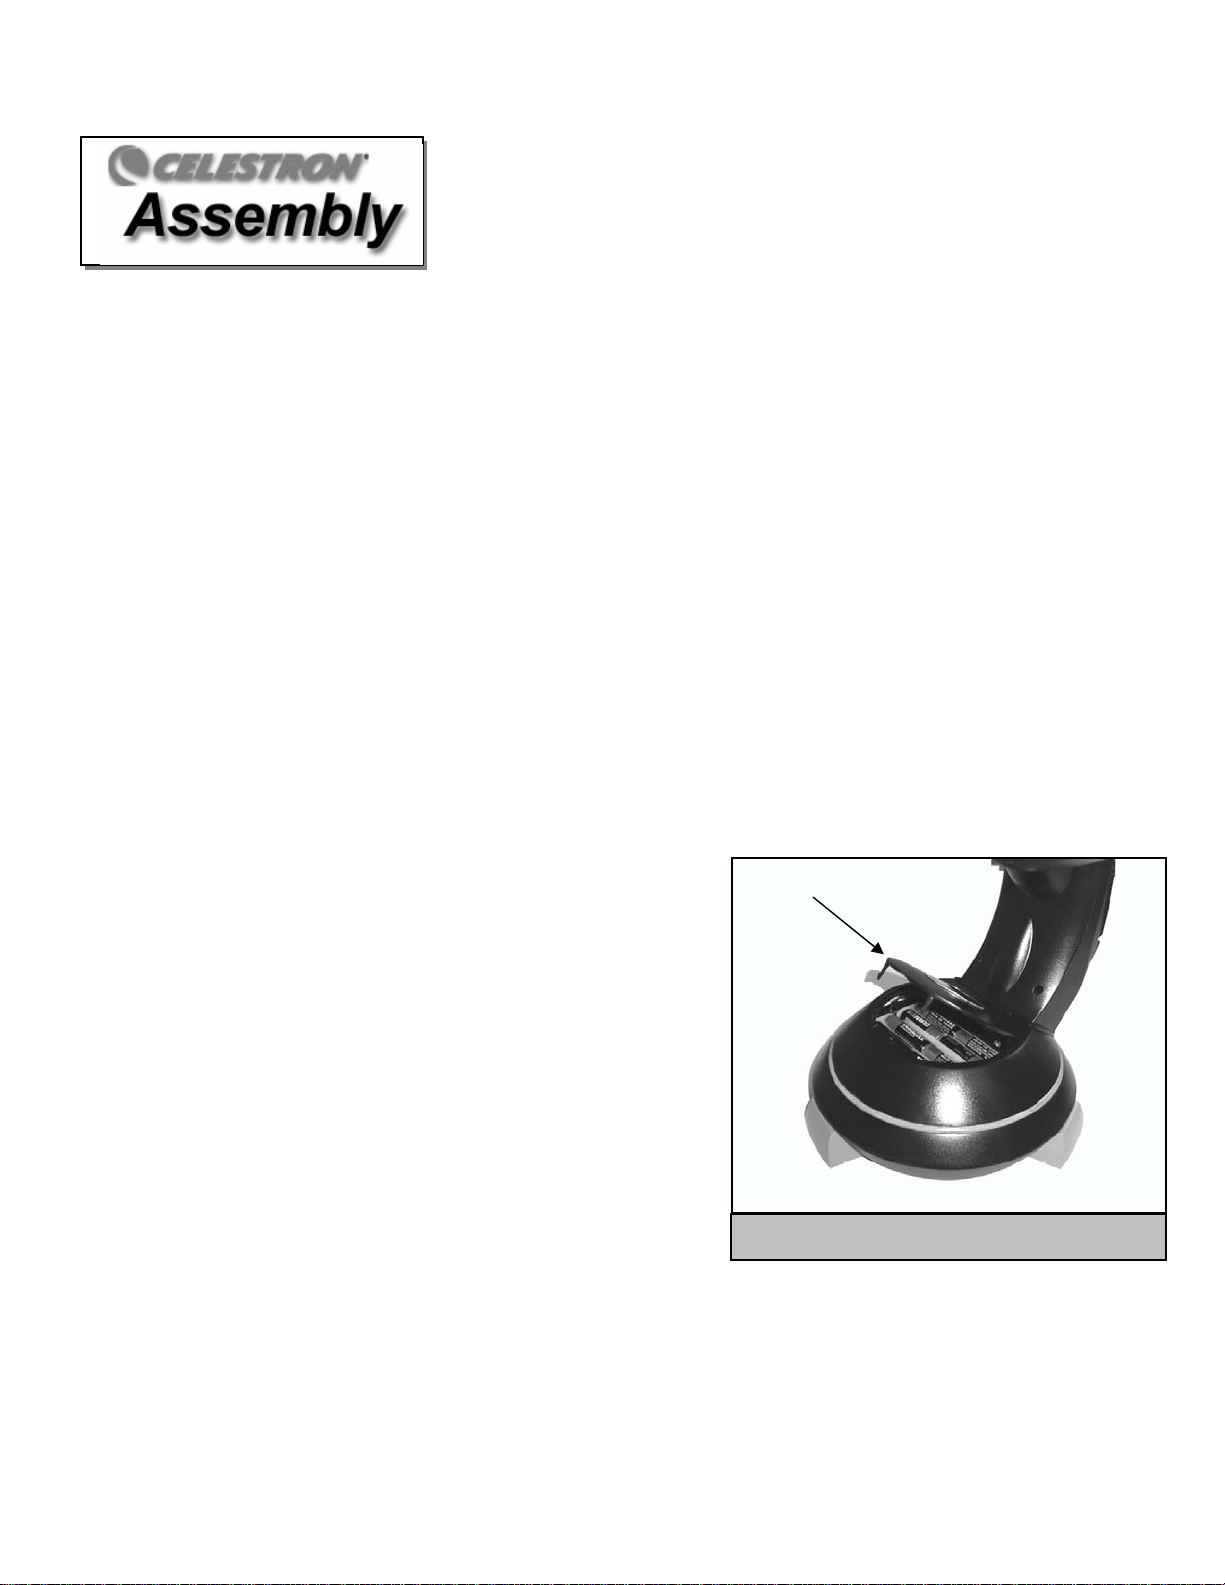
The NexStar can be powered by eight AA batteries (not included), an optional 12v AC adapter or an optional car battery adapter. The
battery compartment is located in the center of the telescope's base (see figure 3-1).
To power the NexStar with batteries:
1. Remove the battery cover from the center of the base by gently lifting up on the
round portion of the cover.
2. Insert the batteries into the battery compartment of the base.
3. Reattach the battery compartment door by gently pushing down on the cover
until it snaps into place.
4. Turn on the power to the NexStar by flipping the switch, located at the base of
the fork arm, to the "On" position.
The Hand Control
The hand control is located on the side of the fork arm and can be removed and used
remotely or used while attached to the fork. The hand control attaches to the fork
arm by resting on two posts, located on the bottom of the hand control cradle, and a
clip inside the fork arm. To remove the hand control from the fork arm cradle,
gently lift the hand control upwards and pull out. To return the hand control into the fork arm, lower the hand control into the cradle so that
the two holes in the bottom of the hand control go over the posts on the bottom of the cradle, and the opening in the back of the hand control
slides over the clip inside the fork arm.
Battery Compartment
Cover
Figure 3-1: The NexStar 4 Battery Compartment
Once the telescope is powered up, the hand control can be used to move the optical tube in altitude (up and down) and azimuth (side to
side). Use the Up arrow directional button to move the telescope tube until it is roughly parallel to the ground. This will make it more
convenient to attach the necessary accessories as well as remove the front lens cover and install batteries when they are needed.
6
Loading ...
Loading ...
Loading ...