Loading ...
Loading ...
Loading ...
14 EN14 EN
SETTINGS FOR THE VIDEO INPUT
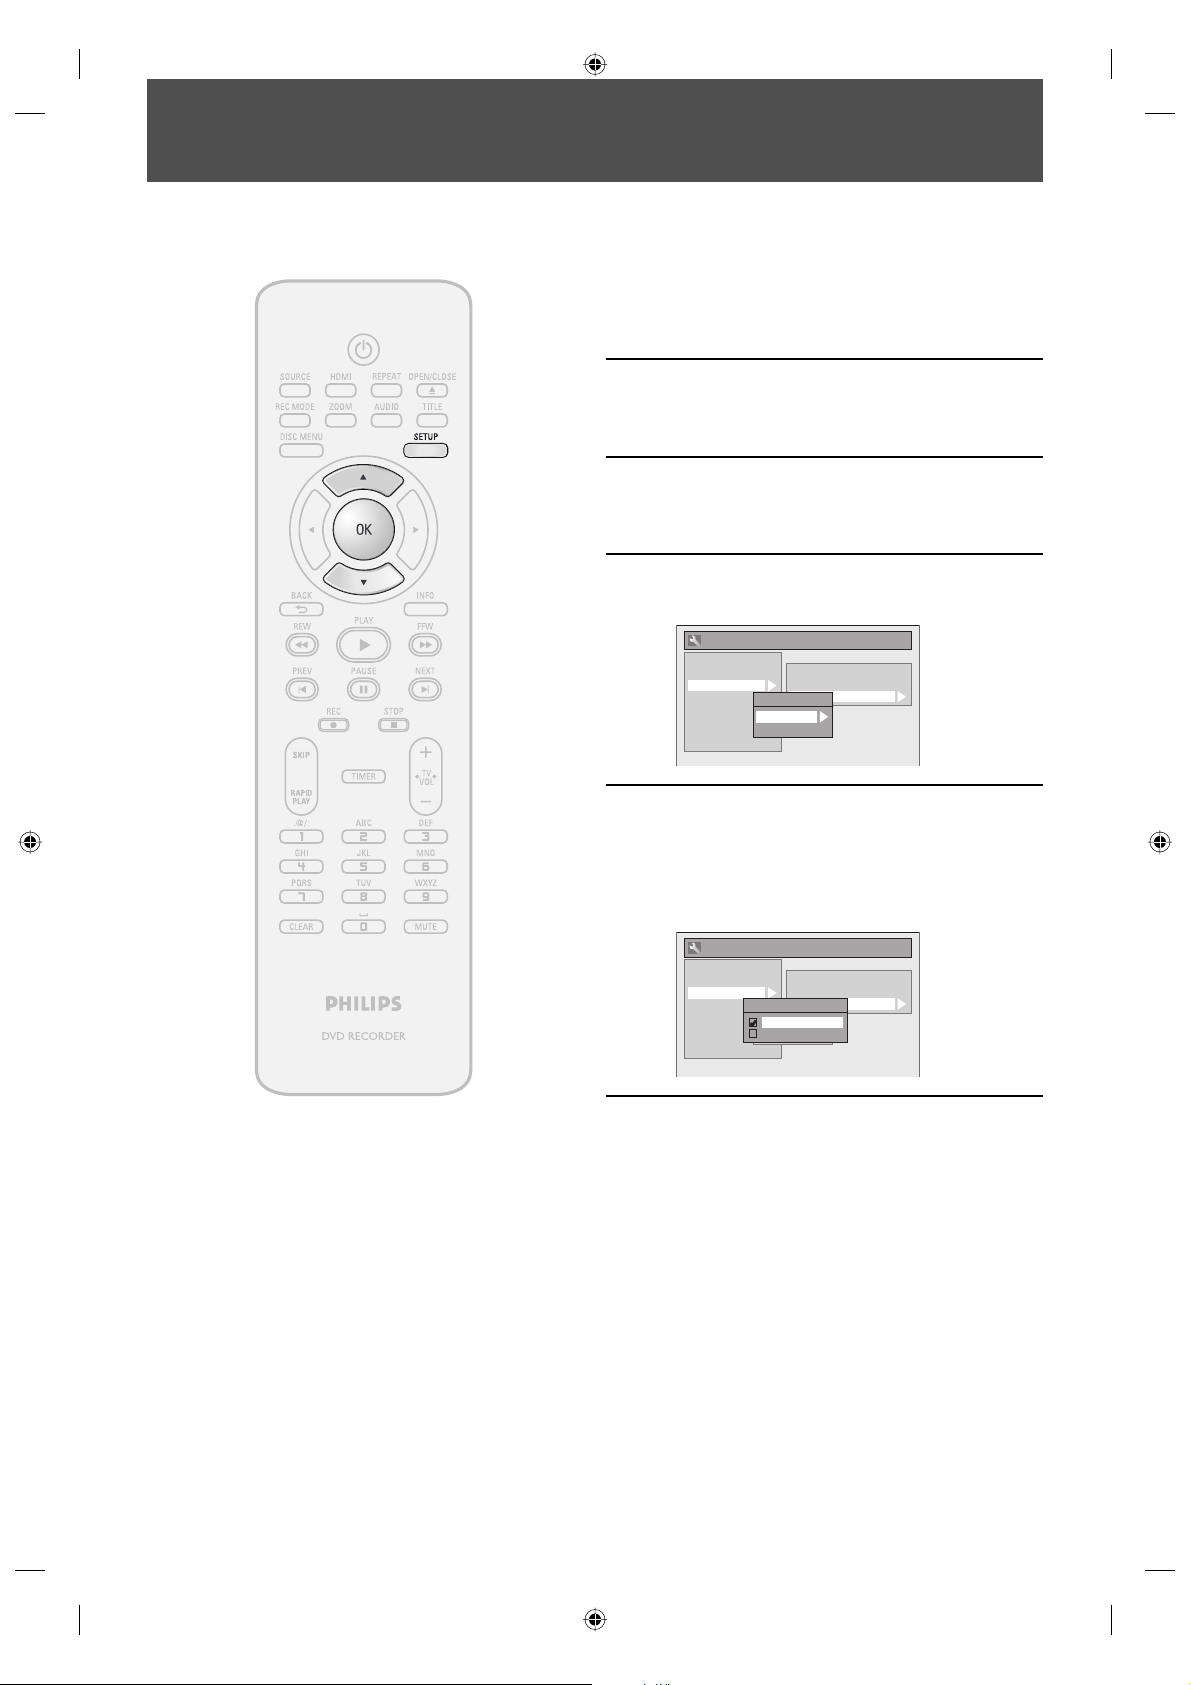
1
Press [SETUP] and use [K / L] to
select “General Setting”, then press
[OK].
“General Setting” menu will appear.
2
Use [K / L] to select “Video”, then
press [OK].
Submenu will appear.
3
Use [K / L] to select “Video Input”,
then press [OK].
4
Use [K / L] to select desired external
input position, then press [OK].
General Setting
Playback
Display
Video
Recording
Clock
DivX
HDMI
Reset All
Progressive Scan
TV Aspect
Video Input
Video Input
E1 (Rear)
E2 (Front)
5
Use [K / L] to select the input jack
type to connect, then press [OK].
If you want to use VIDEO IN jack, select “Video
In”.
If you want to use S-VIDEO IN jack, select
“S-Video In”.
General Setting
Playback
Display
Video
Recording
Clock
DivX
HDMI
Reset All
Progressive Scan
TV Aspect
Video Input
Video Input
E1 (Rear)
E2 (Front)
E1 (Rear)
Video In
S-Video In
6
Press [SETUP] to exit.
You must let the unit know which video input jack you are using before making a recording.
E7E4AUD.indd 14E7E4AUD.indd 14 2007/05/16 14:56:132007/05/16 14:56:13
Loading ...
Loading ...
Loading ...