Loading ...
Loading ...
Loading ...
4 English
Preparation
Preparation
Checklist
Use this checklist to verify that you have completed each step of the installation
process. This can help you avoid mistakes.
1. Before installing the oven, be sure to verify the cabinet dimensions are correct
for your unit and the required electrical connections are present.
2. Refer to the installation manual for content regarding Safety, Cabinet
Dimensions, Removing Packaging, Electrical Installation, Testing the
Installation and Customer Service.
3. To lift up the oven, hang the install handle onto the side hook of the unit.
4. Move the oven unit into place in front of the cabinet opening, leaving the
bottom packaging on the unit to avoid damaging ooring.
5. Team lift the unit directly into the cabinet cutout taking care not to pinch
ngers or scratch hands or arms. Make sure the electrical conduit reaches to
the connection point properly.
6. Slide the unit all the way into place, making sure to route the electrical conduit
correctly.
7. Fasten the oven unit to the cabinetry opening with screws supplied (using
Phillips screwdriver).
8. Consult the complete installation instructions and follow the remainder of the
procedures listed, including performing an operation test.
9. All product literature and accessories are supplied (may be wrapped or boxed)
with the oven.
10. INSTALLER - Leave the literature pack and the accessories with the customer.
11. Hang the install handle onto the side hook of the oven.
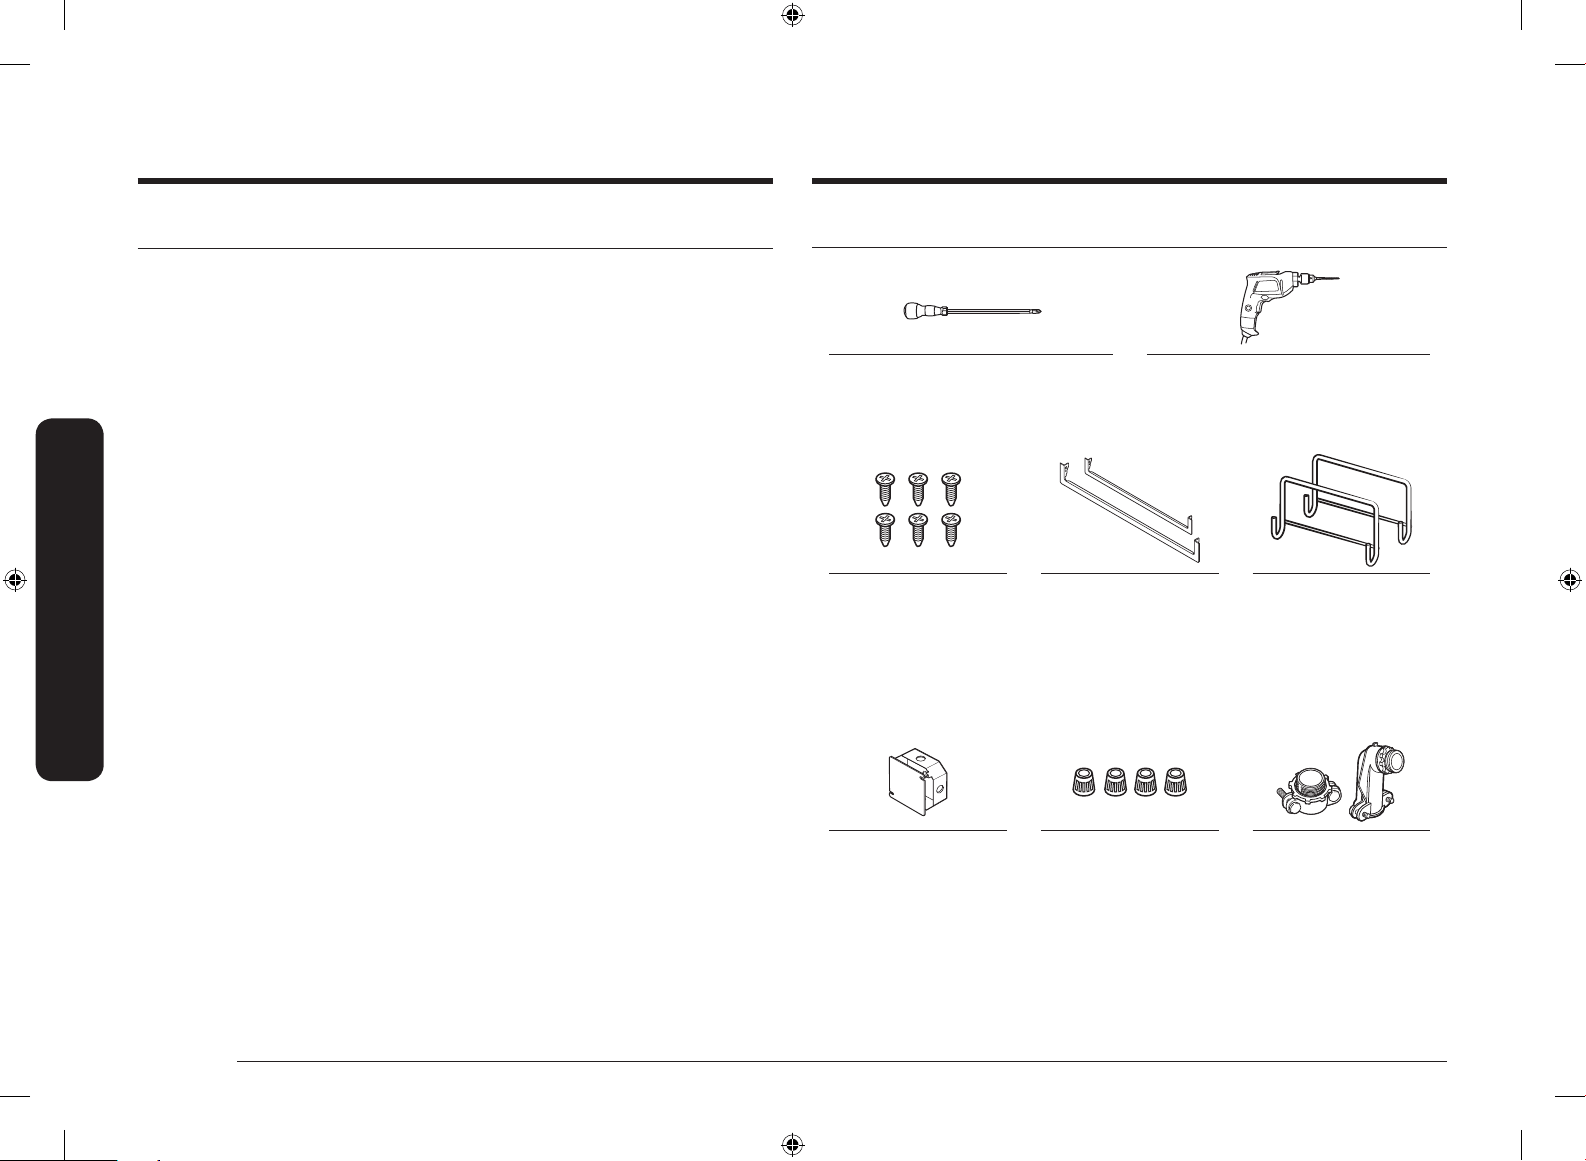
Prepare to install the oven
Phillips Screwdriver Drill
Prepare to install the oven
6 screws (M4 L16)
6 Wood Screws For
Mounting (4 needed for
installation and 2 extra’s)
30” (76.2 cm)
Metal Bottom Trim
Install Handle
(only for double oven)
Materials needed
Junction Box Wire Nuts
3
/4” Conduit Connector
Install_NW9000K_DG68-00862A-09_EN.indd 4 2019-11-11 5:36:06
Loading ...
Loading ...
Loading ...