Loading ...
Loading ...
Loading ...
ge.com
12-Hour, 24-Hour or Clock Blackout
Your control is set to use a 12-hour clock.
If you would prefer to have a 24-hour
military time clock or black out the clock
display, follow the steps below.
Touch the Bake and Broil Hi/Lo
pads at the same time for 3 seconds
until the display shows SF.
Touch the Clock pad once. The display
will show 12 hr. If this is the choice you
want, touch the Start pad.
Touch the Clock pad again to change
to the 24-hour military time clock. The
display will show 24 hr. If this is the choice
you want, touch the Start pad.
Touch the Clock pad again to black out the
clock display. The display will show OFF. If
this is the choice you want, touch the Start
pad.
NOTE: If the clock is in the black-out mode,
you will not be able to use the Delay Start
function.
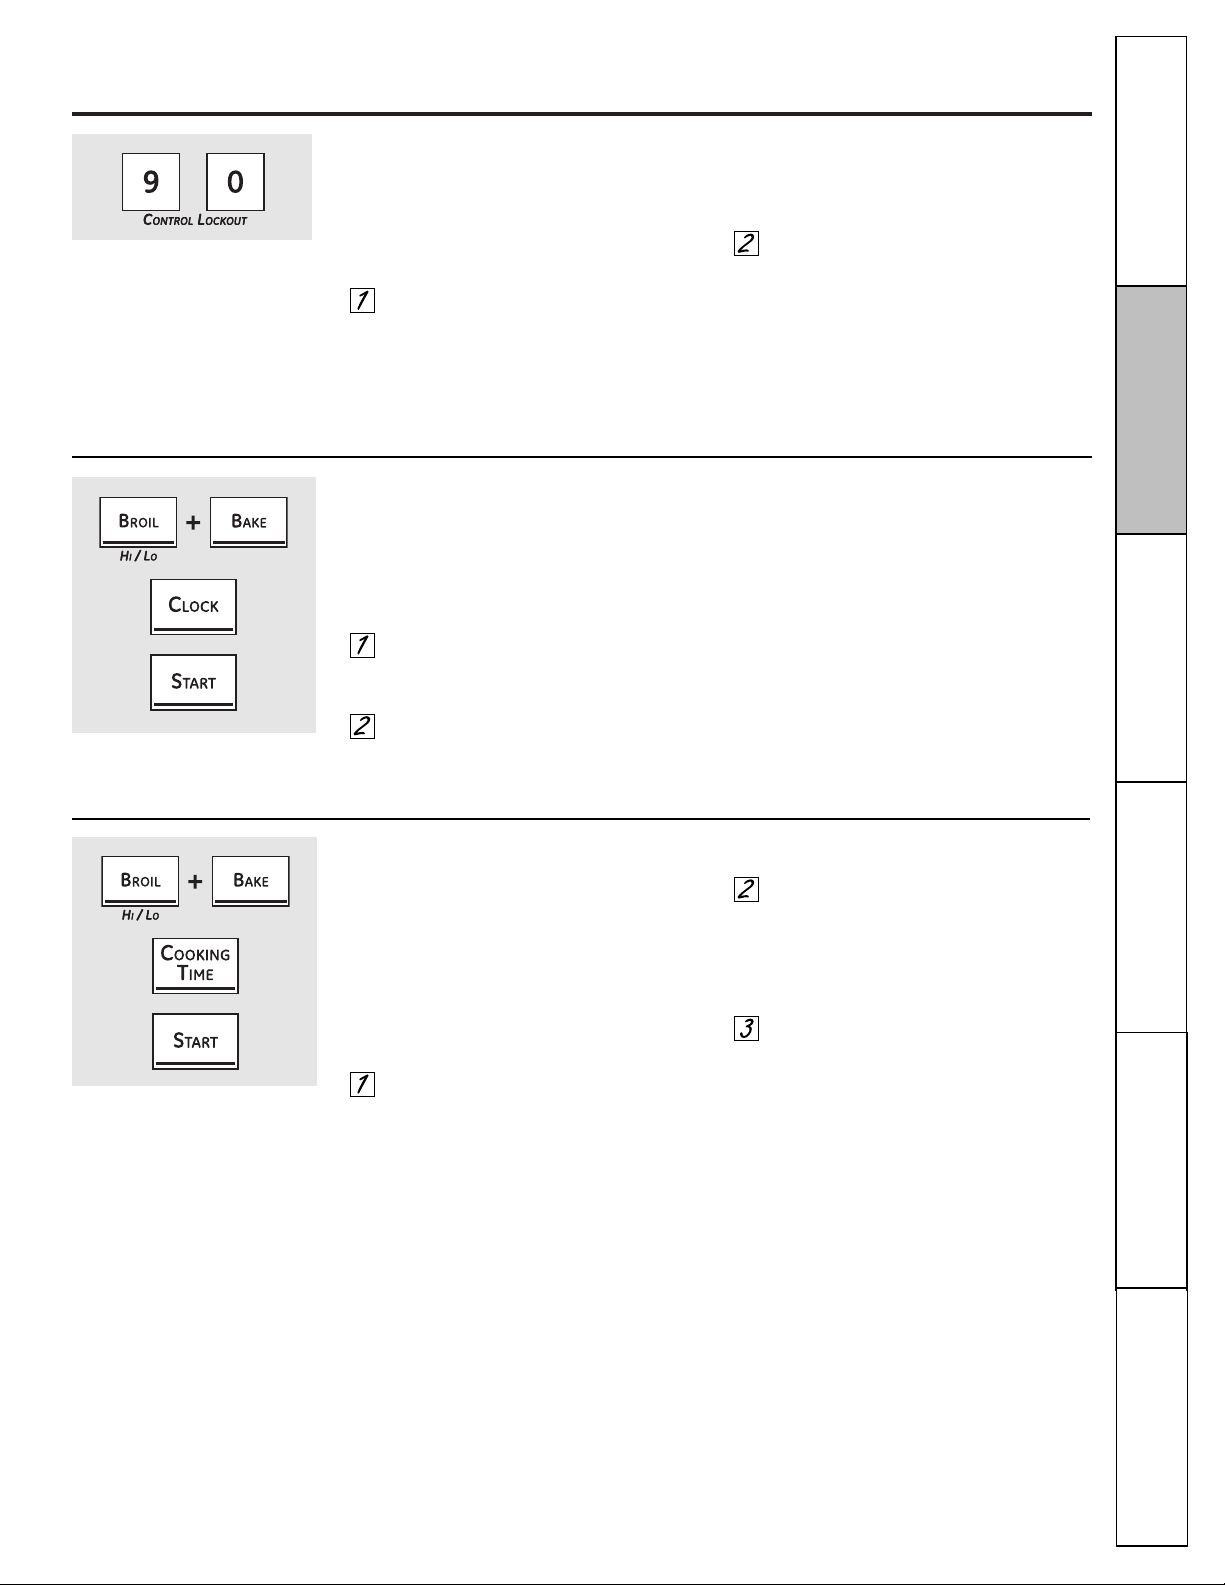
Control Lockout
Your control will allow you to lock out the
touch pads so they cannot be activated
when touched or cleaning the glass panel.
To lock the controls:
Touch the 9 and 0 touch pads at the
same time for 3 seconds until the
control beeps twice. The display will
show LOC continuously and the time
of day if not blacked out.
NOTE: All cooking and timing functions will
be cancelled when locking out the control.
To unlock the control, touch the
9 and 0 touch pads at the same time
for 3 seconds until the control beeps
twice, and LOC will be removed from
the display.
NOTE: Some models have a Control Lockout
pad. Touch and hold it for 3 seconds to
lock/unlock.
Cook and Hold
Your new control has a cook and hold feature
that keeps cooked foods warm for up to 3
hours after the cooking function is finished.
This feature can only be used when timed
cooking.
To activate this feature, follow the steps
below.
Touch the Bake and Broil Hi/Lo pads
at the same time for 3 seconds until the
display shows SF.
Touch the Cooking Time pad.
The display will show Hld OFF.
Touch the Cooking Time pad again
to activate the feature. The display will
show Hld ON.
Touch the Start pad to activate the
cook and hold feature and leave the
control set in this special features mode.
23
Operating
Instructions
Care and Cleaning
Installation
Instructions
Troubleshooting
Tips
Safety Instructions
Consumer Support
Loading ...
Loading ...
Loading ...